>>
30-MINUTE MEALS! Get the email series now →


Buttery, fudgy white chocolate squares with a tender crumb—an easy American sweet perfect for parties, snacks, and cozy nights in.
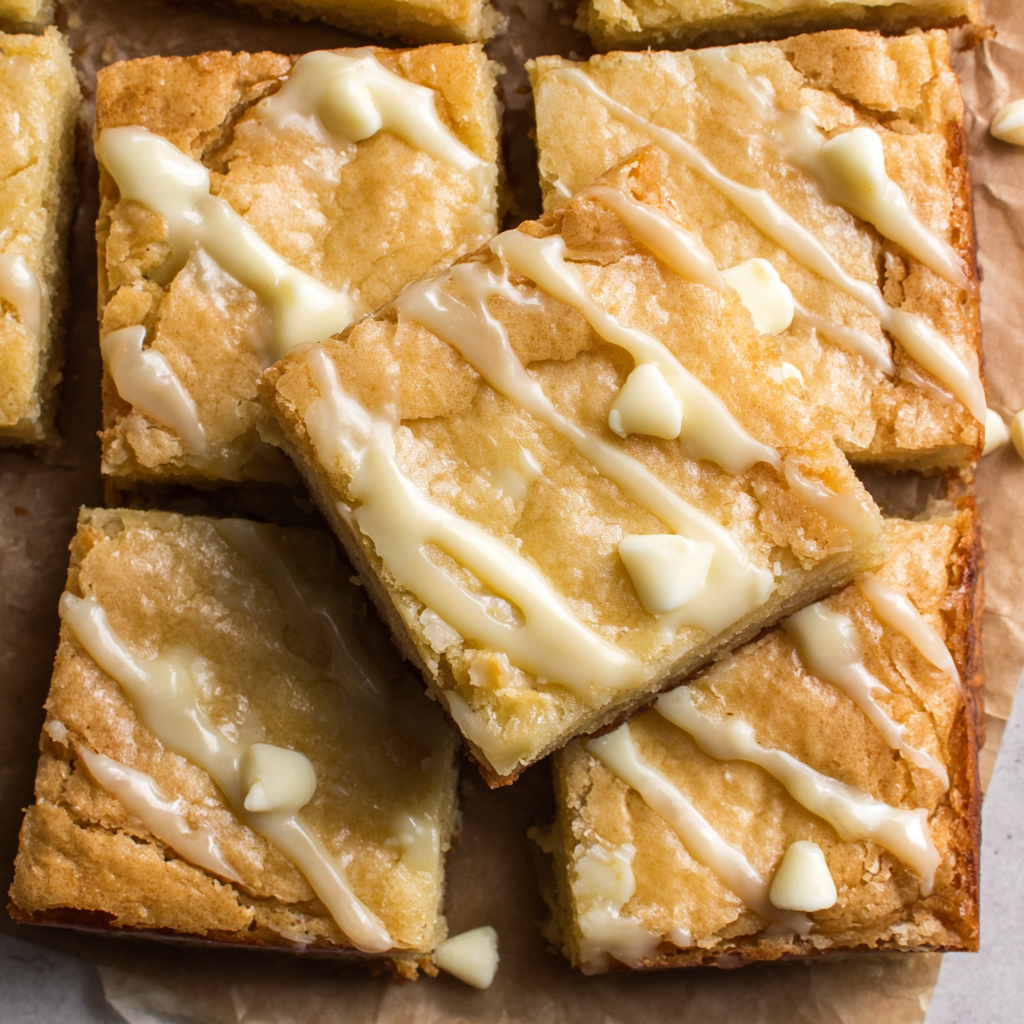
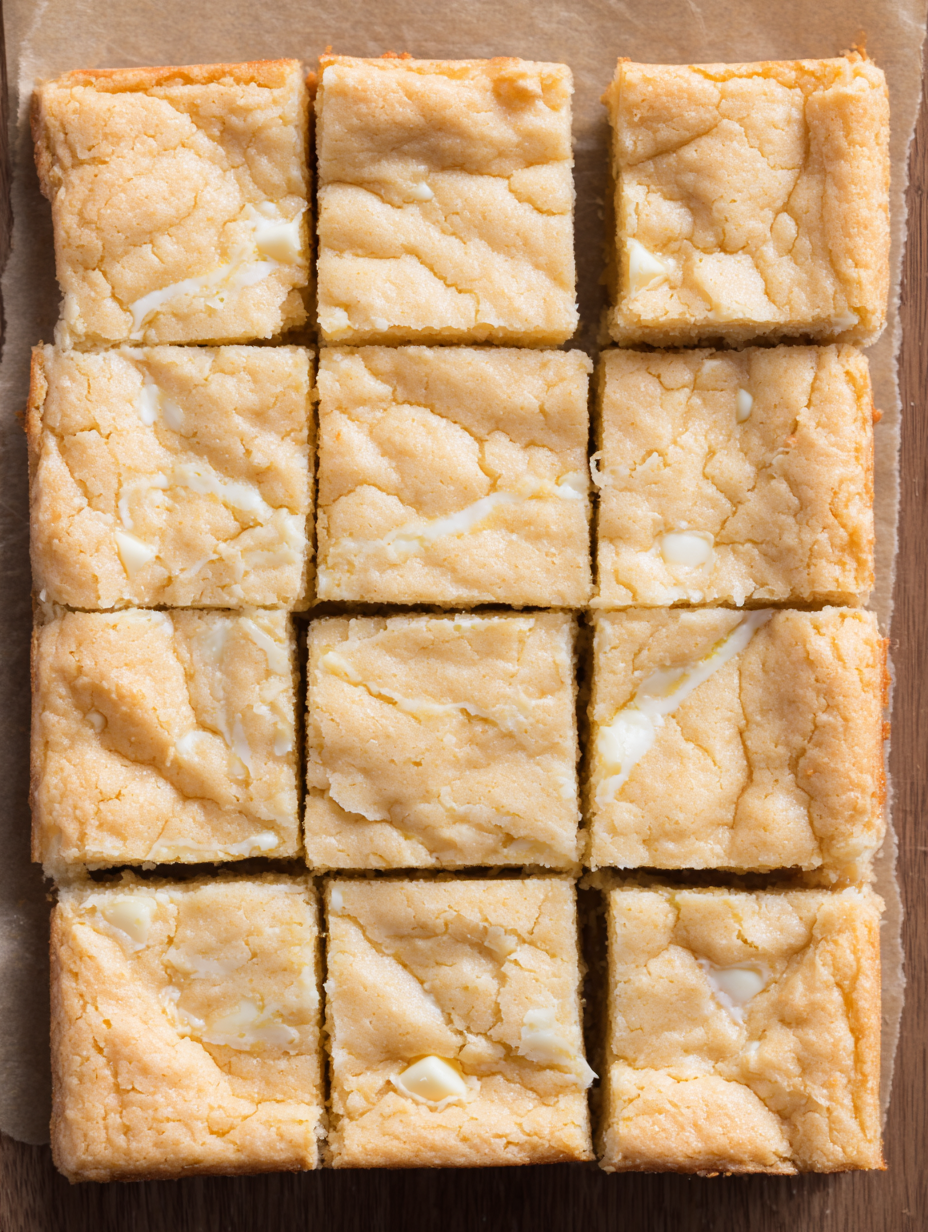
This batch of white chocolate brownies has been my go-to for celebrations and quiet evenings alike. I first made them on a rainy afternoon when I had a surplus of white chocolate from a holiday baking spree, and the result was unexpectedly addictive: a shiny, tender top giving way to a dense, almost fudge-like interior. They taste like a rich blondie but with the delicate, sweet creaminess that only white chocolate can bring. The texture balances chew and melt-in-your-mouth richness so well that everyone at the table kept reaching for one more square.
I love how forgiving this recipe is. It uses simple pantry ingredients and comes together quickly—perfect for last-minute desserts. The heat transforms the butter and white chocolate into a silky base that binds everything into a glossy batter. Because the flavor is sweet and subtle, small additions like toasted nuts or tart dried cranberries really sing. Over the years this tray has accompanied birthday parties, potlucks, and quiet cups of coffee on Sunday mornings; it’s become the dessert friends ask me to bring when they know I’m coming.
Personally, I remember my sister’s delight the first time I brought these to a family gathering; she called them “white chocolate candy in brownie form.” A few readers who tried this recipe told me they swapped in macadamia nuts for a tropical twist, and one friend even drizzled a thin layer of raspberry jam between two layers for a bright contrast. These reactions are the reason I keep this recipe in heavy rotation—it’s reliably loved and endlessly adaptable.
My favorite part about these squares is how forgiving they are: slight variations in oven temperature or an extra minute of bake time won’t ruin them if you watch the center for doneness. One year I doubled the batch for a family reunion and popped half in the freezer; defrosted squares were just as tender. Serving them slightly chilled highlights the creamy white chocolate flavor, while warming them for 10 seconds in the microwave brings out a gooey, almost molten quality—both are delicious in different ways.
Store cooled squares in an airtight container at room temperature for up to three days; place a sheet of parchment between layers to prevent sticking. For longer storage, refrigerate up to one week—bring to room temperature or microwave individual squares for 8–10 seconds to soften. For freezing, wrap portions tightly in plastic wrap and place in a freezer-safe container for up to three months. Thaw overnight in the refrigerator or at room temperature for a couple of hours. Avoid storing near strong-smelling foods, as the white chocolate easily absorbs odors.
If you need to swap ingredients, use high-quality white chocolate baking bars instead of chips for smoother melting. For a nuttier flavor, replace half the butter with browned butter—melt and cook the butter until nutty aromas emerge, cool slightly, then continue as directed. For a reduced-sugar version, cut sugar by 25% and add a tablespoon of honey to compensate for moisture; expect a slightly denser texture. Gluten-free flour blends (1:1) can replace all-purpose flour, but results vary—reduce mixing and monitor bake time closely.
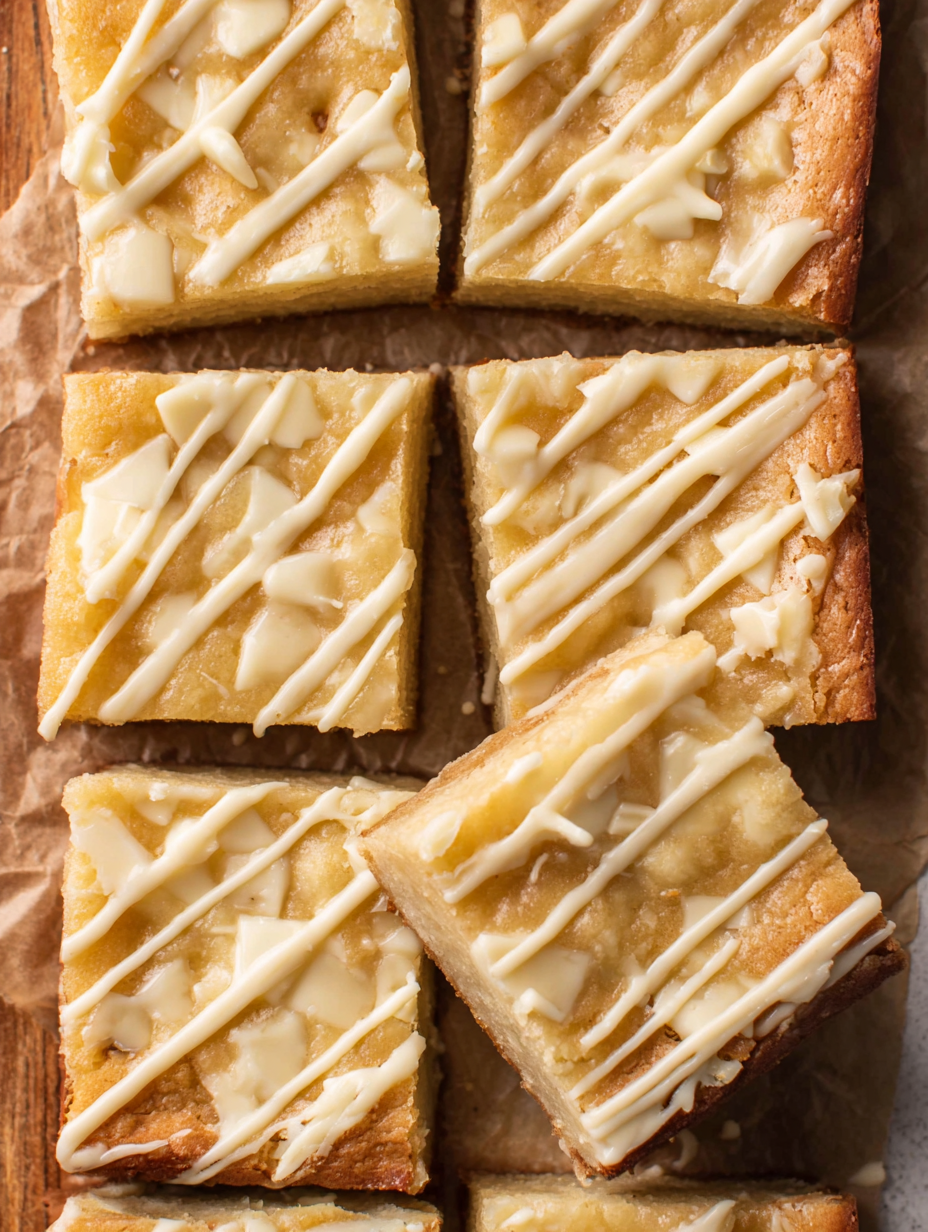
Serve warm with a scoop of vanilla ice cream and a drizzle of berry coulis for a classic dessert pairing. For a simple snack, cut into bite-sized squares and arrange on a platter with fresh berries and espresso. Garnish with a light dusting of powdered sugar or a scattering of toasted chopped pistachios for color contrast. For holiday gatherings, top each square with a small dollop of raspberry jam and a few toasted almond slivers to balance sweetness with bright acidity.
Blondies and their variations are an American adaptation of the classic chocolate brownie, celebrating brown sugar and vanilla flavors. White chocolate brownies are a more recent twist—combining the blondie’s buttery profile with the dense, sweet creaminess of white chocolate. Though not rooted in a particular regional tradition, they fit comfortably into American home baking culture where improvisation and approachable ingredients define family favorites.
In winter, fold in 1/2 cup chopped dried cranberries and orange zest for a festive note. Summer calls for toasted macadamia nuts and a sprinkle of flaky sea salt to cut through sweetness. For autumn, stir in 1/2 teaspoon ground cinnamon and swap half the vanilla for a tablespoon of bourbon or rum for warmth. These small tweaks let the base formula shine while reflecting seasonal ingredients.
Make the batter a few hours ahead and keep it covered in the refrigerator; bring to room temperature before baking to ensure even heat. Cut into individual portions and freeze them for grab-and-go snacks—thaw in the fridge before consuming. If preparing for a crowd, double the recipe and bake in two pans; for neat edges, chill the baked slab slightly before slicing. Label containers with date and contents to rotate older batches first.
These white chocolate squares are a joyful little treat—simple to make, versatile, and reliably delicious. Whether you keep them plain or dress them up, they’re the kind of dessert that becomes a habit; make a tray, share it, and see which variations become your family’s favorites.
Use good-quality white chocolate bars (not chips) for a smoother, shinier batter and better melt behavior.
Bring eggs to room temperature before adding to prevent the chocolate from seizing and to create a silkier batter.
Avoid overmixing once flour is added; fold just until combined to keep the interior fudgy rather than cakey.
Test for doneness by inserting a toothpick: it should come out with a few moist crumbs, not wet batter.
This nourishing white chocolate brownies recipe is sure to be a staple in your kitchen. Enjoy every moist, high protein slice — it is perfect for breakfast or as a wholesome snack any time.
This White Chocolate Brownies recipe makes perfectly juicy, tender, and flavorful steak every time! Serve with potatoes and a side salad for an unforgettable dinner in under 30 minutes.
Preheat the oven to 350°F and grease a 9x13-inch pan or line with parchment paper. Properly prepare the pan to prevent sticking and to allow easy removal of the baked slab.
Melt the butter and chopped white chocolate together in a heatproof bowl over simmering water or in the microwave in short bursts, stirring until smooth and glossy. Avoid overheating to prevent seizing.
Stir the granulated sugar into the warm chocolate mixture and let it cool for 3–5 minutes so it's warm but not hot, preventing the eggs from cooking on contact.
Add the eggs one at a time, beating well after each addition to create a smooth, slightly aerated batter, then stir in the vanilla extract.
Gently fold in the sifted flour and salt with a flat spoon until just combined. Add any optional mix-ins and avoid overmixing to keep the texture fudgy rather than cakey.
Pour batter into the prepared pan, smooth the surface, and bake for 25–30 minutes. Test with a toothpick; it should come out with a few moist crumbs for a fudgy center.
Cool the brownies completely in the pan on a wire rack. Use the parchment overhang to lift them out and cut into 16 squares. Chill briefly for easier, cleaner slicing if desired.
Last Step: Please leave a rating and comment letting us know how you liked this recipe! This helps our business to thrive and continue providing free, high-quality recipes for you.
Leave a comment & rating below or tag
@royalrecipe on social media!

Easy homemade thin-crust three-cheese spicy chicken and jalapeño pie — a flavor-packed pizza with a satisfying kick, perfect for pizza night or game day.

A bright, creamy BLT pasta salad tossed with basil pesto, fresh greens, cherry tomatoes, and crisp bacon—perfect for warm-weather gatherings and meal prep.

Tender sautéed shrimp tossed with spaghetti and a creamy sweet-spicy bang bang sauce—ready in under 30 minutes for a weeknight favorite.
Leave a comment & rating below or tag @royalrecipe on social media!
Enjoyed this recipe? Share it with friends and family, and don't forget to leave a review!
This recipe looks amazing! Can't wait to try it.
Comments are stored locally in your browser. Server comments are displayed alongside your local comments.
Join to receive our email series which contains a round-up of some of our quick and easy family favorite recipes.
