
The Best Cocoa Fudge Brownies

Skip the boxed mix and make thick, chewy, ultra-fudgy brownies with a glossy cracked top. Easy to make, crowd-pleasing, and perfect for sharing.
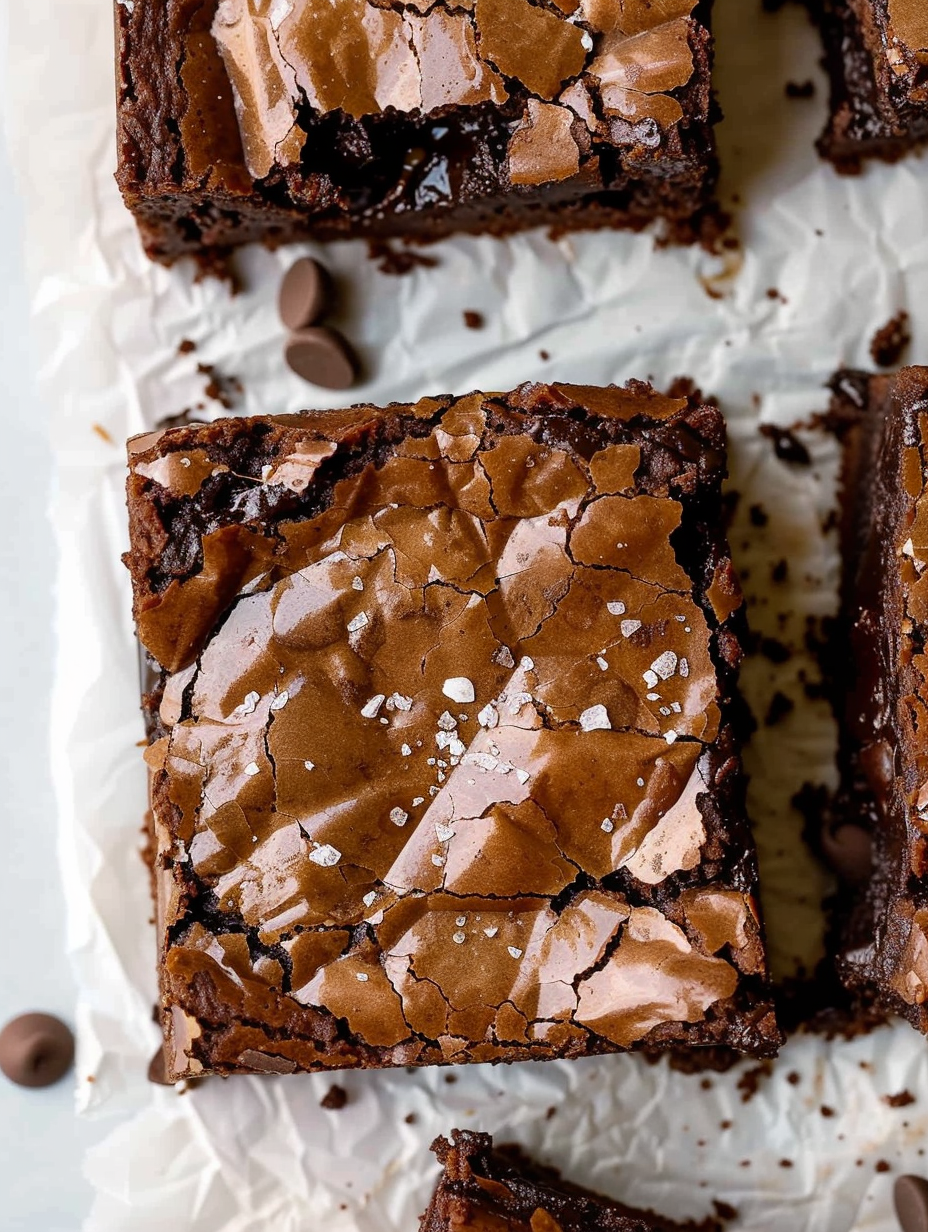
This is the brownie I make when I want everything to stop for a few minutes and focus on a simple, perfect square of chocolate. I discovered this cocoa fudge version during a weekend when I wanted something richer than a typical bar brownie but quicker than a layered torte. The result is thick, chewy, and nearly molten in the center with a shiny crackled top that always invites a second helping. It became a staple after a family reunion where everyone asked for the recipe and stored leftovers vanished faster than I could box them.
I love how straightforward the method is: no temperamental melted chocolate, just good cocoa, butter, sugar, and eggs coming together with a few professional techniques that keep the texture dense and fudgy instead of cakey. The balance of butter and a little neutral oil keeps the edges crisp and the center gooey. A small pinch of espresso powder in the batter lifts the chocolate flavor without tasting like coffee. These brownies are ideal for a dinner party, potluck, or late-night baking therapy.
Why You'll Love This Recipe
- Thick, fudgy texture achieved by a high fat to flour ratio and minimal mixing for that dense chew everyone loves.
- Fast to assemble in about 10 minutes of hands-on time, then baked to perfection in roughly 28 minutes.
- Uses pantry staples: cocoa, flour, butter, eggs, and chocolate chips; no specialty ingredients required.
- Flexible: a touch of espresso intensifies the chocolate; omit it for a straight chocolate flavor.
- Make-ahead friendly: allows a two-hour resting time that improves slicing and depth of flavor.
- Crowd-pleaser for celebrations or weeknight treats and easy to double for larger gatherings.
I remember pulling the warm pan from the oven the first time and watching my partner press a finger to the shiny, cracked top. The look of anticipation was priceless. They insisted on trying a corner and then moved to the center piece—words that still echo in my kitchen: 'These are the best brownies.' I’ve since baked them for birthdays, school events, and an impromptu neighborhood bake sale where they disappeared first.
Ingredients
- All-purpose flour: 1 cup. Look for unbleached flour for the best flavor and texture; over-measuring will dry the bars, so spoon and level for accuracy.
- Baking powder and salt: 1/2 teaspoon baking powder and 1/2 teaspoon salt. The lift is subtle; the salt balances the sweetness and enhances chocolate notes.
- Unsweetened cocoa powder: 1/2 cup. Use a good-quality Dutch-processed or natural cocoa depending on your preference; Dutch cocoa is darker and richer.
- Espresso powder (optional): 1 teaspoon. Adds depth and amplifies chocolate without a coffee taste; skip if you dislike any coffee notes.
- Unsalted butter: 3/4 cup. Use real butter for flavor—avoid margarine; melt slowly to avoid scorching.
- Neutral oil: 2 tablespoons. Canola, vegetable, or light coconut oil gives extra shine and helps keep the center soft.
- Granulated sugar: 1 and 1/3 cups, divided. Part is warmed with the butter to dissolve slightly, encouraging that glossy top.
- Eggs: 2 large eggs plus 1 large yolk. The extra yolk adds fat and contributes to a fudgy, dense crumb.
- Vanilla extract (optional): 2 teaspoons. A subtle background flavor that rounds out the chocolate.
- Chocolate chips: 3/4 cup. Semi-sweet or bittersweet chips add pockets of molten chocolate; choose a brand you enjoy for direct flavor impact.
Instructions
Preheat and prepare pan: Preheat the oven to 350 degrees F. Line a 9x9-inch baking pan with parchment paper, leaving an overhang to lift the bars. Lightly spray the parchment with nonstick spray so the brownies release cleanly. Whisk the dry blend: Sift together 1 cup flour, 1/2 teaspoon baking powder, 1/2 teaspoon salt, 1/2 cup unsweetened cocoa, and 1 teaspoon espresso powder if using. Sifting removes lumps and helps distribute the leavening evenly. Melt butter with oil and sugar: In a medium saucepan, combine 3/4 cup butter, 2 tablespoons neutral oil, and 1/3 cup of the sugar. Warm over medium heat, stirring frequently until the butter is fully melted and the mixture is homogeneous. Remove from heat and allow to cool briefly so it’s warm but not piping hot before adding to eggs. Mix eggs and remaining sugar: In a large bowl whisk 2 large eggs, 1 large egg yolk, 2 teaspoons vanilla, and the remaining 1 cup of sugar until combined and slightly glossy, about 30 seconds. The goal is to create an emulsion that will hold the butter without scrambling the eggs. Temper the butter into the eggs: Slowly pour the warm butter mixture into the egg mixture a little at a time, whisking constantly. This gradual addition prevents the eggs from cooking and produces a smooth, shiny batter. Continue until fully incorporated. Combine dry ingredients and chips: Fold the sifted dry ingredients and 3/4 cup chocolate chips into the wet mixture using a rubber spatula. Stir gently and stop as soon as the last streak of flour disappears. Over mixing introduces air and gluten, which leads to a cakier texture. Transfer and bake: Scrape the batter into the prepared pan and smooth the top. Bake at 350 degrees F for 28 to 30 minutes. For very gooey centers, aim for 27 minutes; for firmer, more structured bars, let them go to 30 to 32 minutes. Edges should be set and the top glossy with a slight crack. Cool completely then slice: Set the pan on a cooling rack and cool for at least two hours to let the interior set. Use the parchment overhang to lift the slab, then slice with a sharp knife warmed under hot water and wiped dry for cleaner edges.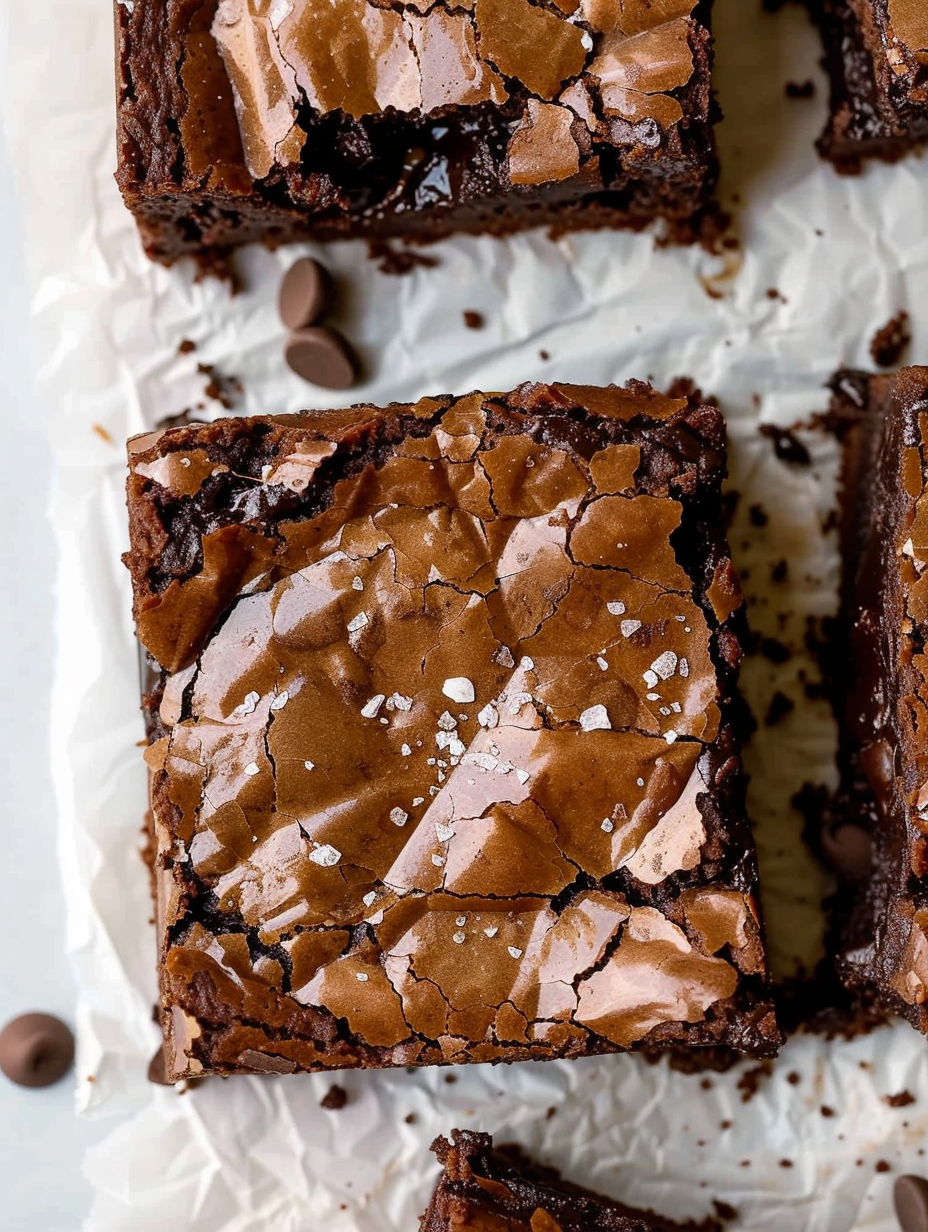
You Must Know
- Do not over mix the batter; stop when the last trace of dry ingredients disappears to keep a dense, fudgy crumb.
- Remove from oven slightly early for gooey centers; residual heat will continue to cook during the two-hour rest.
- These bars freeze well for up to three months when wrapped tightly; thaw in the refrigerator before serving.
- Espresso powder is optional but intensifies chocolate for a deeper, more complex flavor without coffee taste.
- Use high-quality cocoa and chocolate chips for noticeable difference in flavor and melt quality.
My favorite part is the ritual of waiting as the pan cools. Those two hours can feel long, but they reward you with clean slices and a texture that holds together on a plate while still offering that luxurious, fudgy mouthfeel. At family gatherings, I watch people test the edges first, then dive into the center—always the center. That reaction never gets old.
Storage Tips
Store cooled brownies in an airtight container at room temperature for up to three days. For longer storage, wrap tightly in plastic wrap and aluminum foil and freeze for up to three months. To thaw, move to the refrigerator overnight or leave on the counter for a few hours. Reheat individual slices in a microwave for 10 to 15 seconds to revive the gooey interior, or warm the whole slab in a 300 degrees F oven for 8 to 10 minutes covered with foil to prevent drying.
Ingredient Substitutions
If you need a dairy swap, replace butter with 3/4 cup melted vegan butter or refined coconut oil, though flavor and texture will shift slightly. For gluten-free, use a 1-to-1 gluten-free flour blend and allow an extra minute in the oven. Swap semi-sweet chips for chopped dark chocolate for larger pockets of melt. If avoiding eggs, attempts with flax or aquafaba alter the texture significantly; the result will be less fudgy and more cake-like.
Serving Suggestions
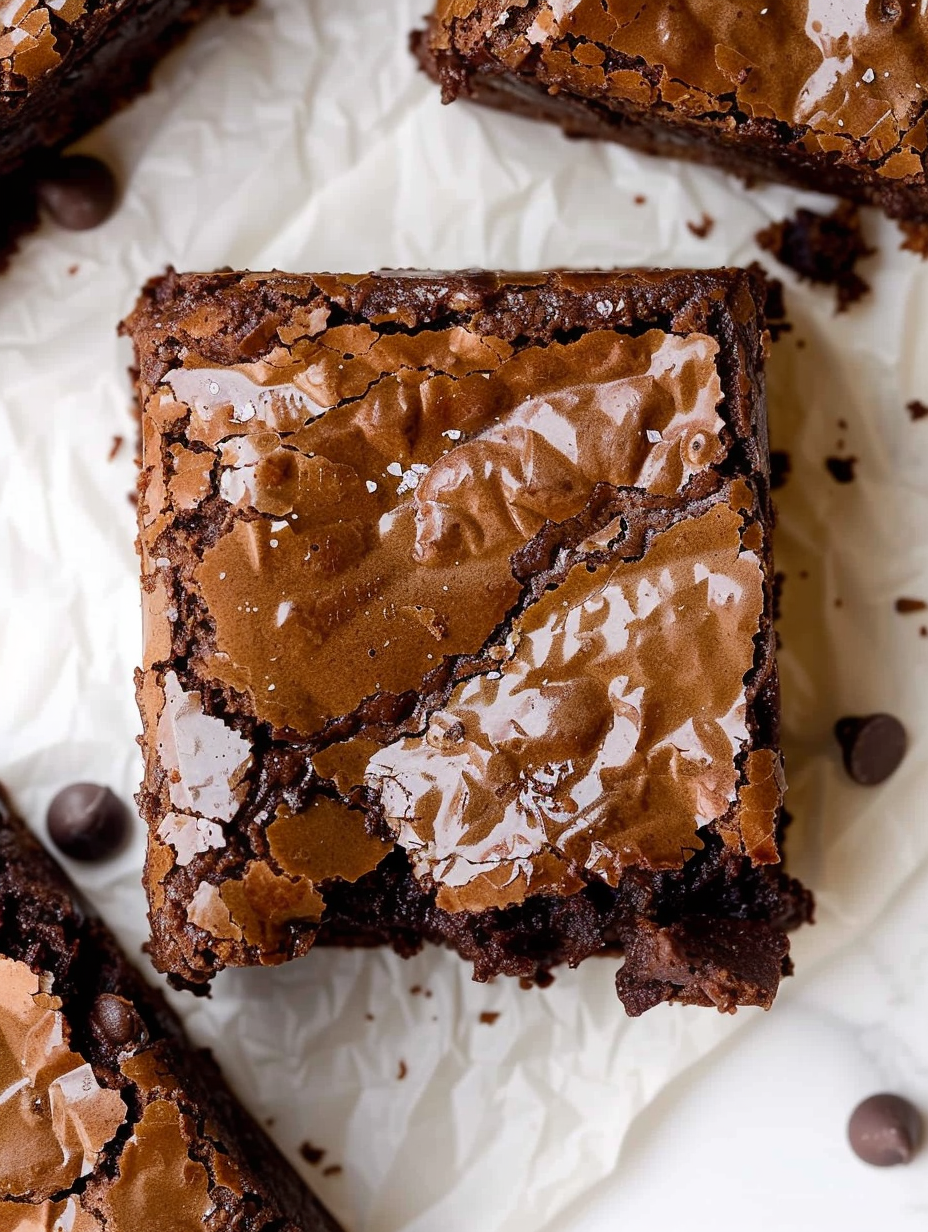
Serve slices warm with a scoop of vanilla ice cream, a sprinkle of flaky sea salt, or a dusting of powdered sugar. For a more elegant dessert, plate a warm brownie with a drizzle of salted caramel, a few fresh berries, and a sprig of mint. These bars pair well with robust coffee or a glass of cold milk for nostalgic comfort. For parties, cut into smaller squares for easy sharing and top select pieces with toasted nuts or a dollop of whipped cream.
Cultural Background
Brownies are an American classic that emerged in the late 19th century and evolved through countless adaptations. This cocoa fudge interpretation leans on the tradition of dense, chocolate-forward bars that prioritize richness over cake-like crumb. Regional American variations include walnut-studded midwestern versions and ultra-chewy New England styles. My take is rooted in the idea of indulgence with straightforward technique—honoring the heritage of a simple, beloved baked good.
Seasonal Adaptations
For winter, fold in a teaspoon of ground cinnamon and top with toasted pecans for warmth. Spring benefits from a few chopped strawberries tossed on top just before serving. In fall, swirl salted caramel into the batter before baking. Summer is perfect for serving chilled with a bright berry compote. Small seasonal tweaks keep the base reliable while highlighting local produce and flavor trends.
Meal Prep Tips
To prepare ahead for a week of treats, bake a double batch, cool completely, and slice into individual portions. Wrap each piece in plastic and refrigerate for up to five days or freeze for longer storage. Pack slices in airtight meal containers for midday indulgences or post-workout carbs. Reheat briefly to restore warmth, or enjoy cold straight from the fridge for firmer texture and concentrated flavor.
These cocoa fudge bars are simple, reliable, and eternally comforting. Whether baked for a special occasion or a quiet evening, they reward patience and minimal fuss with maximum chocolate satisfaction. Make them your own by experimenting with mix-ins and serving styles, and don’t be surprised when they become a requested repeat.
Pro Tips
Do not over mix once you add the dry ingredients; stop when the last streak disappears for a fudgy texture.
Warm the butter mixture slightly before adding to eggs, but not so hot as to cook the eggs—room-warm is ideal.
For cleaner slices, cool completely and use a knife warmed in hot water and wiped dry between cuts.
Adjust baking time by one to three minutes depending on whether you prefer gooey or more set centers.
Use parchment with an overhang to lift the slab out easily for cutting and storage.
This nourishing the best cocoa fudge brownies recipe is sure to be a staple in your kitchen. Enjoy every moist, high protein slice — it is perfect for breakfast or as a wholesome snack any time.
Tags
The Best Cocoa Fudge Brownies
This The Best Cocoa Fudge Brownies recipe makes perfectly juicy, tender, and flavorful steak every time! Serve with potatoes and a side salad for an unforgettable dinner in under 30 minutes.
Ingredients
Brownie Batter
Instructions
Preheat and prepare pan
Preheat oven to 350 degrees F. Line a 9x9-inch pan with parchment and lightly spray the parchment. Set aside.
Sift dry ingredients
Sift together flour, baking powder, salt, cocoa powder, and espresso powder if using. Set aside to ensure even distribution and remove lumps.
Melt butter, oil, and sugar
In a medium saucepan combine butter, oil, and 1/3 cup sugar. Heat over medium, stir until butter melts and mixture is smooth. Remove from heat and let cool slightly.
Combine eggs and sugar
Whisk remaining sugar with the eggs, egg yolk, and vanilla in a large bowl until combined and glossy, about 30 seconds, creating an emulsion that will accept the warm butter.
Temper butter into eggs
Slowly pour warm butter mixture into the egg mixture a little at a time, whisking constantly to avoid cooking the eggs. Continue until fully incorporated and shiny.
Fold in dry ingredients and chips
Using a rubber spatula fold in the sifted dry ingredients and chocolate chips. Stop stirring when the last trace of dry flour disappears to keep brownies fudgy.
Bake
Scrape batter into the prepared pan and smooth the top. Bake 28 to 30 minutes at 350 degrees F. For gooey centers remove near 27 minutes; for firmer texture allow up to 32 minutes.
Cool and slice
Cool pan on a rack for at least two hours to set the interior. Lift out with parchment overhang and slice with a warmed clean knife for neat pieces.
Last Step: Please leave a rating and comment letting us know how you liked this recipe! This helps our business to thrive and continue providing free, high-quality recipes for you.
Nutrition
Did You Make This?
Leave a comment & rating below or tag
@royalrecipe on social media!
Categories:
You might also like...
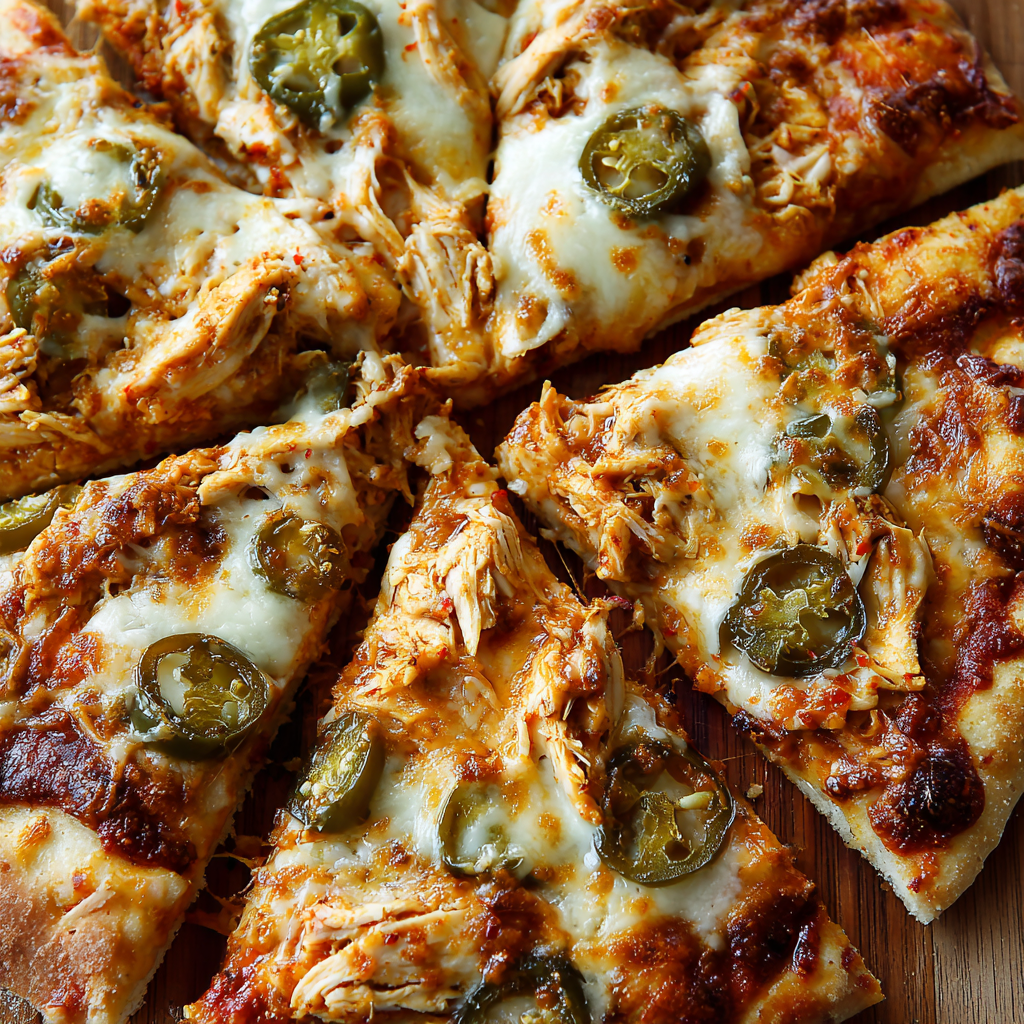
Spicy Chicken and Jalapeño Thin Crust Pizza
Easy homemade thin-crust three-cheese spicy chicken and jalapeño pie — a flavor-packed pizza with a satisfying kick, perfect for pizza night or game day.
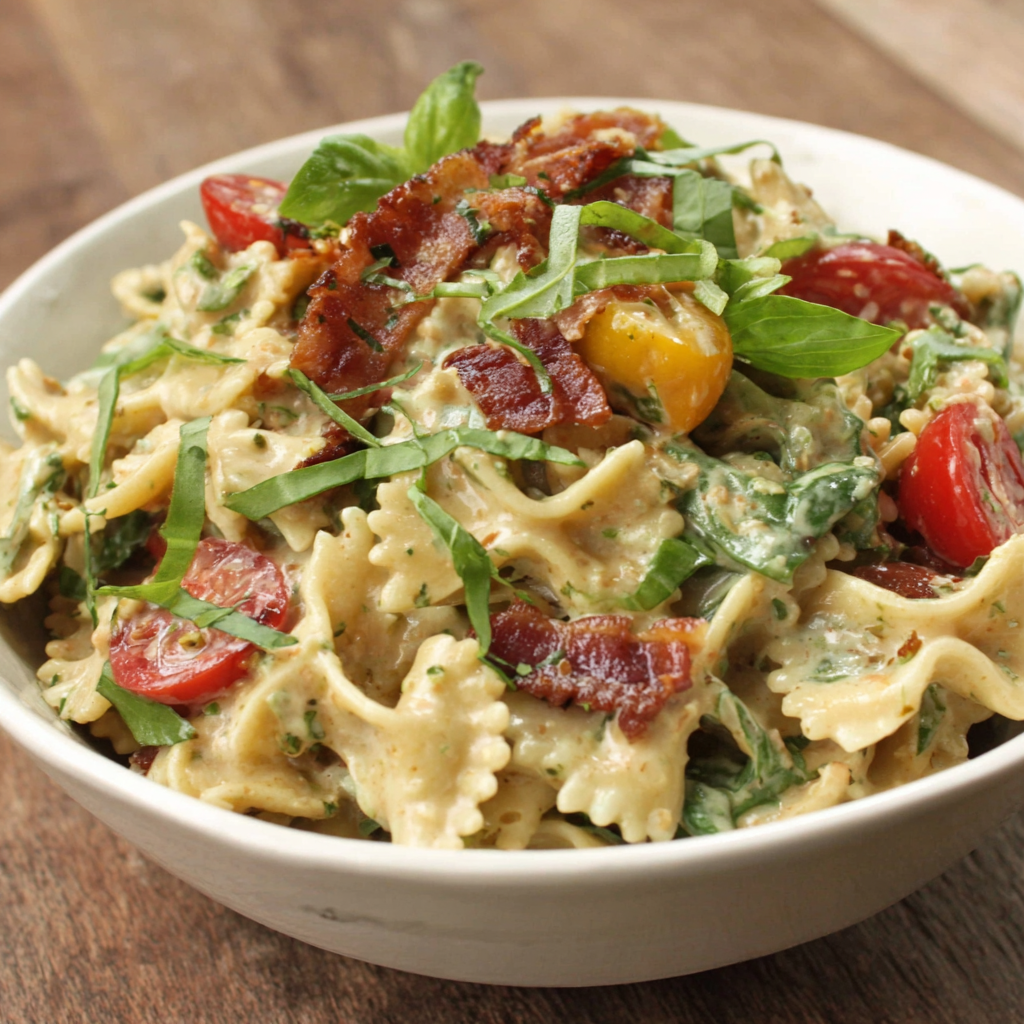
Creamy Pesto BLT Pasta Salad
A bright, creamy BLT pasta salad tossed with basil pesto, fresh greens, cherry tomatoes, and crisp bacon—perfect for warm-weather gatherings and meal prep.
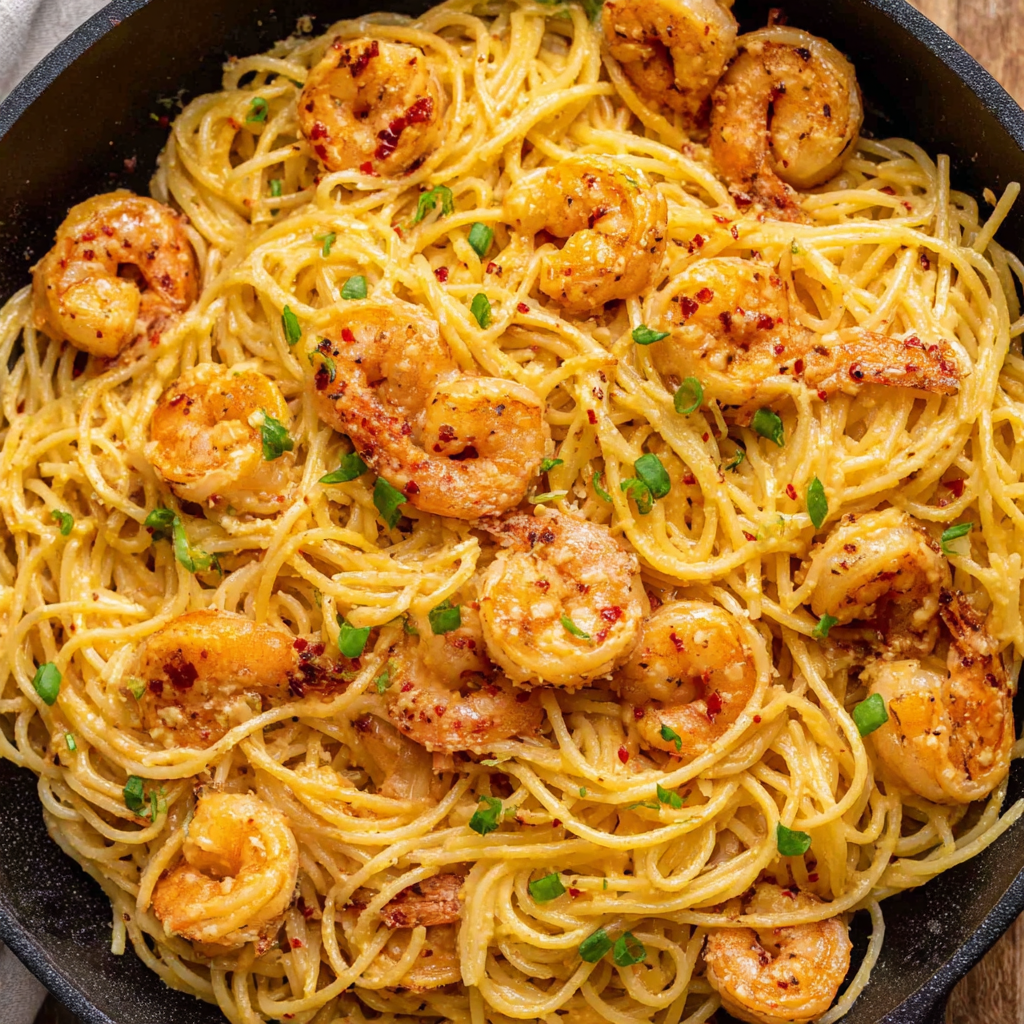
Bang Bang Shrimp Pasta
Tender sautéed shrimp tossed with spaghetti and a creamy sweet-spicy bang bang sauce—ready in under 30 minutes for a weeknight favorite.
Did You Make This?
Leave a comment & rating below or tag @royalrecipe on social media!
Rate This Recipe
Share This Recipe
Enjoyed this recipe? Share it with friends and family, and don't forget to leave a review!
Comments (1)
This recipe looks amazing! Can't wait to try it.
Comments are stored locally in your browser. Server comments are displayed alongside your local comments.
Hi, I'm Amara!
What's Popular

30-Minute Meals!
Join to receive our email series which contains a round-up of some of our quick and easy family favorite recipes.