>>
30-MINUTE MEALS! Get the email series now →


Light, delicate vanilla wafers made from scratch. Crisp edges, tender centers, and a pure vanilla flavor perfect for snacking or assembling into desserts.
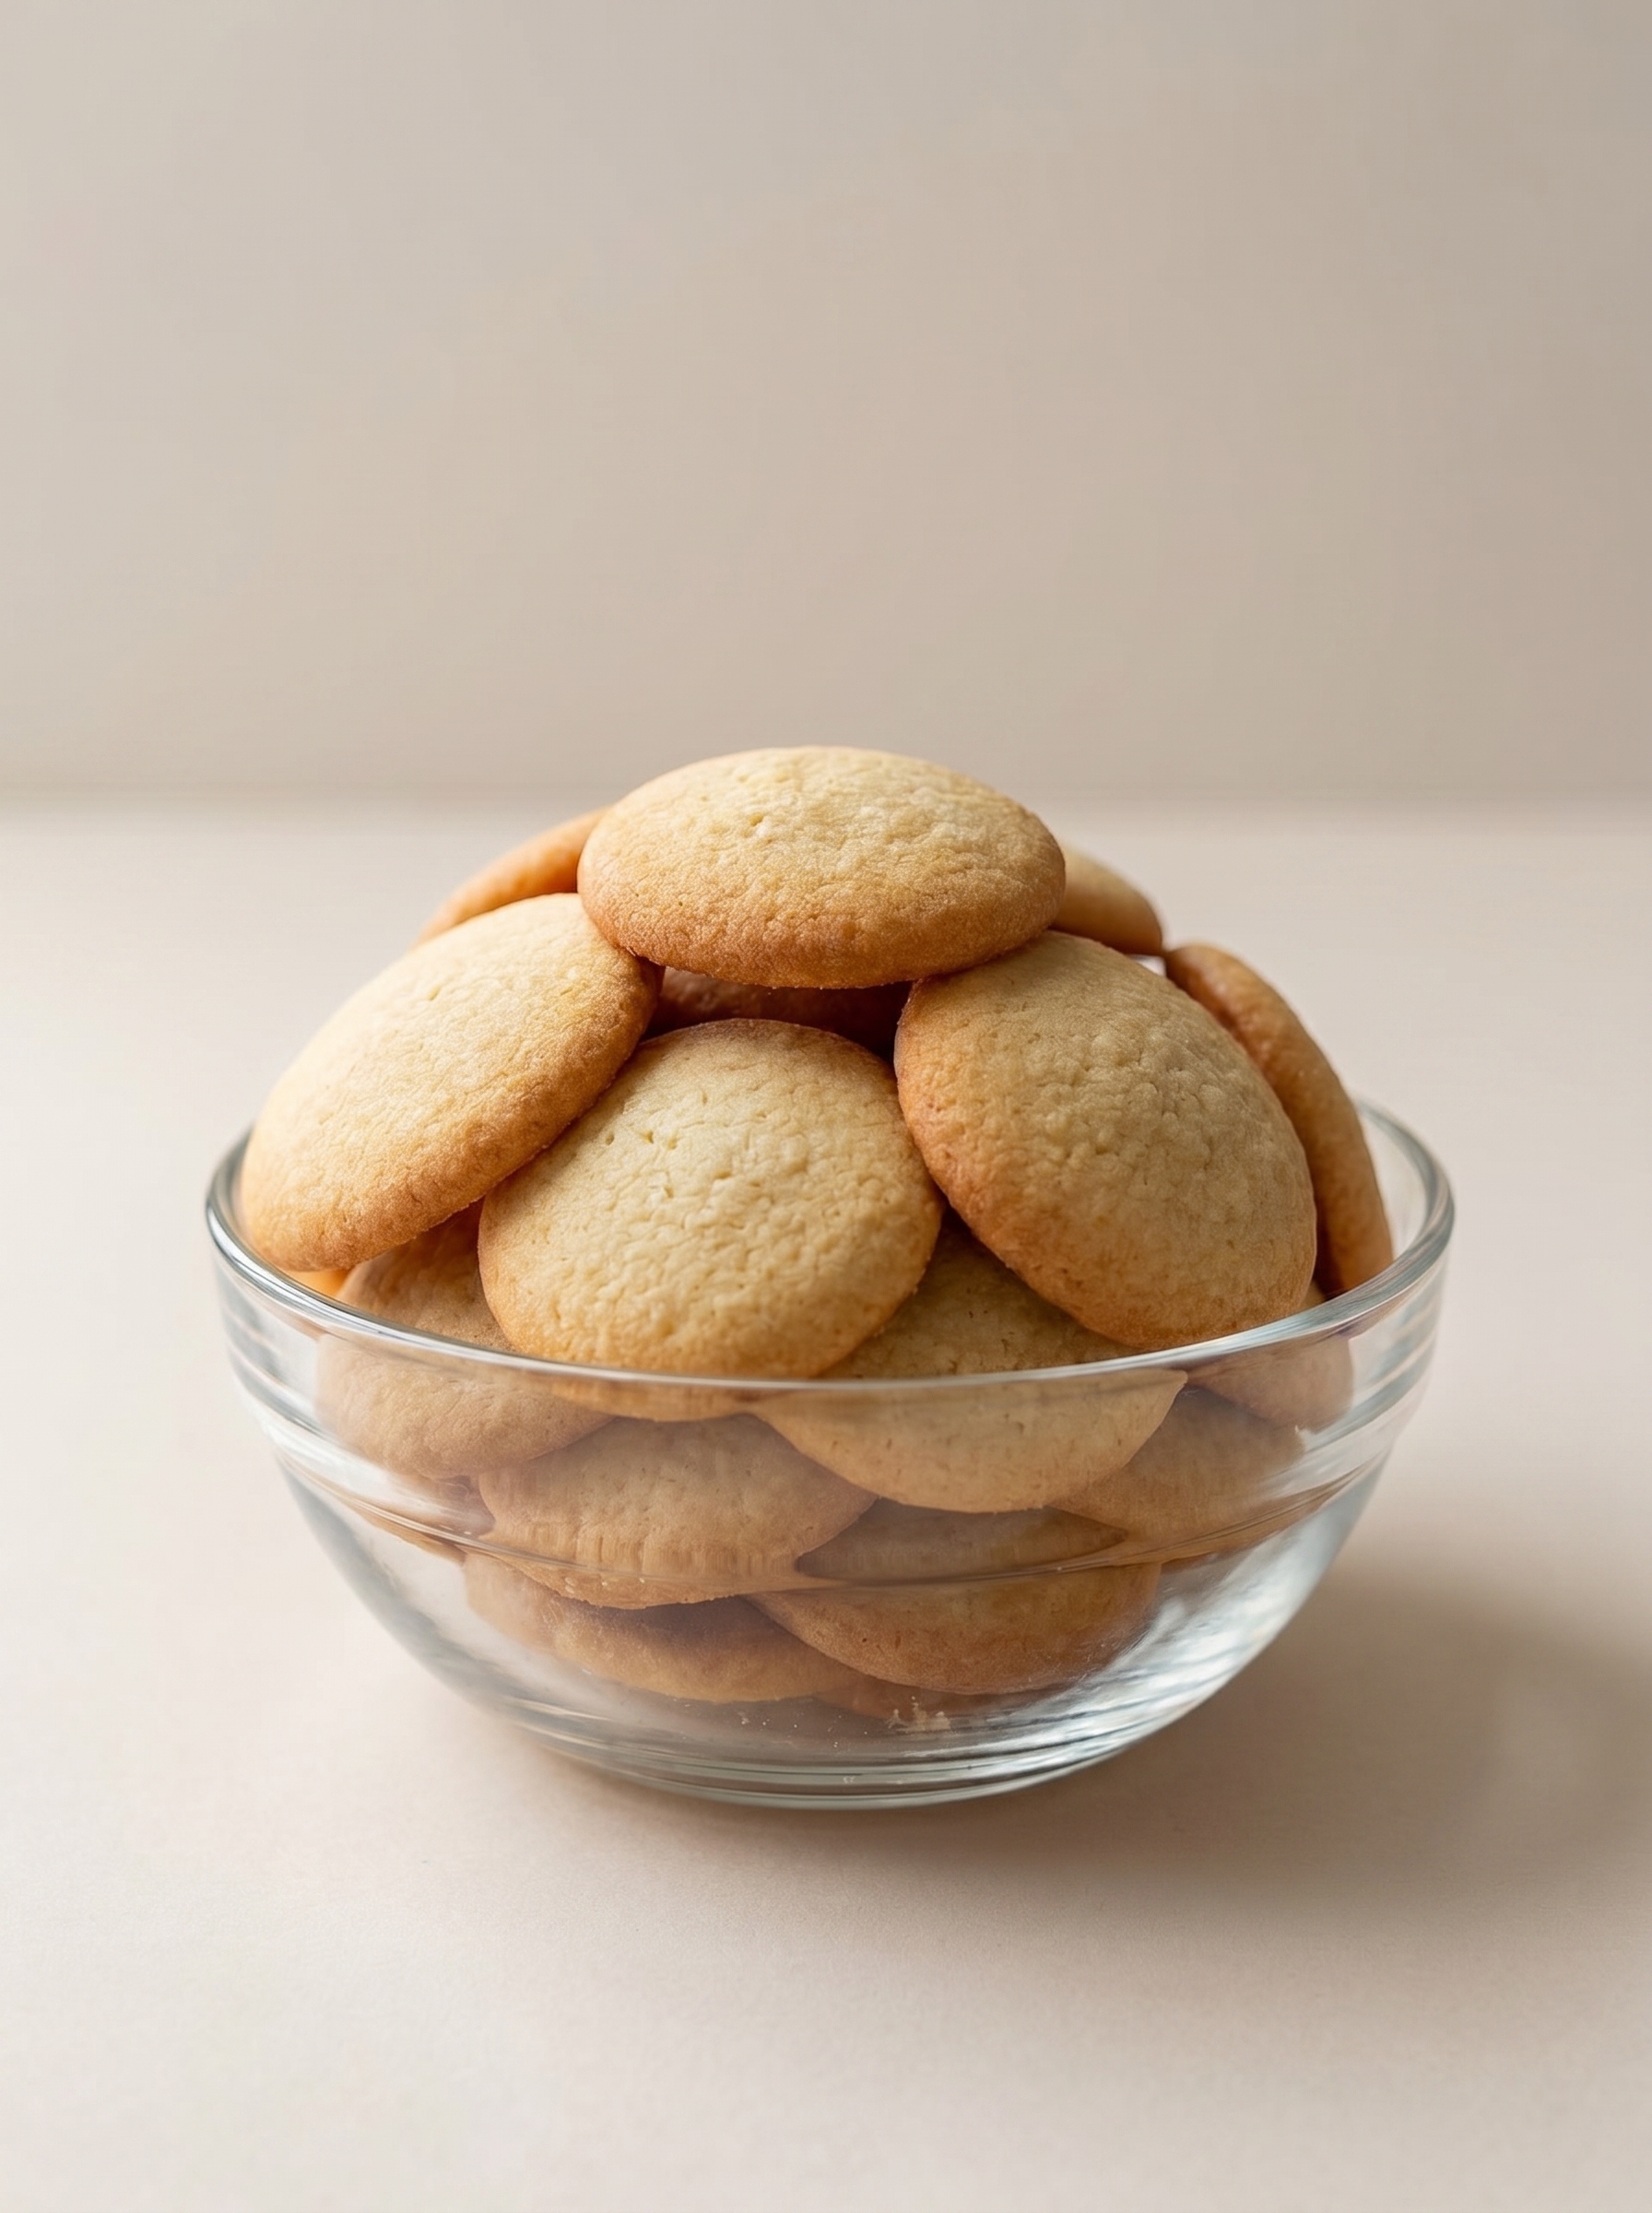
This recipe for homemade vanilla wafers is one of those discoveries that quietly became a family staple the moment I first tried it. I came across the idea on a rainy afternoon while craving something simple and nostalgic. The result was a batch of crisp, tea time friendly cookies that tasted cleaner and fresher than anything from a box. The texture is unforgettable, with edges that turn golden and just a hint of chew in the center.
I remember pulling the first tray from the oven and breathing in that warm, familiar vanilla aroma. My kids lined up at the counter asking if they could sample one while they were still warm. Those first bites were small but transformative, the kind of treat that makes you want to hide the rest of the pan so they do not disappear. This version is easy enough for a busy weeknight and elegant enough to use in layered desserts or with a scoop of ice cream.
My family tends to ask for these whenever someone mentions banana pudding or a fruit trifle. Over the years I have learned subtle tweaks that improve texture and flavor, such as allowing the butter to come fully to room temperature and briefly resting the dough in the refrigerator. Those little details make a big difference in the finished wafer.
My favorite part of making these is the smell that fills the kitchen it creates a welcoming atmosphere and becomes part of the memory when I share them with guests. Over time I learned how sensitive the texture is to butter temperature and to chilling time. Small adjustments yield consistently crisp and tender wafers.
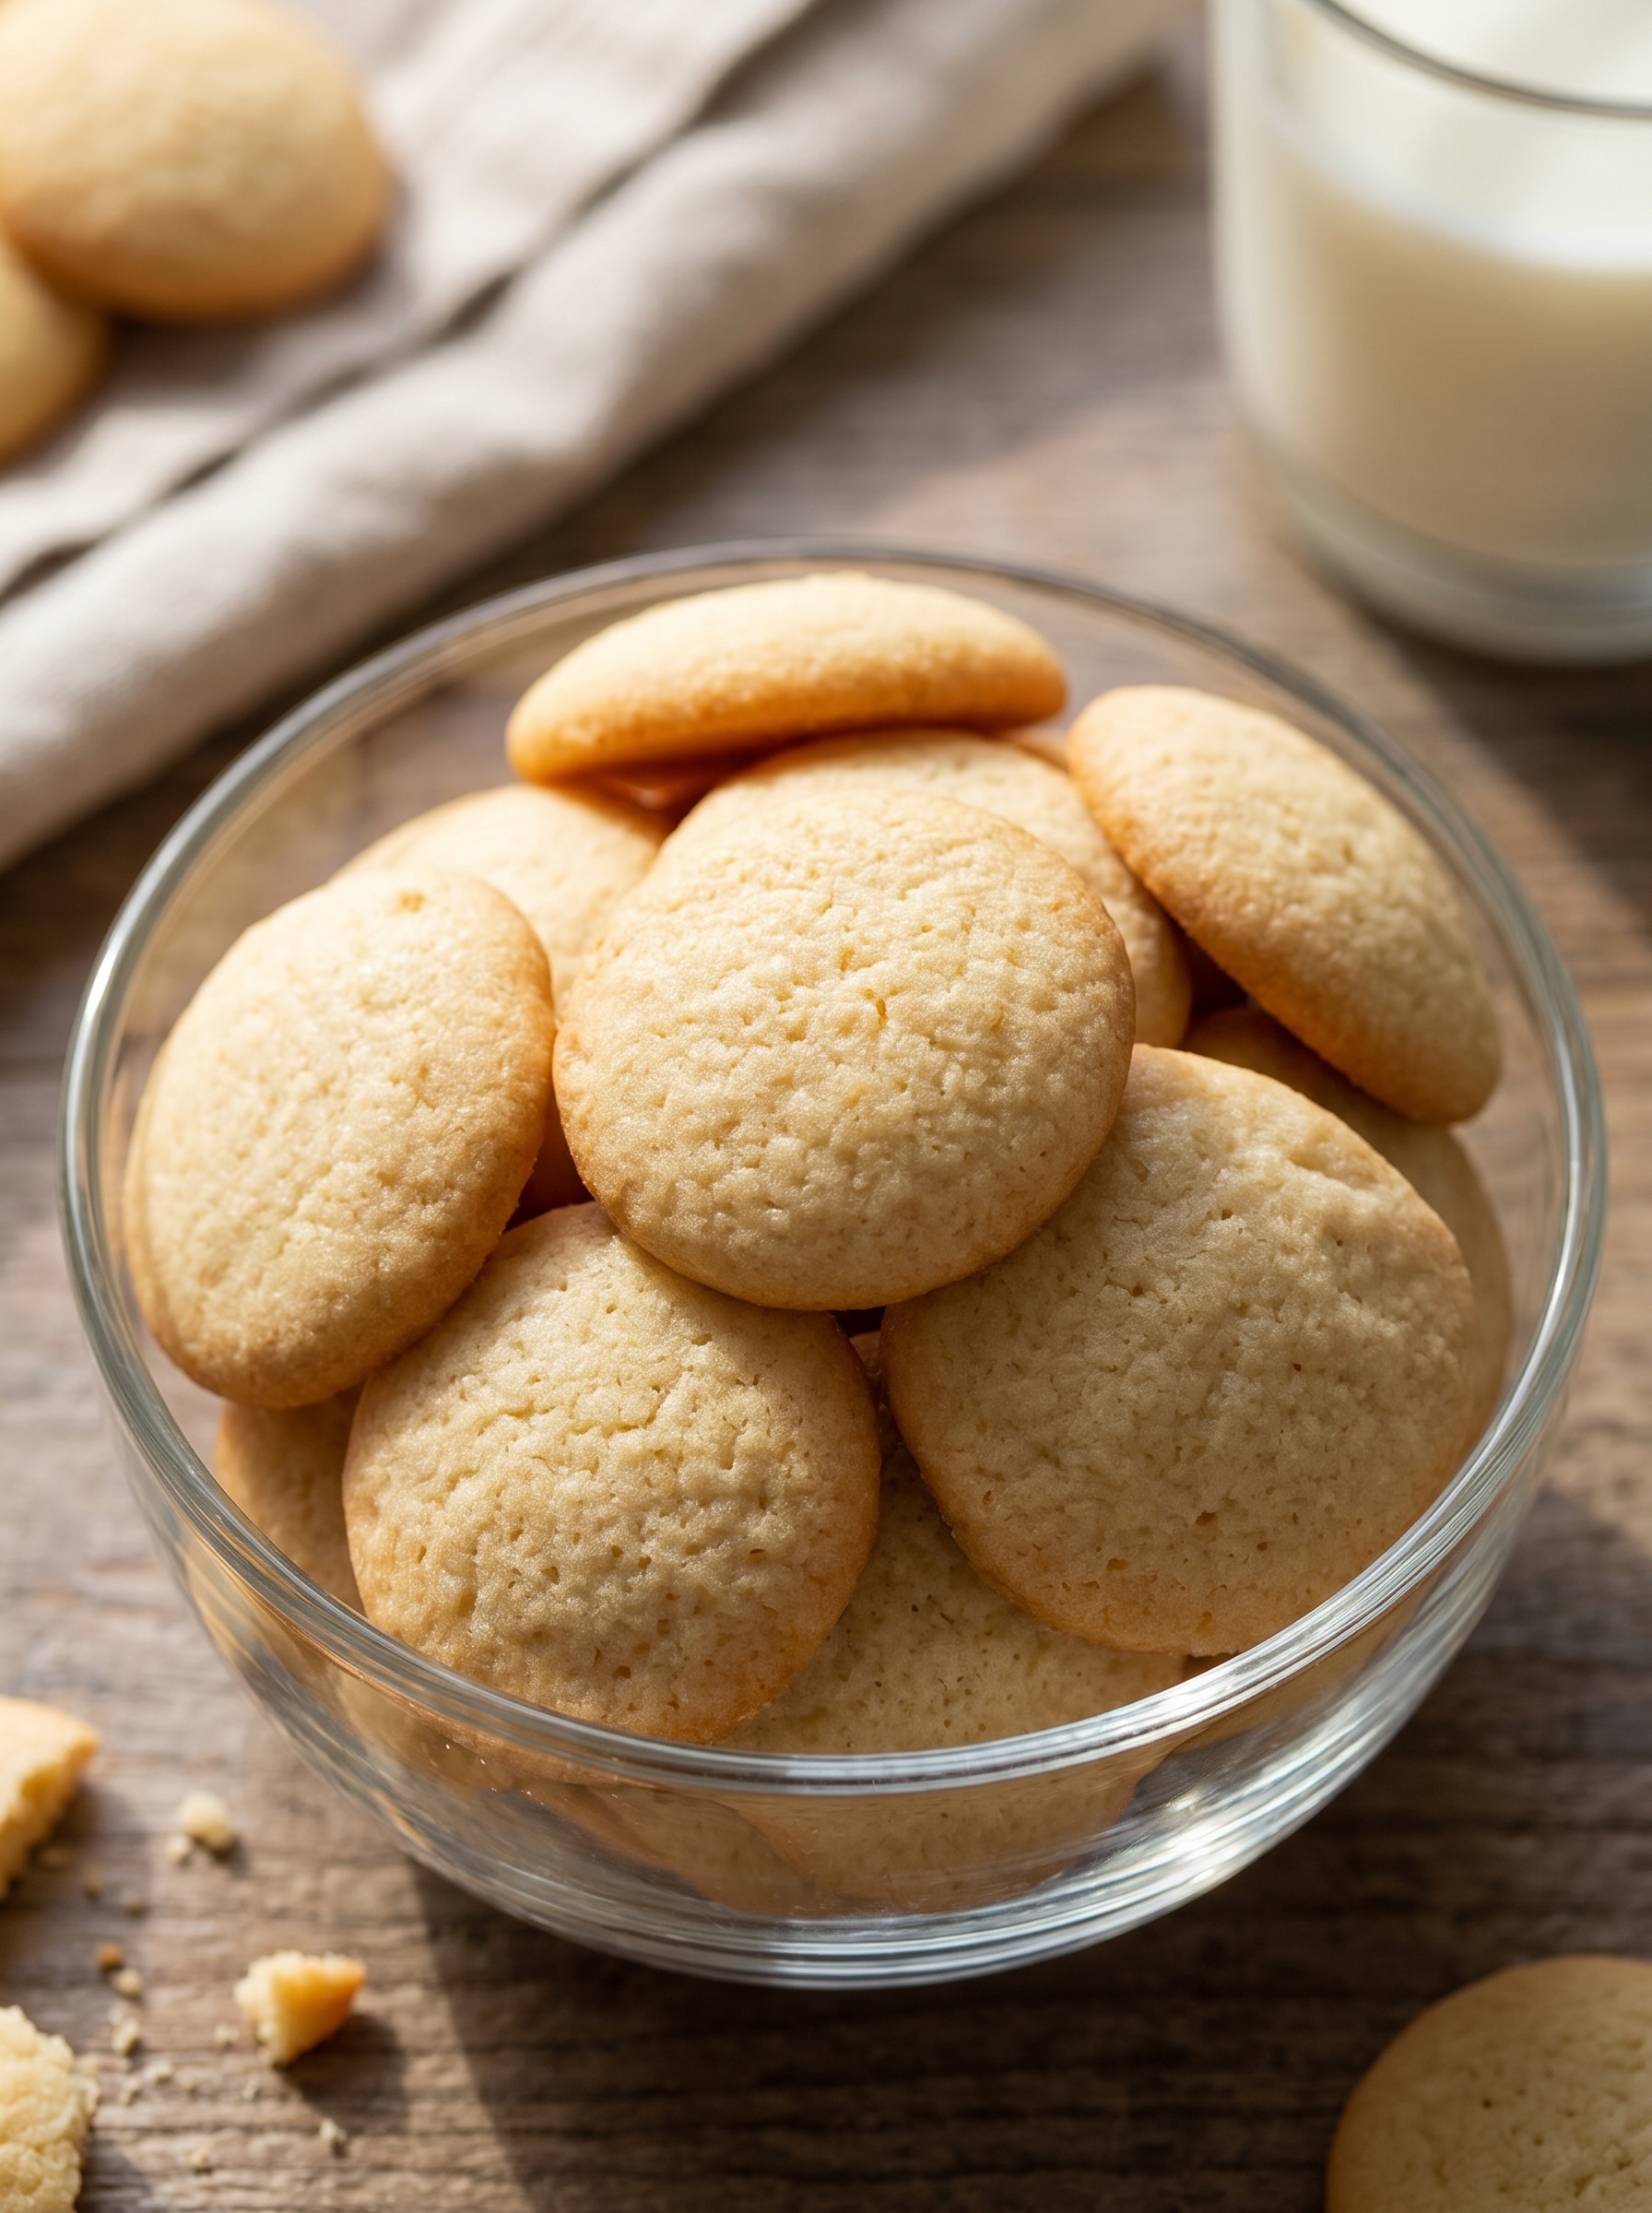
Allow the wafers to cool completely before storing in an airtight container to preserve crispness. Keep at room temperature away from heat and sunlight and they will stay fresh for up to one week. If you need to store longer, place them in a freezer friendly container or resealable bag and freeze for up to three months. To thaw, remove the number you need and leave on the counter for about thirty minutes. If they soften after thawing re crisp them in a low oven at two hundred fifty degrees Fahrenheit for five minutes while watching closely.
If you need to make adjustments, you can swap the all purpose flour for a one for one gluten free flour blend, though texture will vary and the wafers may be slightly more delicate. For a dairy free version replace the butter with a high quality vegan butter and use a plant based milk in place of whole milk. For lower sugar reduce the granulated sugar by two tablespoons and add a touch more powdered sugar for structure. Keep in mind these substitutions will change flavor and texture slightly so small test batches are wise.
Serve these wafers with coffee or tea as small afternoon treats. They are classic as a layer in banana pudding or a strawberry trifle and are lovely with whipped cream and fresh berries. For a simple dessert arrange them on a platter with slices of seasonal fruit and a scoop of vanilla ice cream. To dress them up, dip half of each wafer in melted chocolate and sprinkle with toasted nuts or flaky salt while the chocolate is still soft.
Small crisp vanilla cookies have a long place in American home baking, often used in chilled desserts. Mass produced versions have been popular for decades, but making them at home returns a purer vanilla essence and a fresher texture. They pair naturally with southern style puddings, layered desserts, and European influenced custards. This homemade take honors the nostalgic use while offering clean, simple ingredients and a handmade quality.
In spring and summer use these wafers in fruit based desserts such as lemon curd trifles or berry parfaits. For autumn try adding a quarter teaspoon of ground cinnamon or a half teaspoon of finely grated orange zest to the batter. During winter swap some vanilla for almond extract and serve alongside spiced creams. These small changes keep the base method intact while adapting the flavor profile for the season.
Portion batter into small dollops on a parchment lined sheet and freeze the unbaked scoops on a tray until firm then store in a resealable bag. When you want freshly baked wafers bake directly from frozen adding one to two minutes to the bake time. This approach yields warm cookies quickly with minimal effort. Label containers with the date and rotate older batches first for the best quality.
Readers have told me they used this method to make wedding favor tins and that the wafers held up nicely during transport. One neighbor made the wafers for a church bake sale and said customers returned for more because the texture reminded them of childhood treats. At home I often assemble a simple banana pudding with these wafers when we have guests and it has become a requested dessert due to the delicate crunch and clear vanilla flavor.
These wafers are a small, joyful project that yield a timeless result. I encourage you to try a batch, notice how small details change the outcome, and then make these little cookies your own.
Use room temperature butter and egg for smoother, well aerated batter.
Chill the batter briefly so dollops hold shape and do not spread too much.
Measure flour by spooning into the cup and leveling for accurate amounts.
Rotate the baking sheet halfway through for even coloring.
This nourishing homemade vanilla wafers recipe is sure to be a staple in your kitchen. Enjoy every moist, high protein slice — it is perfect for breakfast or as a wholesome snack any time.
Yes. Let the wafers cool completely so they crisp up. Store in an airtight container at room temperature for up to one week.
Freeze baked wafers in a single layer then stack with parchment between layers for up to three months.
This Homemade Vanilla Wafers recipe makes perfectly juicy, tender, and flavorful steak every time! Serve with potatoes and a side salad for an unforgettable dinner in under 30 minutes.
Preheat the oven to 350 degrees Fahrenheit and position the rack in the center to ensure even baking.
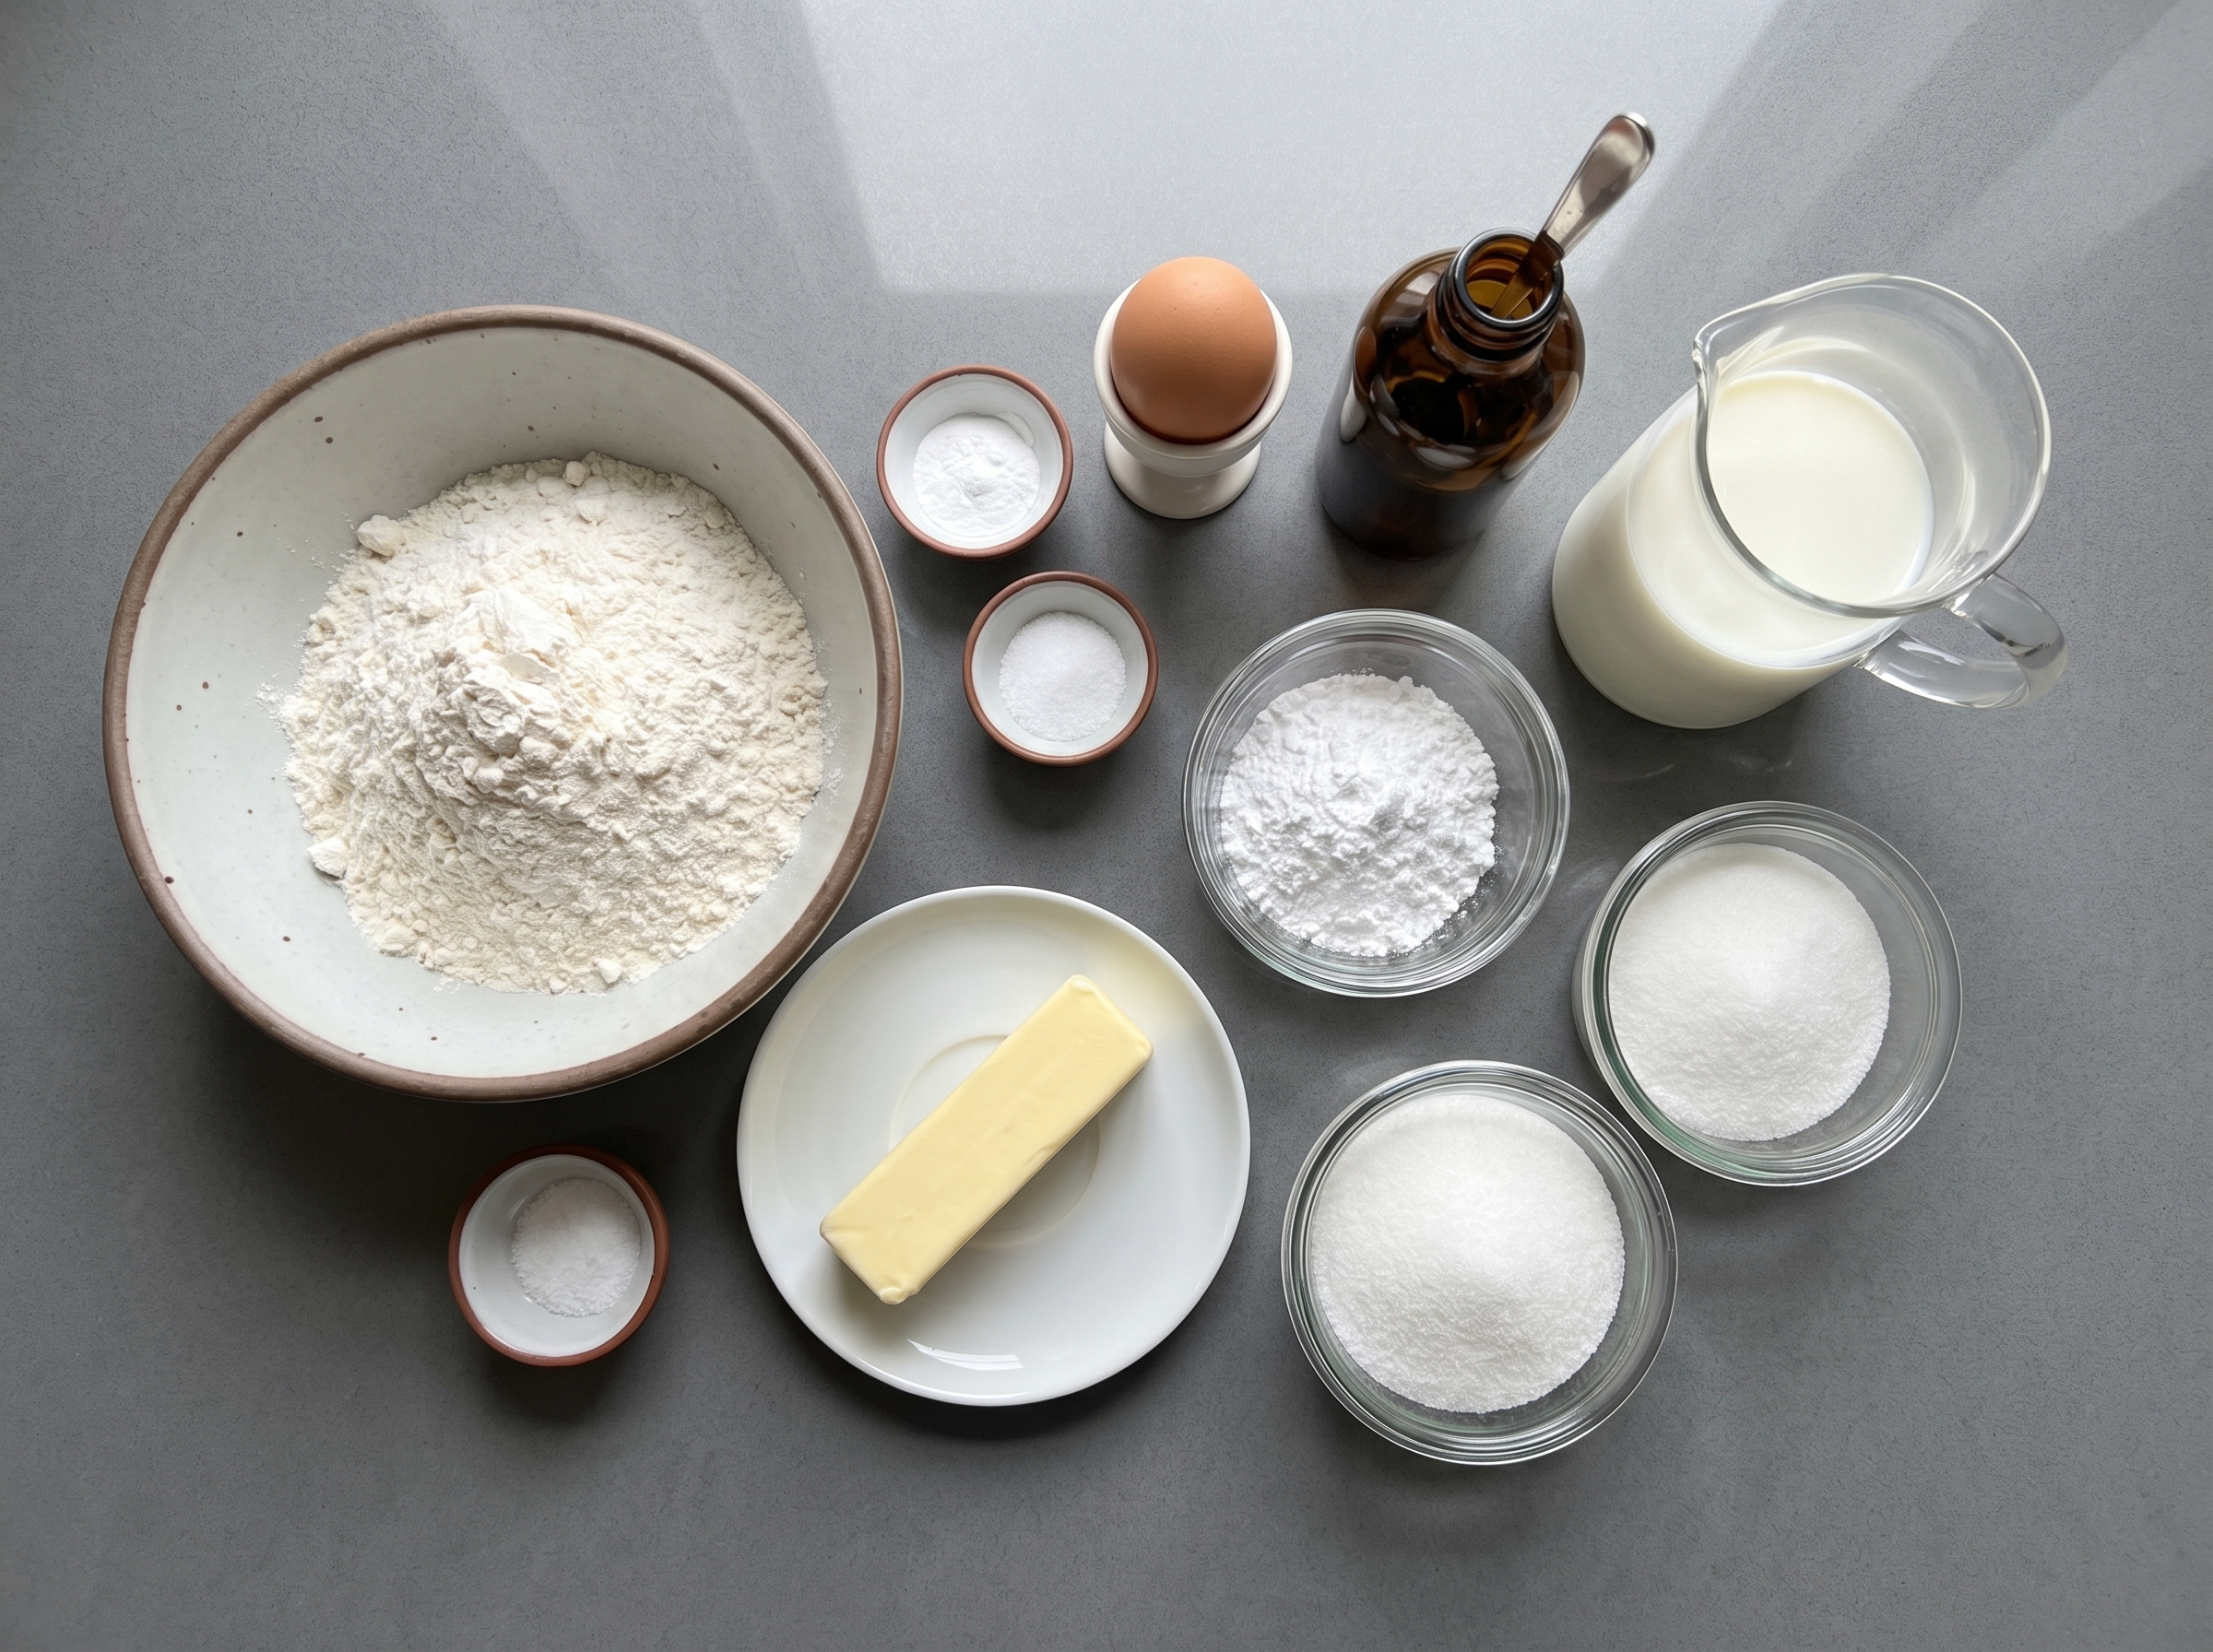
Whisk together the all purpose flour, baking powder, and kosher salt in a medium bowl and set aside.
Beat the softened unsalted butter with the confectioners sugar and granulated sugar on medium speed until light and fluffy, about two minutes, scraping the bowl as needed.
Add the room temperature egg, vanilla extract, and whole milk then blend briefly until smooth and slightly aerated, about thirty seconds.
Mix in the dry ingredients on low speed until just combined to avoid over developing gluten.
Cover and chill the batter in the refrigerator for ten to fifteen minutes so it firms slightly for scooping.
Place half teaspoon sized dollops about one inch apart on a parchment lined baking sheet using a small scoop or teaspoon.
Bake for twelve to fifteen minutes rotating the pan halfway through. Remove when edges are pale golden then cool completely on a wire rack.
Last Step: Please leave a rating and comment letting us know how you liked this recipe! This helps our business to thrive and continue providing free, high-quality recipes for you.
Leave a comment & rating below or tag
@royalrecipe on social media!

Easy homemade thin-crust three-cheese spicy chicken and jalapeño pie — a flavor-packed pizza with a satisfying kick, perfect for pizza night or game day.

A bright, creamy BLT pasta salad tossed with basil pesto, fresh greens, cherry tomatoes, and crisp bacon—perfect for warm-weather gatherings and meal prep.

Tender sautéed shrimp tossed with spaghetti and a creamy sweet-spicy bang bang sauce—ready in under 30 minutes for a weeknight favorite.
Leave a comment & rating below or tag @royalrecipe on social media!
Enjoyed this recipe? Share it with friends and family, and don't forget to leave a review!
This recipe looks amazing! Can't wait to try it.
Comments are stored locally in your browser. Server comments are displayed alongside your local comments.
Join to receive our email series which contains a round-up of some of our quick and easy family favorite recipes.