>>
30-MINUTE MEALS! Get the email series now →


Creamy, old-fashioned chocolate popsicles made at home with real dark chocolate and a silky milk-and-cream base. Ready to freeze in minutes and perfect for year-round indulgence.
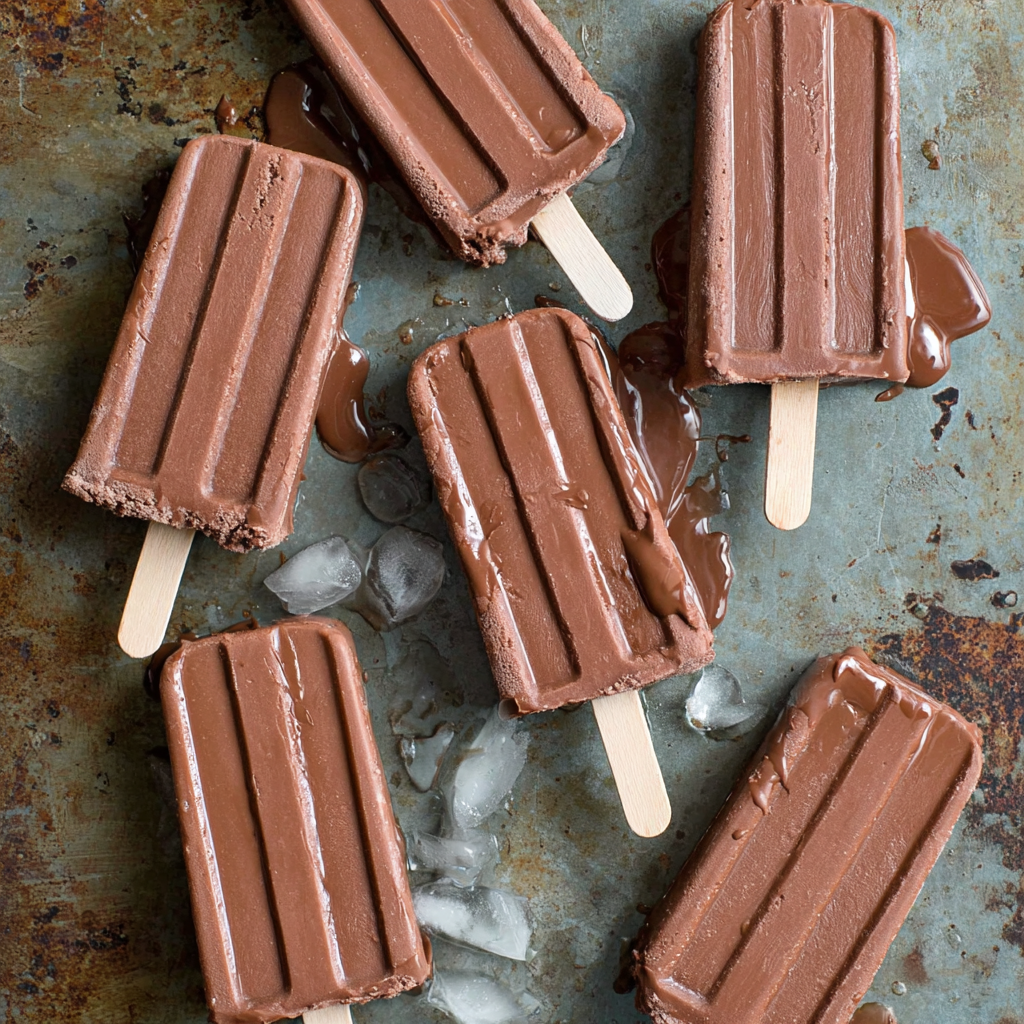
This batch of fudgesicles has been my little kitchen secret for years: a creamy, chocolate-forward frozen treat that reminds me of summer afternoons spent with my grandmother, but refined with deeper chocolate notes and a touch of vanilla. I first developed this version on a rainy weekend when I wanted the nostalgia of store-bought chocolate popsicles but with richer texture and cleaner ingredients. The result was unforgettable — the pops are dense and velvety, not icy, with just the right balance of sweetness and bittersweet chocolate depth.
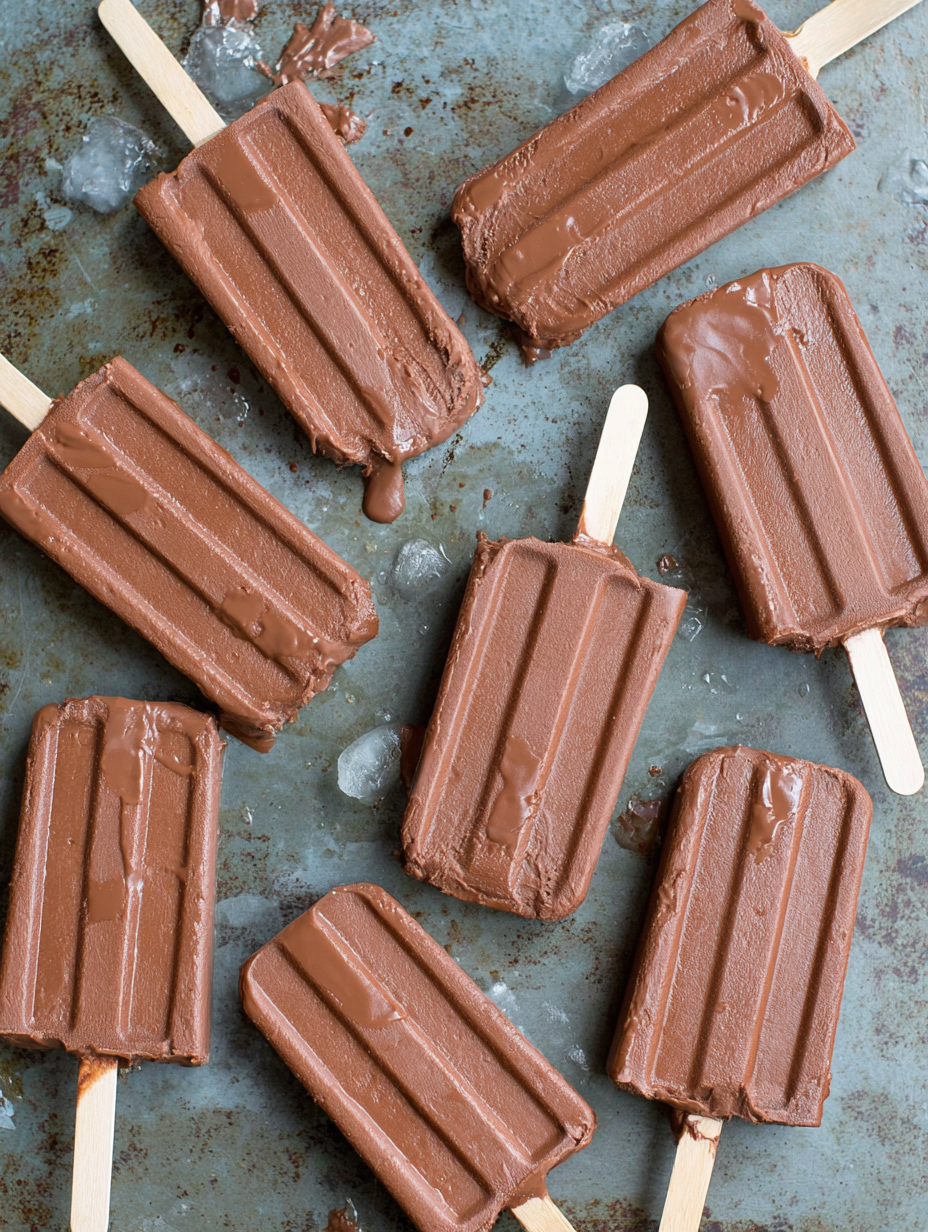
What makes these special is the simple technique that creates that luscious, creamy mouthfeel: a brief heating step and a cornstarch slurry that slightly thickens the base so the finished pops stay smooth after freezing. Whether you make them for kids, for a backyard gathering, or as a small indulgence after dinner, they deliver the familiar comfort of childhood with the satisfaction of homemade flavor. Keep a stash in your freezer and you’ll find they disappear faster than you expect.
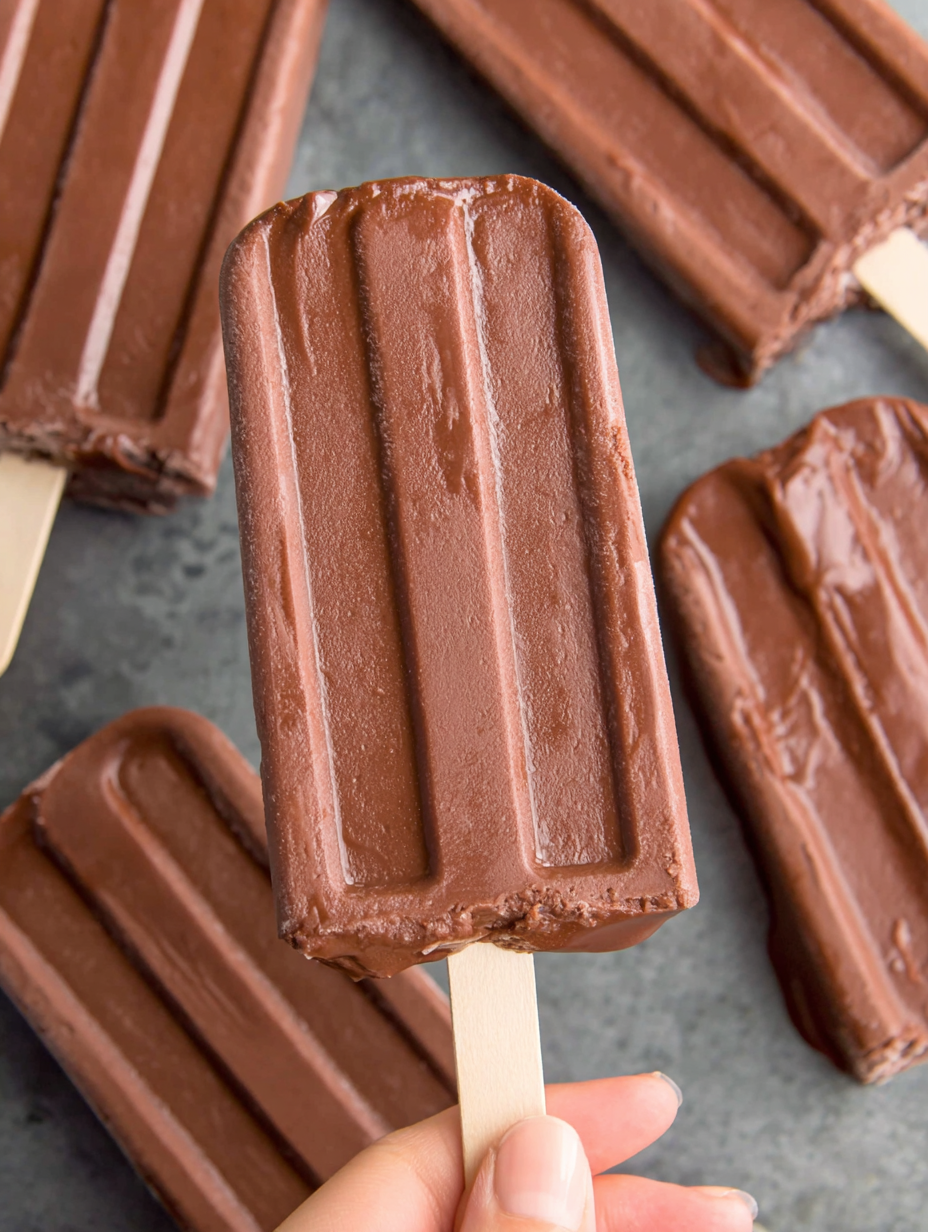
From the first time I served these at a small family picnic, they became a requested treat. My niece dubbed them "grown-up chocolate on a stick," and friends have asked for the recipe at potlucks because they freeze solid but slice cleanly away from the mold when warmed briefly under running water.
My favorite part of these pops is how they bring back childhood memories while tasting like something a little more refined. Friends often tell me they prefer these to commercial alternatives because the chocolate is real and the texture is indulgent. I love how a five-minute prep leads to a treat everyone asks for again and again — they’re reliably comforting and surprisingly sophisticated.
Store fully frozen fudgesicles in a single layer on a tray for an hour, then transfer to a freezer-safe zip-top bag or airtight container to avoid freezer burn. Press a piece of parchment between layers to prevent sticking. Properly stored they keep best quality for about 1 month; after that, flavor and texture decline. When ready to serve, run the molds under warm water for 5–10 seconds to ease removal and prevent melting while you plate.
To make a dairy-free version, substitute equal parts full-fat canned coconut milk and another neutral plant-based milk, and use dairy-free dark chocolate. For a lighter pop, replace half the cream with more whole milk. To reduce sugar, cut the white sugar to 1 tablespoon and taste before pouring; texture may be slightly firmer. If you swap cornstarch for arrowroot, use a 1:1 ratio and add it off heat to avoid a grainy texture.
Serve plain for a classic treat or dust lightly with cocoa before serving for an elegant finish. For a party, present on a platter lined with parchment and garnish with chopped toasted nuts, flaky sea salt, or a drizzle of warmed chocolate. They pair beautifully with espresso for an adult dessert or with fresh berries for a brighter contrast. Use mini molds for bite-sized party favors that guests can enjoy in one or two bites.
The idea of frozen chocolate on a stick dates back decades in American home kitchens and commercial brands, but homemade versions have long been a summer staple. In many households, popsicles were a creative reuse of leftover custard or pudding bases. This version leans on custard techniques — gentle heating and thickening — to bridge classic American frozen novelties and European-style frozen custards, giving the pops their dense, velvety feel.
In summer, add a thin layer of crushed fresh berries into the molds before pouring the chocolate base for a fruity ribbon. In autumn and winter, stir in 1 teaspoon of cinnamon and a pinch of nutmeg for a spiced fudgesicle, or add a splash of peppermint extract around the holidays. For a spring twist, blend in a tablespoon of orange zest with the chocolate for a bright citrus finish.
Make a double batch and freeze extras for quick desserts or snacks. Label bags with the date and flavor. If you plan to transport, pack frozen pops in a cooler with ice packs to maintain shape. For portable snacking, wrap each pop in parchment before putting it in a bag so they won’t stick together and are easy to grab-and-go.
These fudgesicles are small joys — simple to prepare, deeply satisfying, and endlessly adaptable. Make them your own by experimenting with chocolate percentages, swapping milks, or adding swirls of nut butter. Share them at gatherings, tuck a few into lunches, or keep them for quiet evenings when you want a little chocolate comfort. Enjoy!
Sift cocoa powder before adding to the milk to avoid lumps and ensure a silky base.
Chill the mixture briefly in a shallow bowl to speed up cooling before pouring into molds.
Use high-quality dark chocolate (60–70% cacao) for balanced sweetness and depth.
Tap molds gently on the counter after filling to pop any trapped air bubbles.
This nourishing homemade fudgesicles recipe is sure to be a staple in your kitchen. Enjoy every moist, high protein slice — it is perfect for breakfast or as a wholesome snack any time.
Run warm water over the outside of the popsicle mold for a few seconds until the pops release easily.
Freeze for at least 4 hours; overnight yields the firmest texture.
This Homemade Fudgesicles recipe makes perfectly juicy, tender, and flavorful steak every time! Serve with potatoes and a side salad for an unforgettable dinner in under 30 minutes.
Combine heavy cream and whole milk in a medium saucepan and warm over medium-low heat until hot and steamy but not boiling. Aim for small bubbles at the edge and an internal temperature around 160–170°F.
Whisk 2 tablespoons of the warm milk into 2 tablespoons cornstarch in a small bowl until smooth to avoid lumps, then return to the pan.
Add both sugars, sifted cocoa powder, chopped dark chocolate, vanilla and salt. Stir constantly over low heat until chocolate melts and mixture thickens slightly, about 2–3 minutes.
Remove from heat and let the base cool 10–15 minutes, stirring occasionally so a skin does not form. Transfer to a shallow bowl to speed cooling if needed.
Whisk briefly to ensure smoothness, pour into popsicle molds leaving headspace, tap molds to release air bubbles, insert sticks and freeze.
Freeze at least 4 hours or overnight. To unmold, run warm water over the exterior of the molds for a few seconds and gently pull out the popsicles.
Last Step: Please leave a rating and comment letting us know how you liked this recipe! This helps our business to thrive and continue providing free, high-quality recipes for you.
Leave a comment & rating below or tag
@royalrecipe on social media!

Easy homemade thin-crust three-cheese spicy chicken and jalapeño pie — a flavor-packed pizza with a satisfying kick, perfect for pizza night or game day.

A bright, creamy BLT pasta salad tossed with basil pesto, fresh greens, cherry tomatoes, and crisp bacon—perfect for warm-weather gatherings and meal prep.

Tender sautéed shrimp tossed with spaghetti and a creamy sweet-spicy bang bang sauce—ready in under 30 minutes for a weeknight favorite.
Leave a comment & rating below or tag @royalrecipe on social media!
Enjoyed this recipe? Share it with friends and family, and don't forget to leave a review!
This recipe looks amazing! Can't wait to try it.
Comments are stored locally in your browser. Server comments are displayed alongside your local comments.
Join to receive our email series which contains a round-up of some of our quick and easy family favorite recipes.
