
Homemade Dark Chocolate

Learn how to make small batch dark chocolate at home using simple ingredients. Easy to customize, beginner friendly, and perfect for gifting or snacking.
This homemade dark chocolate has become my small kitchen ritual and a favorite gift at holiday time. I discovered this simple formula during a weekend when I wanted a better tasting bar than what I could find at the store. The result is an intensely flavoured dark chocolate with a silky mouthfeel and just the right balance of bitter and sweet. It melts smoothly on the tongue and holds a satisfying snap when chilled properly. Making it at home lets you control the sweetness and choose high quality cacao butter and cocoa powder which transforms the flavor.
I first made this recipe on a rainy afternoon and the whole house filled with a rich cocoa aroma that made neighbors ask what I was baking. It is forgiving enough for a beginner, and also rewarding for someone who likes to experiment. The texture depends on the speed of melting and cooling and I share those details below. My family prefers chopped almonds and a few dried cranberries pressed into the surface for color and contrast. After a few test batches I landed on the proportions in this write up and now I make it whenever I crave a simple, pure chocolate experience.
Why You'll Love This Recipe
- This comes together in under 45 minutes from start to finish and requires only four pantry items plus optional add ins, making it ideal for a quick homemade treat.
- You control the sweetness by adjusting honey or switching to maple syrup for a vegan option, so you can make it as dark and bitter or as mellow as you like.
- Small batch friendly so you can experiment with inclusions such as chopped nuts or dried fruit without committing to a large amount.
- No tempering equipment required for a good result when you chill the bars properly, which saves time and keeps the process beginner friendly.
- Uses widely available ingredients like cacao butter and cocoa powder and accepts many substitutions so you can adapt to what is in your pantry.
In my kitchen this formula is my go to when I want a gift that feels handmade. Friends often tell me it tastes professional. I love that the recipe highlights clean chocolate flavor while allowing room for creativity with textures and mix ins.
Ingredients
- Cacao butter 1/2 cup Use food grade cacao butter such as an organic brand or one from a reputable chocolatier supplier. It provides the structure and melt point so choose a pale cream solid for best flavor and consistency.
- Raw honey or maple syrup 1/3 cup Honey gives a glossy finish and floral sweetness. For a vegan bar use maple syrup. Start with the stated amount and adjust after tasting while the chocolate is warm.
- Cacao powder 1/2 cup Use dutch processed or natural unsweetened cocoa powder depending on preference. Dutch processed is smoother and less acidic, natural powder has brighter chocolate notes.
- Sea salt pinch Salt lifts the chocolate flavor and balances sweetness. Use a fine sea salt so it incorporates evenly.
- Optional add ins Chopped almonds, cashews or peanuts and chopped dried cranberries work beautifully. Toast nuts lightly for extra depth. Add about 1/3 to 1/2 cup total of mix ins depending on how studded you like the bars.
Instructions
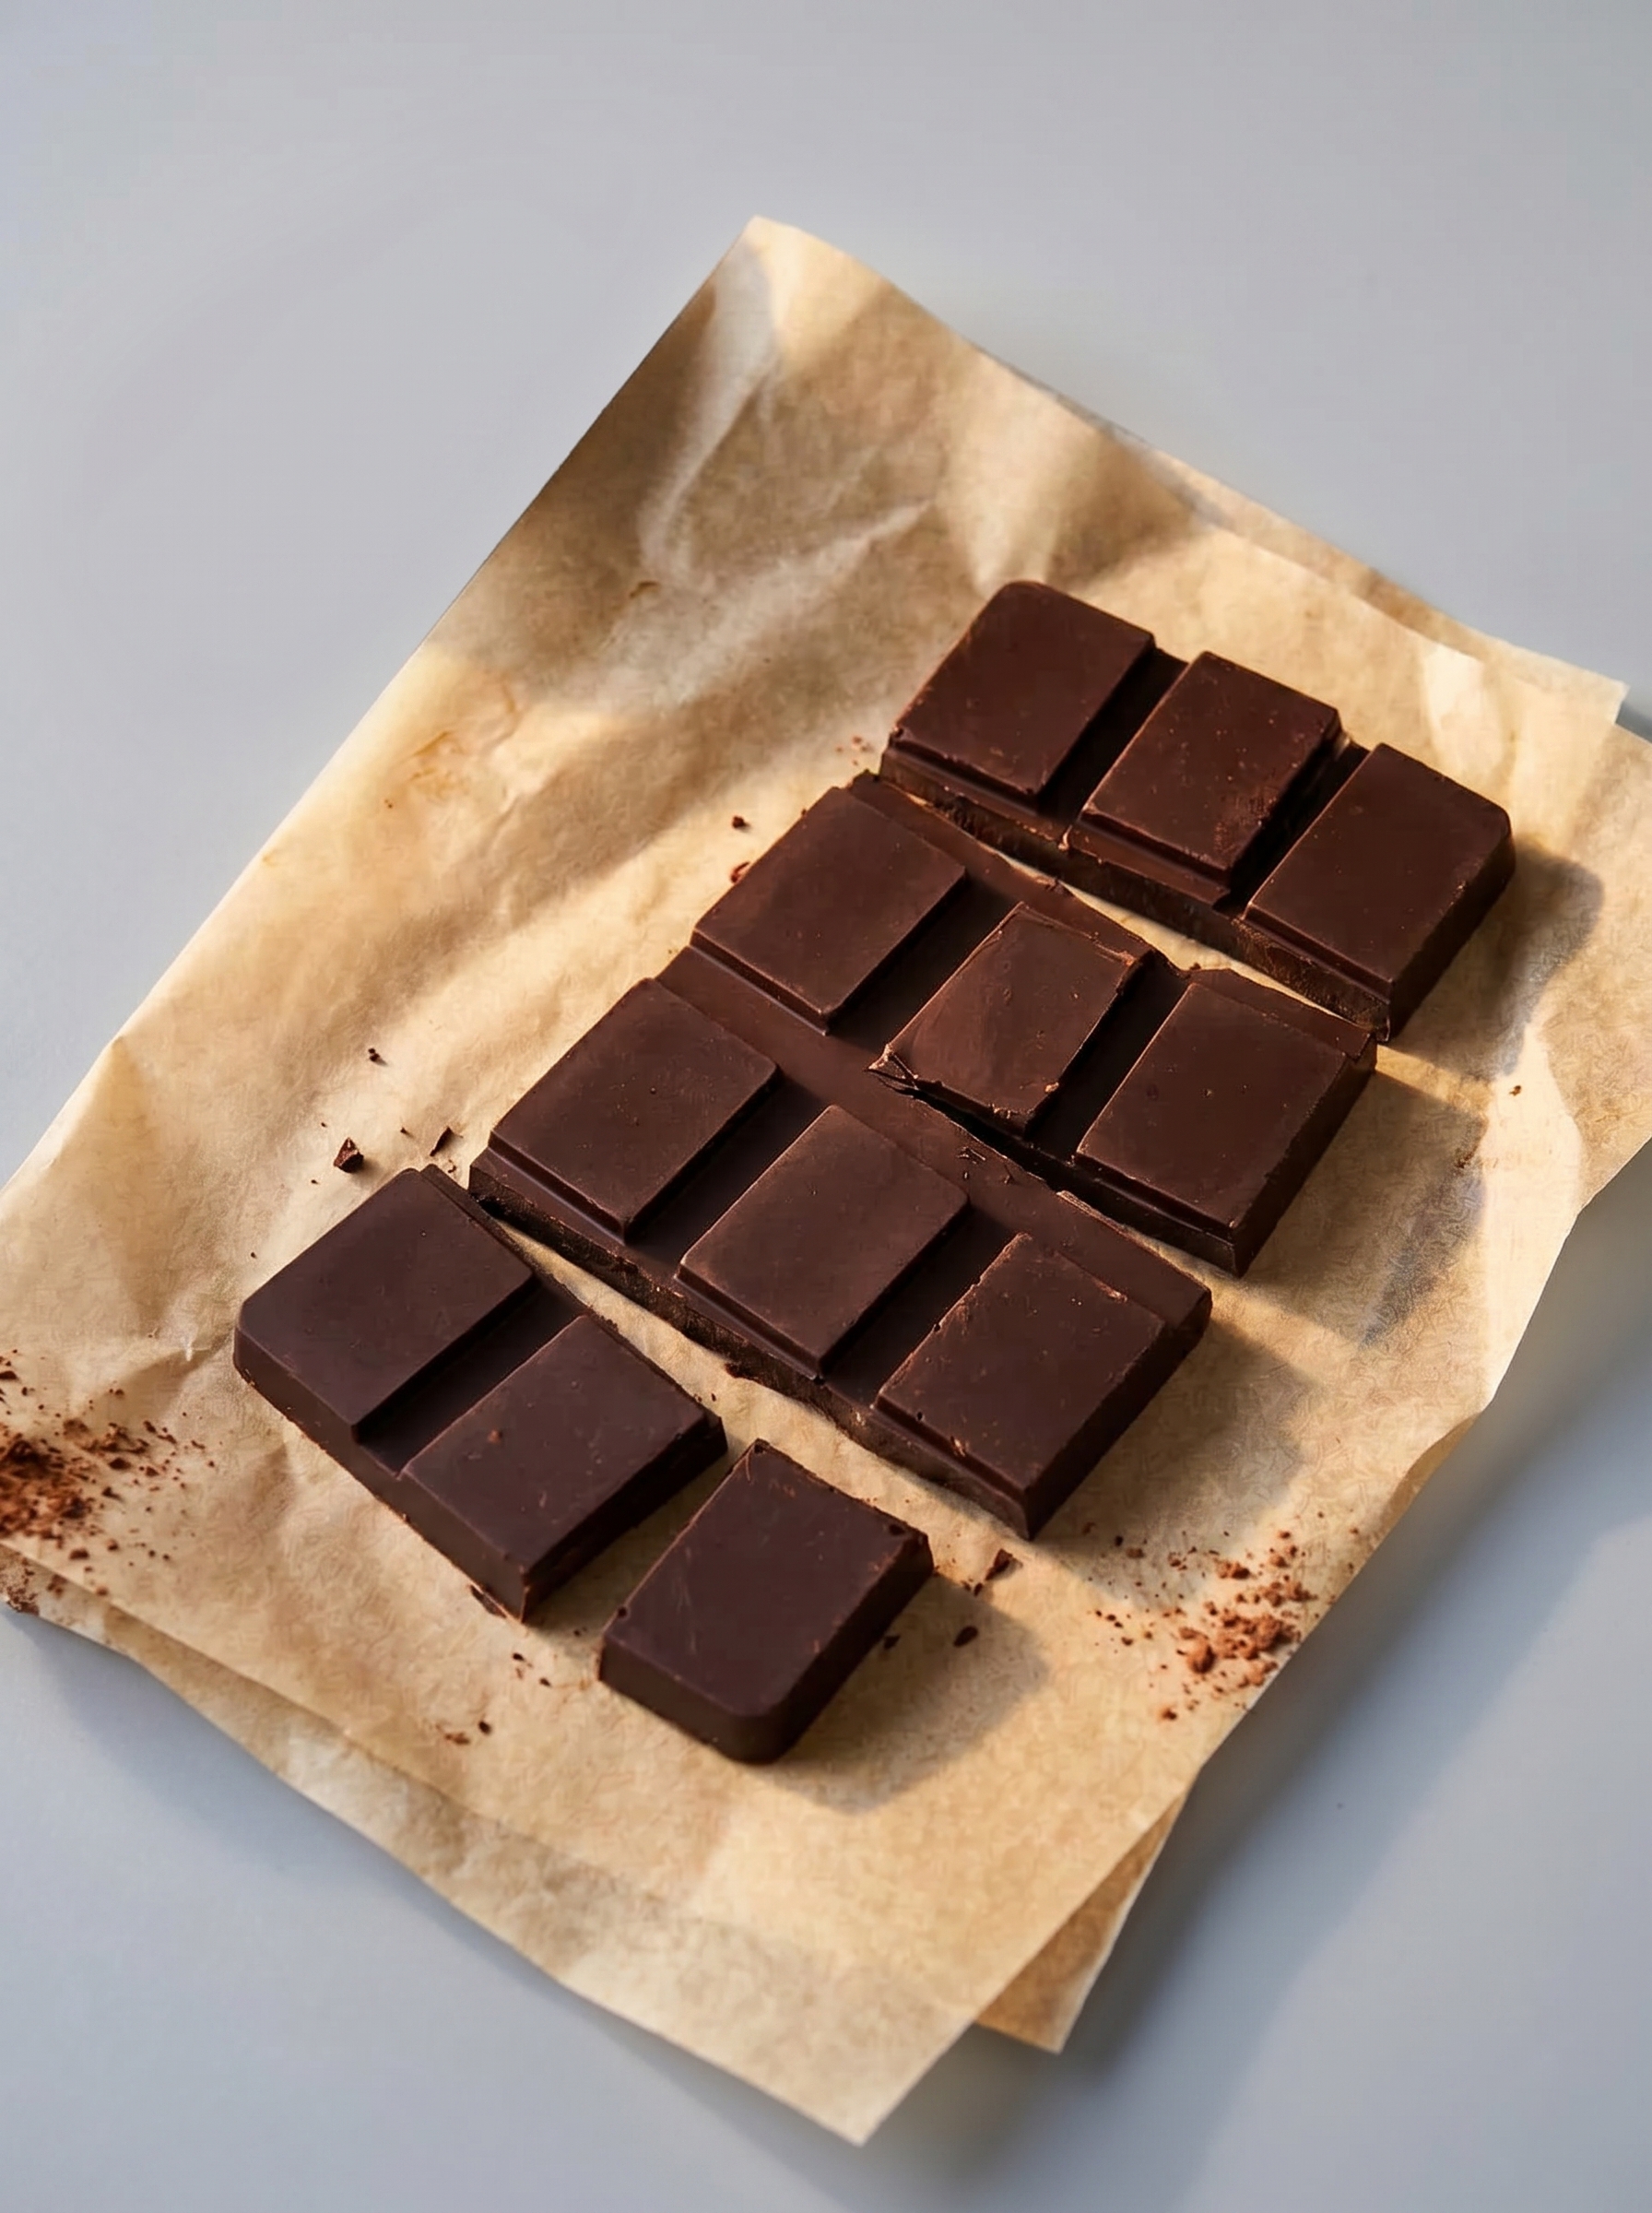
Prepare any add ins and mold Finely chop nuts or dried fruit and set aside. Place them into chosen sections of a chocolate bar mold or line a shallow baking dish with parchment for a slab. Ensuring the mold sits on a flat surface such as a cutting board makes later transfer easier. Melt the cacao butter gently Use a double boiler or a heat proof stainless steel bowl over a saucepan with an inch of simmering water. Keep the heat moderate and stir occasionally until the cacao butter just melts. Avoid boiling the water or overheating the fat which can cause grainy texture. Incorporate sweetener and cocoa Remove the bowl from the heat then whisk in the honey or maple syrup until fully combined. Add the cacao powder and salt in two additions whisking to a smooth, glossy mixture. Taste a small spoonful and adjust sweetness if desired. The mixture should be pourable and shiny. Fill the mold and chill Place the mold on a flat cutting board and pour evenly among sections. If you have leftover chocolate pour it into a parchment lined container for a sheet. Transfer to the refrigerator and chill for at least 30 minutes until fully set and firm to the touch. Unmold and store Remove bars by gently pulling the sides of the mold away to release them. Store in an airtight container in the refrigerator for up to two weeks or freeze for longer storage. Bring to near fridge temperature before serving to allow the flavor to bloom.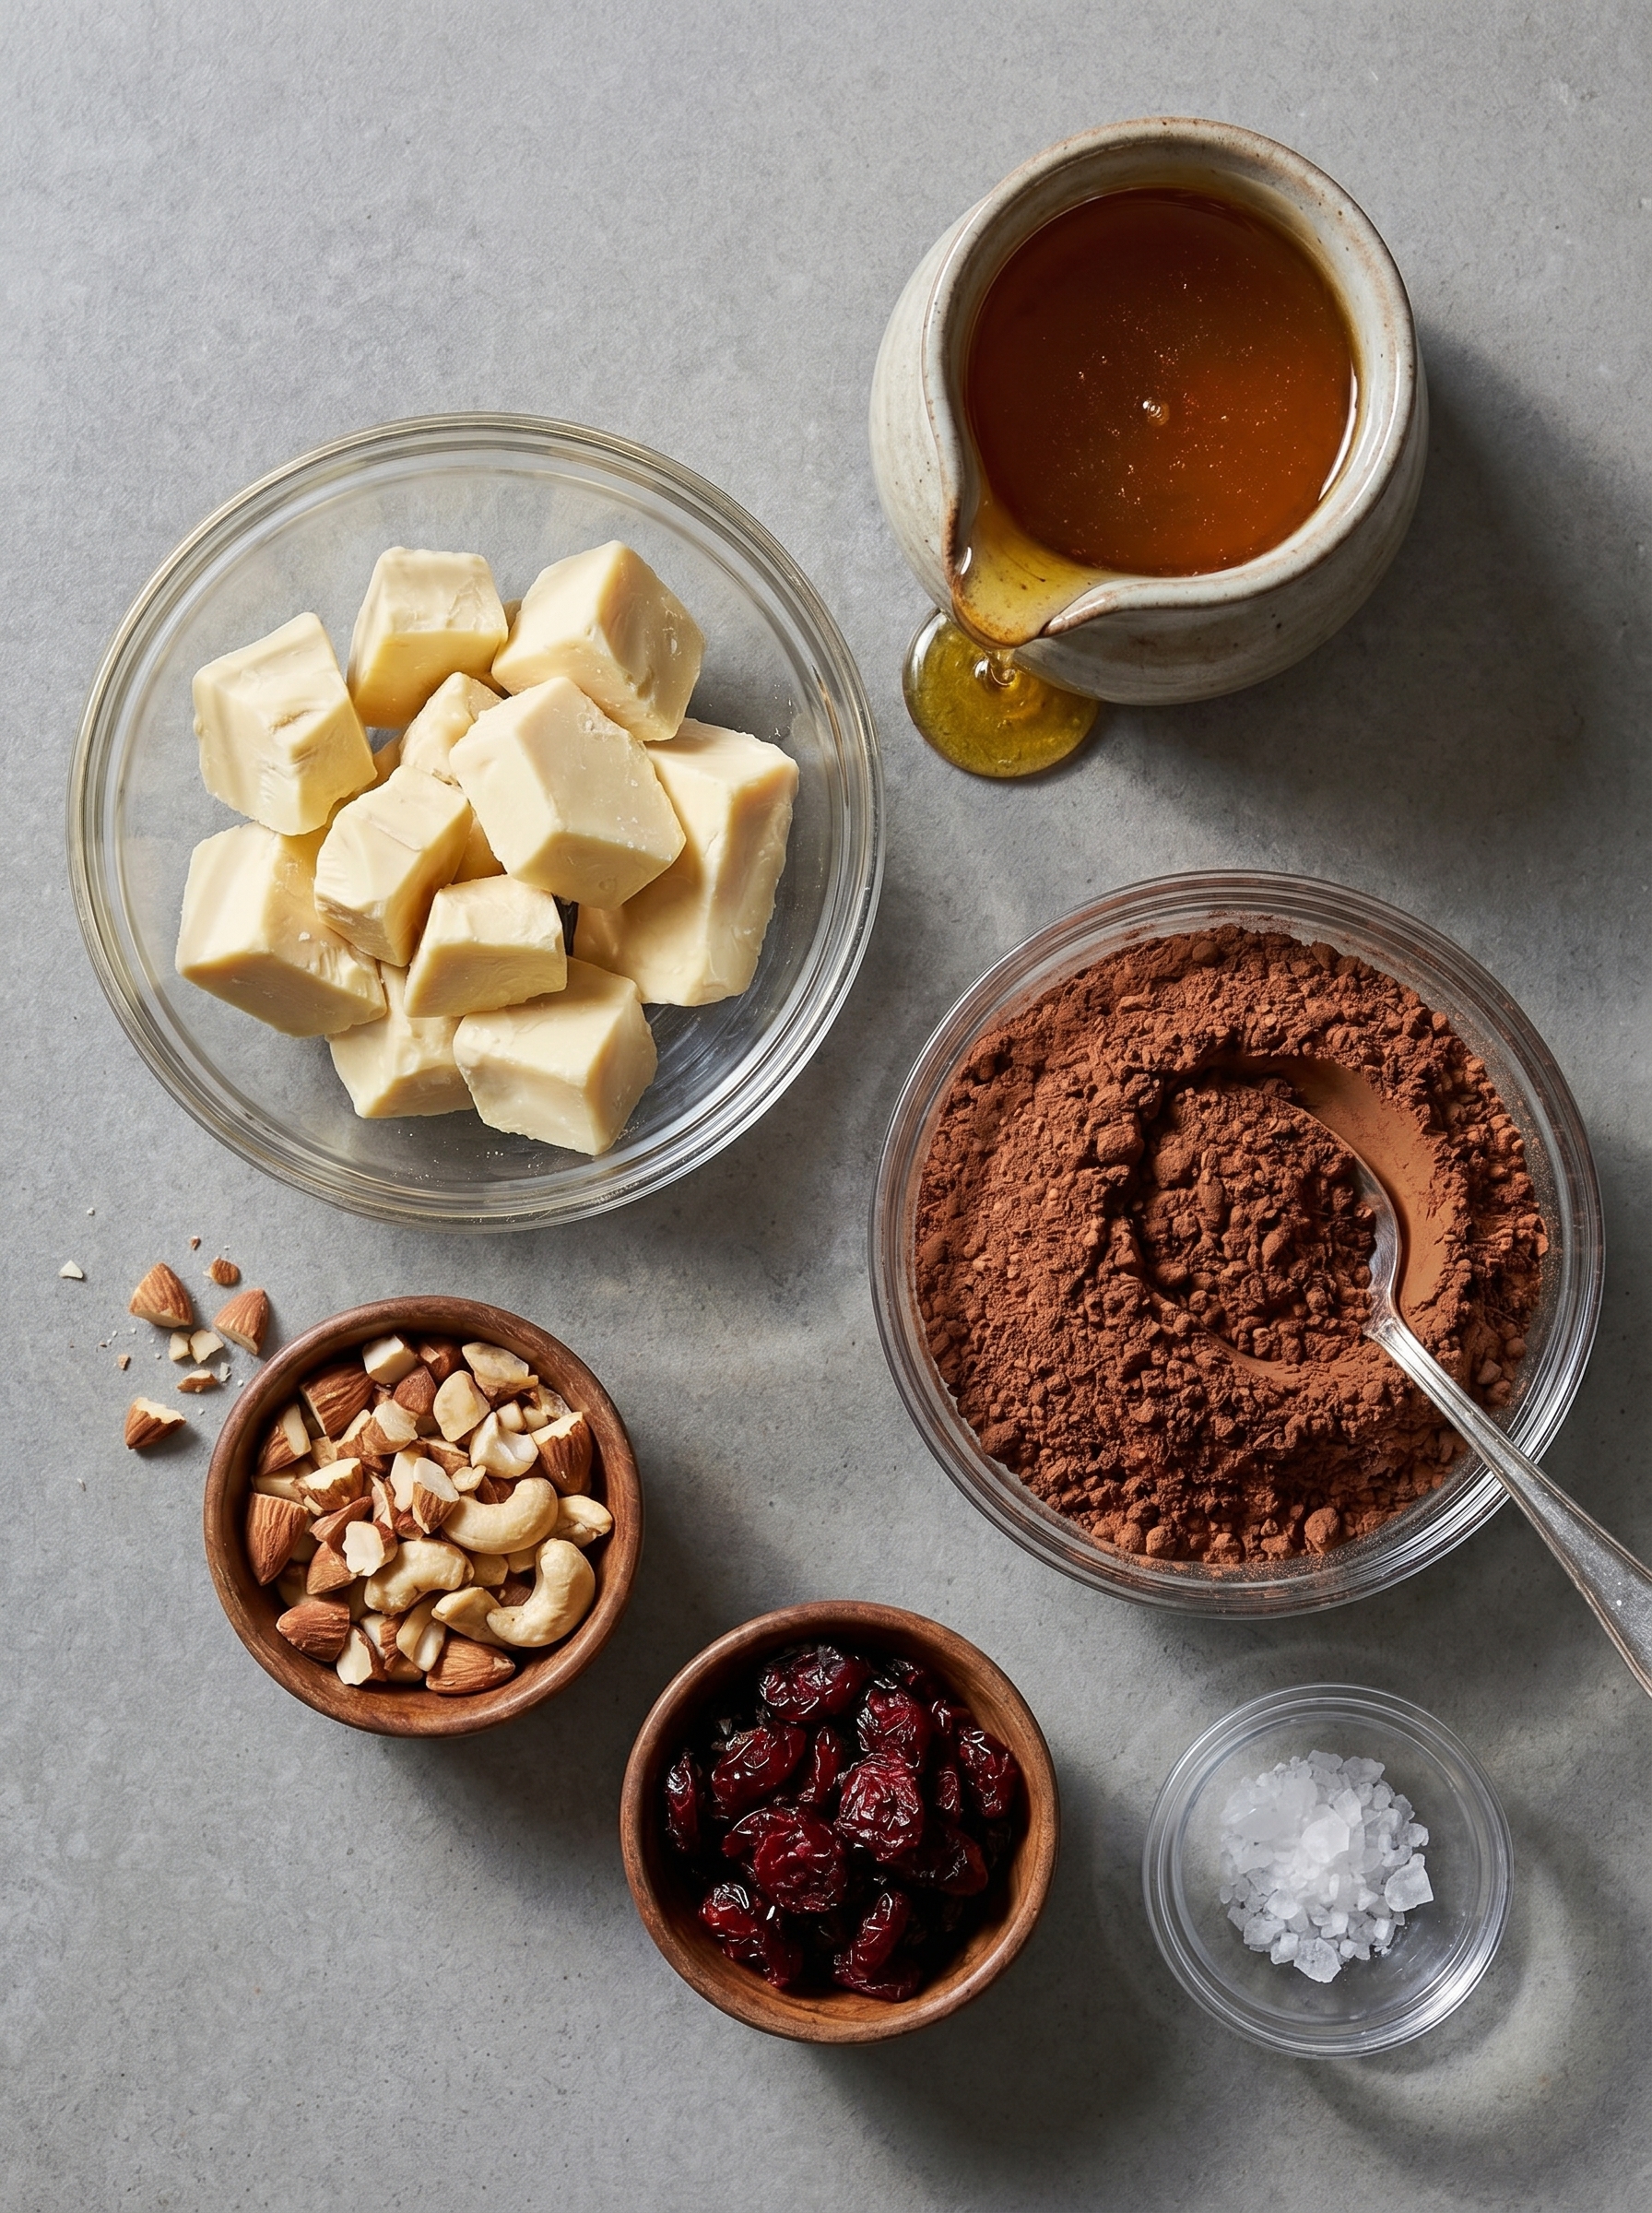
You Must Know
- This bar is high in fat and calories so portion control is helpful. Each small bar is about 225 calories and the fat comes mainly from cacao butter which gives the silky texture.
- Store chilled for best snap and to avoid melting. Refrigerate for up to two weeks or freeze in an airtight container for up to two months.
- Chocolate will bloom if exposed to temperature swings. Bloom is a cosmetic white film and does not mean the chocolate is spoiled.
- For a vegan option use maple syrup and check that your cacao powder is vegan certified if that matters to you.
My favorite bit is the control over sweetness and inclusions. I often divide the melted chocolate and flavor smaller portions with sea salt and toasted nuts so I have options in one batch. Family members appreciate the variety and the fact that this feels artisanal while still being easy to make.
Storage Tips
Keep the bars sealed in an airtight container in the refrigerator to preserve texture and prevent absorption of other fridge odors. Use parchment or wax paper between layers if stacking. At room temperature the bars will soften and eventually melt so refrigeration is recommended unless your kitchen stays cool. For long term keep bars in the freezer wrapped tightly and placed in a rigid container. When thawing move them from freezer to fridge for a few hours rather than to room temperature to avoid condensation forming on the surface.
Ingredient Substitutions
If you prefer a less sweet bar reduce the honey to one quarter cup and taste after mixing then add small amounts until you reach your desired balance. Maple syrup works as a vegan substitute but imparts a distinct flavor that pairs well with toasted nuts. Swap cacao powder for high quality unsweetened cocoa powder in the same measure. If you cannot find cacao butter you can experiment with a combination of coconut oil and cocoa butter but be aware coconut oil melts at a lower temperature and the final bar will be softer.
Serving Suggestions
Serve chilled pieces on a small dessert plate with sea salt flakes and a few roasted hazelnuts for contrast. This chocolate pairs well with a strong espresso or a dessert wine that can match its intensity. For gifting wrap bars in parchment and tie with twine and a sprig of rosemary. Use small pieces as a garnish on ice cream or shaved over whipped cream for a grown up finishing touch.
Cultural Background
The enjoyment of dark chocolate has deep roots in European confectionery where pure cocoa flavors were prized. Dark chocolate with minimal sweetener celebrates the bean to bar tradition that focuses on bean origin and processing. Making chocolate at home is a modern take on an old craft and connects the maker to the materiality of chocolate by highlighting the roles of fat and cocoa in structure and flavor.
Seasonal Adaptations
In winter add warming spices such as a pinch of cinnamon or ground chili for a festive version. For spring try floral notes by folding in chopped candied orange peel. In summer press freeze dried berries into the tops for bright acidity. Adjust sweetness and inclusions seasonally to keep the base formula consistent while exploring different flavor profiles.
Meal Prep Tips
Make multiple small molds at once and freeze finished bars in individual wrappers to create single serve snacks. Portion into small zip top bags and grab a couple for a packed lunch. If you plan to gift or sell keep a log of batches and any adjustments so you can repeat the exact profile you liked later.
Success Stories
Readers have told me they used this small batch to make homemade valentines and that the bars arrived without melting during transit when packed with a small freezer pack. One friend who avoided store chocolate because of additives loved the pure flavor and said it tasted like a professional bar. These moments make the simple act of melting and mixing feel like a craft more than a quick project.
Making this dark chocolate is a gentle exercise in patience and attention to temperature. It rewards small adjustments and invites creativity. I hope you enjoy developing your own signature bar.
Pro Tips
Chop cacao butter into small pieces for even melting and accurate measurement.
Keep water at a simmer not a boil when using a double boiler to avoid overheating the fat.
Taste and adjust sweetness after mixing the cocoa so you can find your preferred balance.
If bars bloom it affects appearance not safety. Store at stable cool temperatures to reduce bloom.
This nourishing homemade dark chocolate recipe is sure to be a staple in your kitchen. Enjoy every moist, high protein slice — it is perfect for breakfast or as a wholesome snack any time.
Tags
Homemade Dark Chocolate
This Homemade Dark Chocolate recipe makes perfectly juicy, tender, and flavorful steak every time! Serve with potatoes and a side salad for an unforgettable dinner in under 30 minutes.
Instructions
Prep add ins and mold
Finely chop any optional nuts or dried fruit then place pieces into sections of the mold or line a shallow dish with parchment for a slab.
Melt cacao butter
Use a double boiler or a heat proof bowl over a saucepan with an inch of simmering water. Heat gently until the cacao butter just melts then remove from heat.
Mix in sweetener and cocoa
Whisk in the honey or maple syrup followed by the cacao powder and salt until smooth and glossy. Taste and adjust sweetness as needed.
Pour into mold and chill
Place mold on a flat surface, pour the melted chocolate evenly into sections then transfer to the refrigerator and chill for at least 30 minutes until set.
Unmold and store
Gently pull the sides of the mold away to release the bars. Store in an airtight container in the refrigerator for up to two weeks or freeze for up to two months.
Last Step: Please leave a rating and comment letting us know how you liked this recipe! This helps our business to thrive and continue providing free, high-quality recipes for you.
Nutrition
Did You Make This?
Leave a comment & rating below or tag
@royalrecipe on social media!
Categories:
You might also like...

Spicy Chicken and Jalapeño Thin Crust Pizza
Easy homemade thin-crust three-cheese spicy chicken and jalapeño pie — a flavor-packed pizza with a satisfying kick, perfect for pizza night or game day.

Creamy Pesto BLT Pasta Salad
A bright, creamy BLT pasta salad tossed with basil pesto, fresh greens, cherry tomatoes, and crisp bacon—perfect for warm-weather gatherings and meal prep.

Bang Bang Shrimp Pasta
Tender sautéed shrimp tossed with spaghetti and a creamy sweet-spicy bang bang sauce—ready in under 30 minutes for a weeknight favorite.
Did You Make This?
Leave a comment & rating below or tag @royalrecipe on social media!
Rate This Recipe
Share This Recipe
Enjoyed this recipe? Share it with friends and family, and don't forget to leave a review!
Comments (1)
This recipe looks amazing! Can't wait to try it.
Comments are stored locally in your browser. Server comments are displayed alongside your local comments.
Hi, I'm Amara!
What's Popular

30-Minute Meals!
Join to receive our email series which contains a round-up of some of our quick and easy family favorite recipes.