>>
30-MINUTE MEALS! Get the email series now →

A no-churn, unbelievably creamy vegan ice cream cake that tastes just like the classic dairy version. Gluten free, simple ingredients, and spectacular for celebrations.
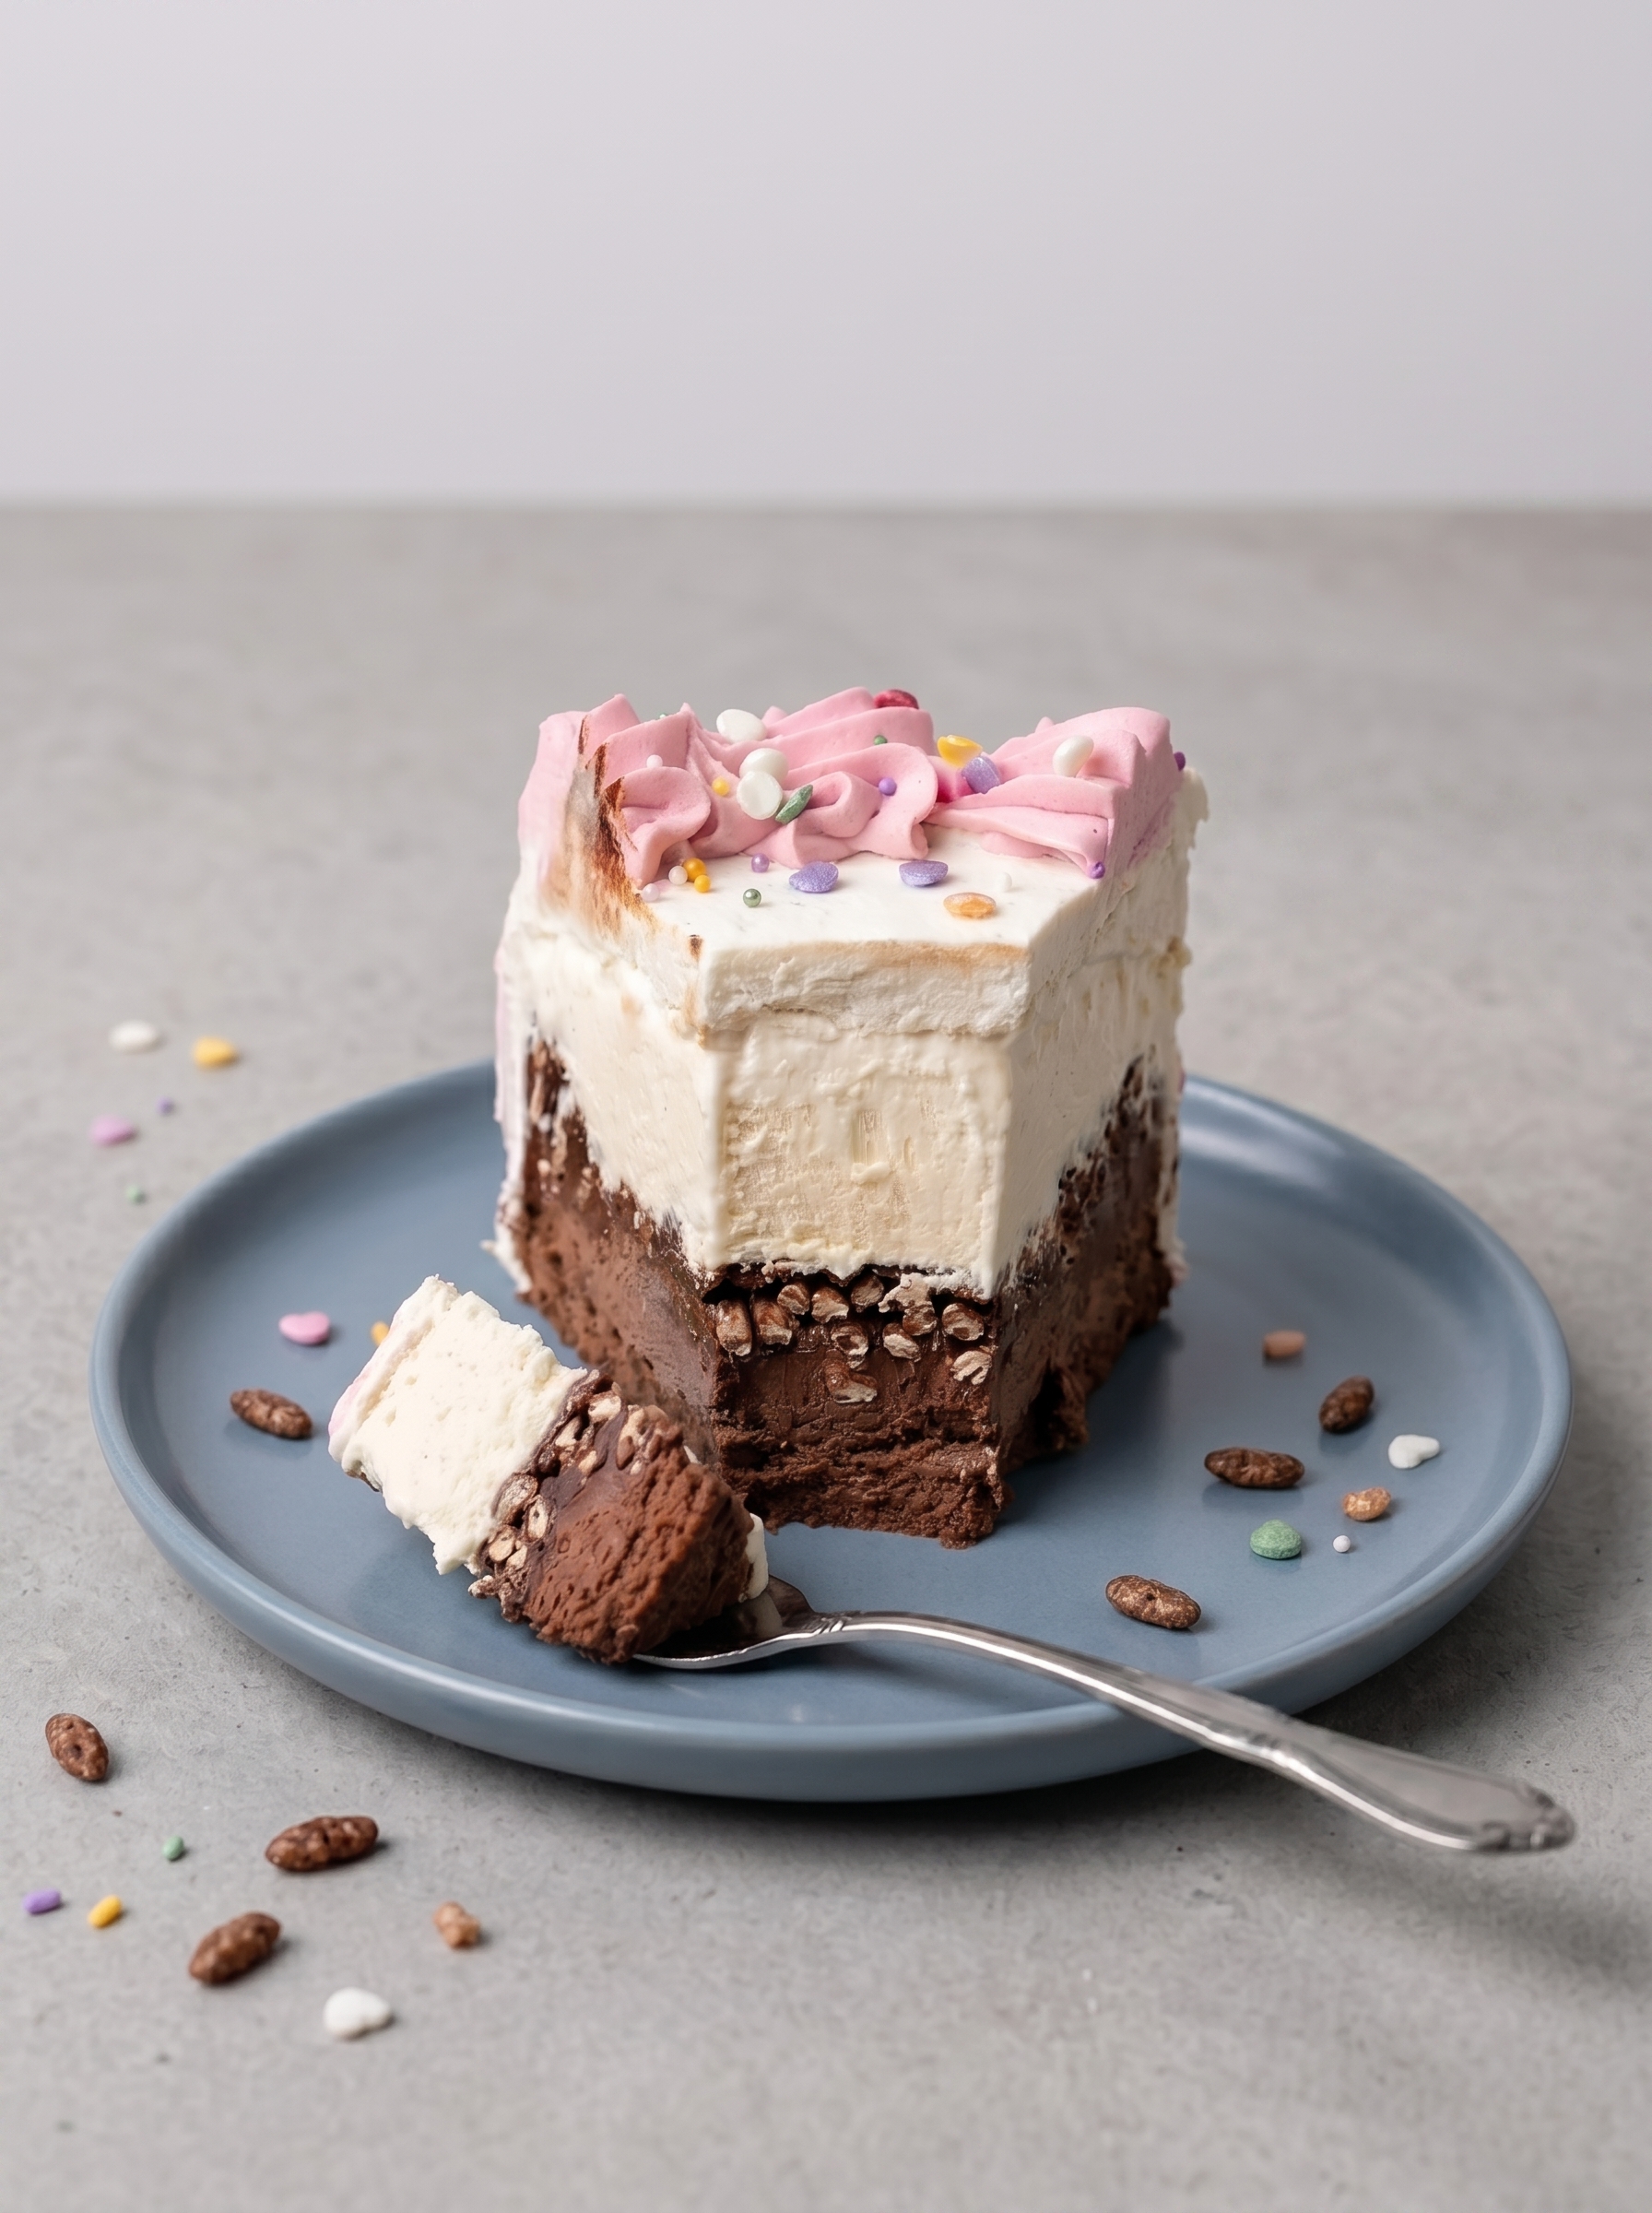
This homemade vegan ice cream cake has been my go to for birthdays and last minute celebrations ever since I first tested it against a nostalgic storebought favorite. I discovered this combination on a humid summer afternoon when I wanted the creamy, nostalgic texture of an old fashioned ice cream cake without dairy or gluten. The result surprised everyone at the table. It slices cleanly after a short rest at room temperature, it is rich and silky, and the layers read like a classic chocolate and vanilla pairing but entirely plant based.
What makes this version special is the simplicity. There is no churning, no complicated custard, and just seven core ingredients for the frozen layers. The hot fudge sets into a shiny layer that gives a satisfying break between the chocolate and vanilla, and a crunchy cacao crisp gives the cake an old style texture contrast. I keep a can of vegan sweetened condensed milk and a chilled container of vegan heavy cream ready in my pantry when I know a celebration is coming. Every time I bring this cake to a party people ask for the recipe.
My partner still remembers the first bite as a tiny trip back to childhood. My niece declared it the best cake ever and asked for it the next week. I love that this version is forgiving, and that you can swap frostings and sprinkles to suit any party theme.
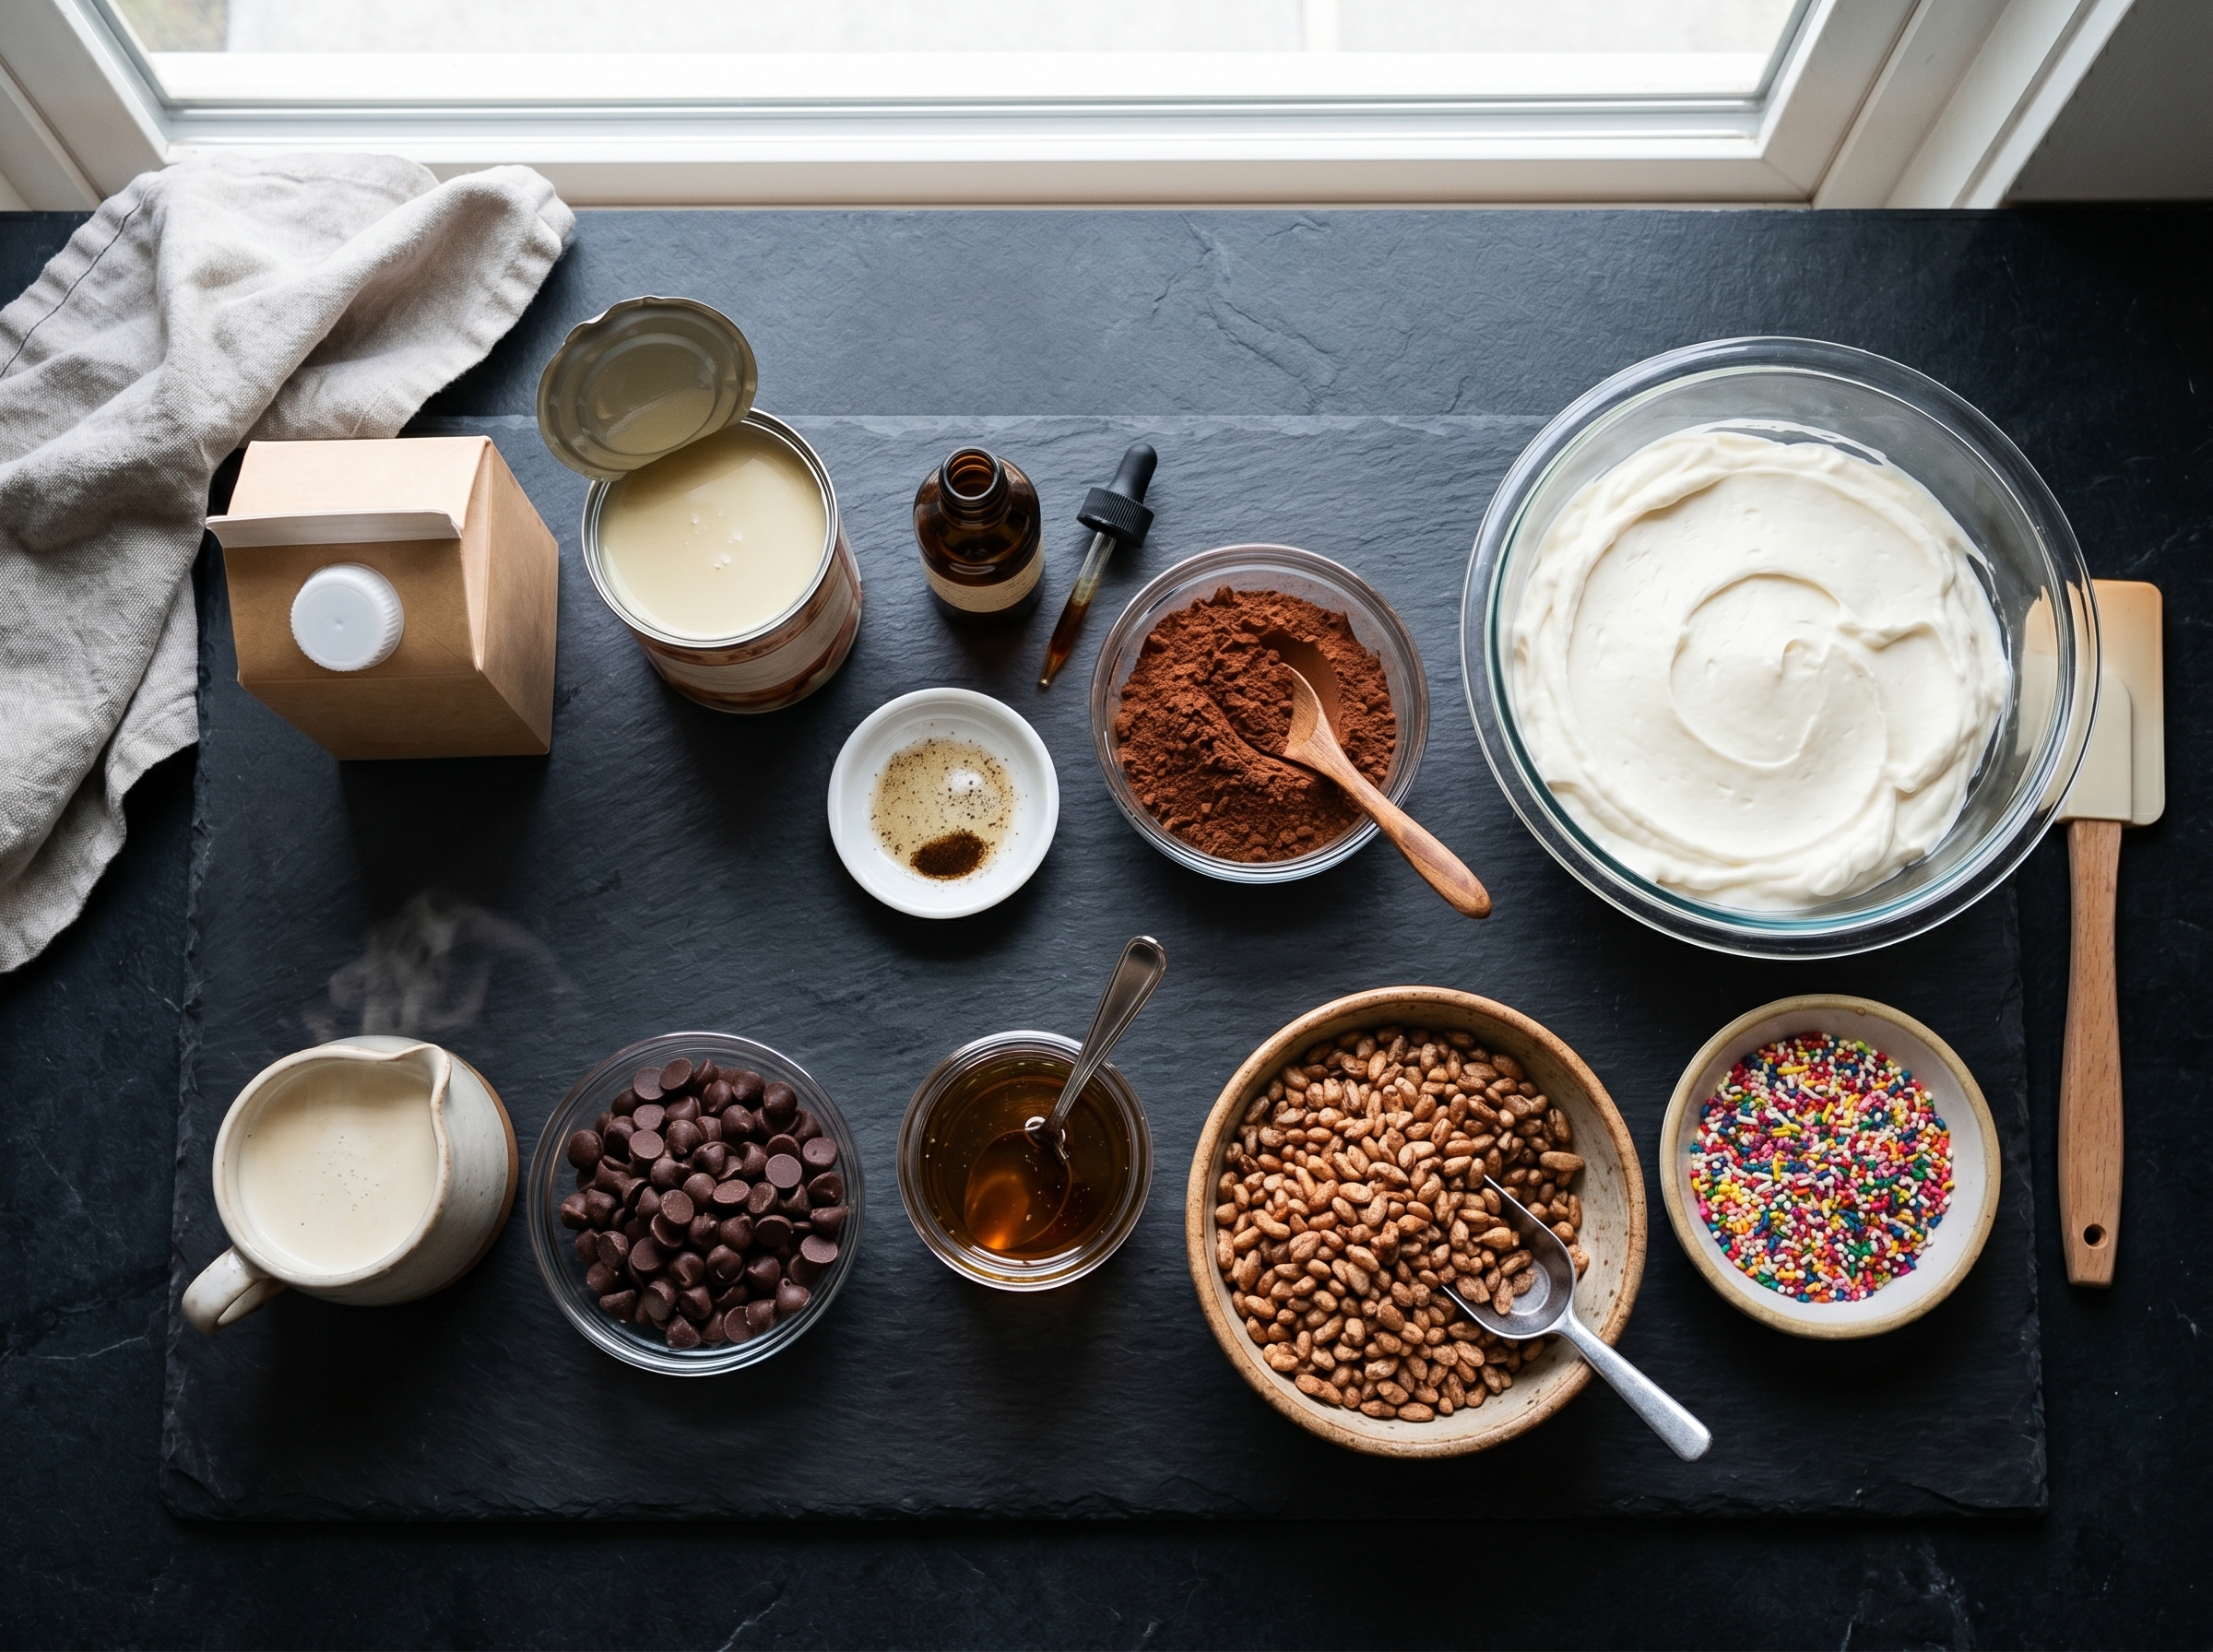
My favorite part of this cake is the hot fudge layer. It adds a glossy contrast and the crunchy cacao crisps bring back that classic ice cream cake experience. Friends always comment on the nostalgic texture and I love offering a dessert that is inclusive for dairy free guests.
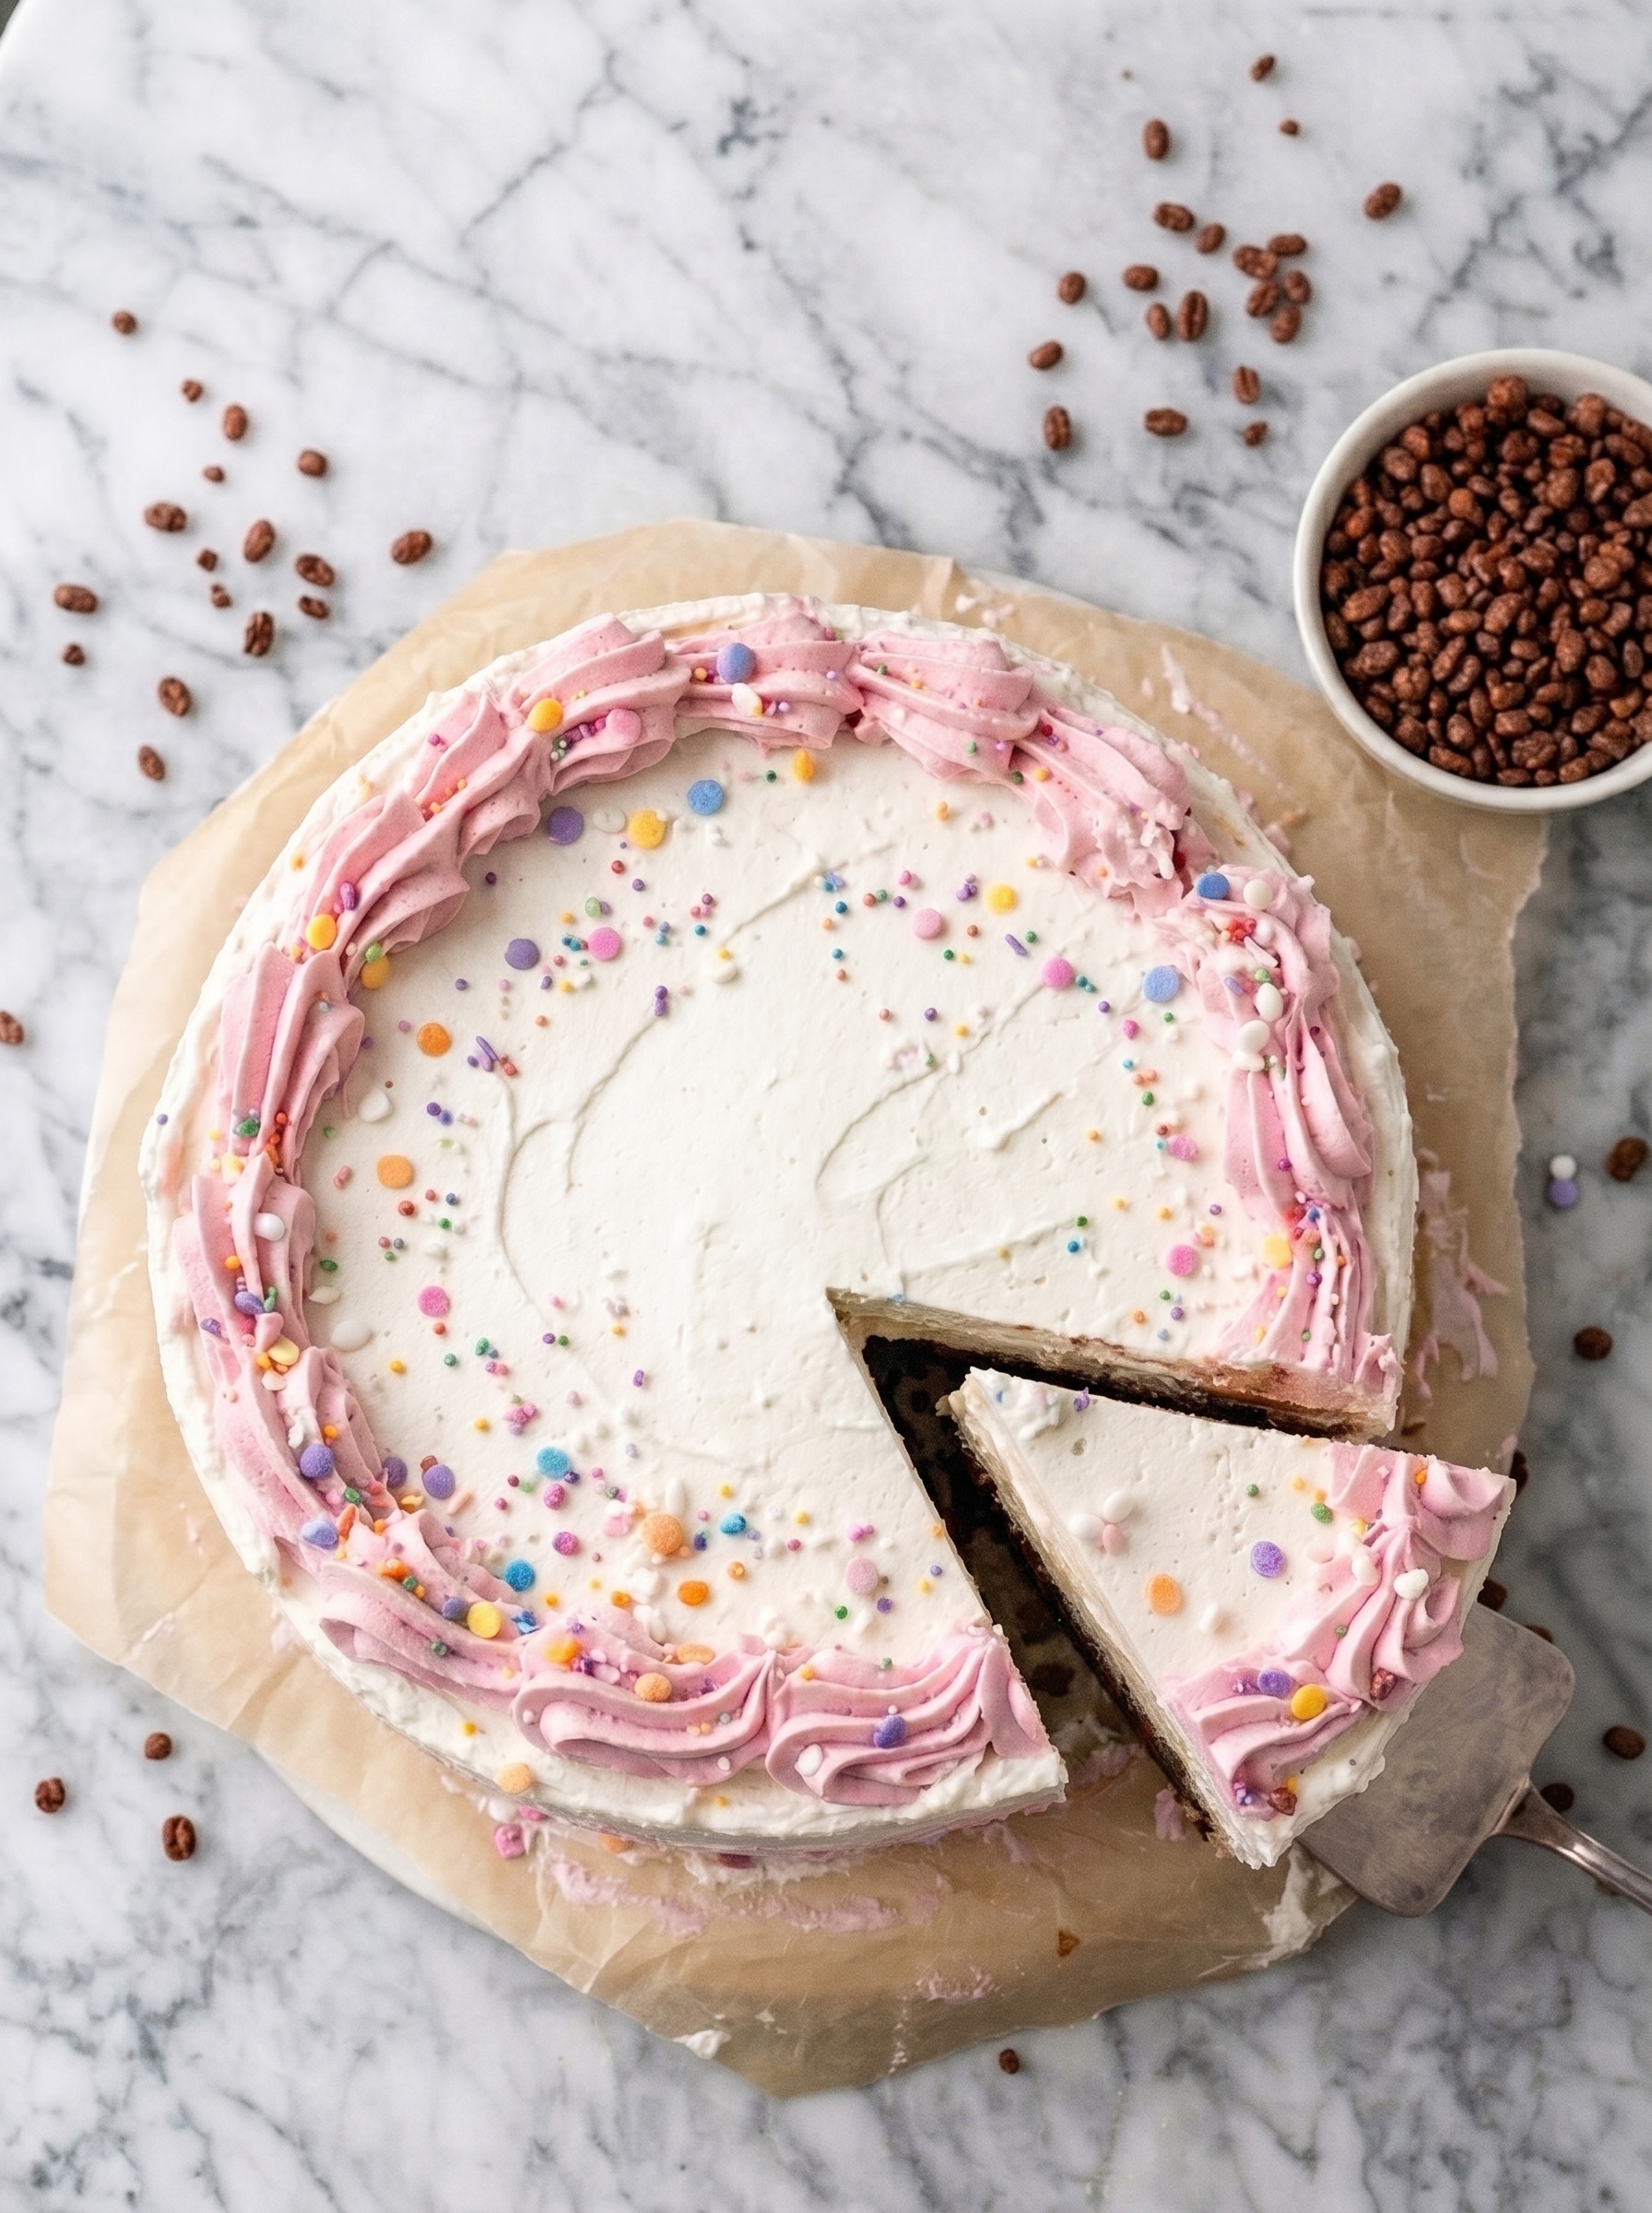
Store the cake in the coldest part of the freezer wrapped in two layers of plastic wrap and then a layer of foil for protection against freezer burn. If you will not finish it within a week, place it in a rigid airtight container or cake keeper that seals well. For single slices, wrap each slice tightly in plastic wrap, then in foil, and keep in a freezer safe bag. Thaw slices at room temperature for fifteen to twenty minutes before serving. If frosting has softened during storage, return to the freezer for ten minutes before slicing for cleaner edges.
If you cannot find vegan heavy cream in a container use two cups chilled full fat coconut cream from a can but whisk thoroughly to remove any coconut sediment. For the vegan condensed milk, you can use a homemade version made with one cup full fat coconut milk reduced with one cup sugar until syrupy then cooled, though the store canned version is far simpler. Swap the sprouted brown rice crisps for gluten free crushed wafer cookies for a more tender crunch. For nut free versions avoid almond based cream alternatives and read labels for coconut or soy content.
Serve slices on chilled plates to prolong the clean slice at the table. Pair with fresh berries or a drizzle of extra hot fudge for a restaurant style presentation. For birthday celebrations pipe colorful frosting borders and add themed sprinkles. This cake is crowd pleasing at summer gatherings, holiday parties, or as a simple show stopping dessert after a casual dinner. A scoop of extra vegan ice cream alongside each slice makes it a decadent double treat.
Layered ice cream cakes trace their roots to mid twentieth century American ice cream parlors and novelty cakes. The layered combination of chocolate, fudge, and vanilla is part nostalgia and part practical dessert design it allows for texture contrast and visual appeal. This vegan adaptation keeps the classic structure but uses modern plant based ingredients that mimic the mouthfeel once achieved with heavy cream and condensed milk. The result is a bridge between retro and contemporary dessert culture.
In summer consider folding fresh fruit puree into the vanilla layer for a light seasonal twist. For winter celebrations swap vanilla extract for a teaspoon of warm spices such as cinnamon and a half teaspoon ground cardamom. Holiday versions can include peppermint extract in the frosting and crushed candy cane sprinkled on top. For a spring brunch lighten the frosting color with pastels and top with edible flowers to make the cake feel festive.
Make the hot fudge and ice cream base one day ahead then assemble and freeze overnight. Prepare the frosting a day ahead and keep refrigerated until ready to use then bring to room temperature for easier spreading. Portion and wrap individual slices for convenient grab and go desserts that stay stable in the freezer. Label wrapped portions with the date to maintain freshness and rotate older portions to the front of the freezer.
This cake has been a regular request at family gatherings and has created simple, sweet memories. It is forgiving, adaptable, and reliably delicious. Try it once and you will have a new favorite to keep on hand for celebrations.
Chill the mixing bowl before whipping to help the vegan heavy cream reach soft peaks faster.
Warm the knife under hot water and wipe dry between slices for clean edges.
Let the cake sit at room temperature for 15 to 20 minutes before slicing to achieve a scoopable texture.
This nourishing easy homemade vegan ice cream cake – gluten free! recipe is sure to be a staple in your kitchen. Enjoy every moist, high protein slice — it is perfect for breakfast or as a wholesome snack any time.
This Easy Homemade Vegan Ice Cream Cake – Gluten Free! recipe makes perfectly juicy, tender, and flavorful steak every time! Serve with potatoes and a side salad for an unforgettable dinner in under 30 minutes.
Line an eight inch springform pan with parchment on bottom and walls. Place a large metal or glass bowl in the freezer for at least ten minutes to chill.
Heat three quarter cup vegan heavy cream until steaming, pour over three quarter cup vegan chocolate chips, wait one minute then whisk until smooth. Stir in three tablespoons golden syrup and cool to room temperature.
Pour the cold 16 ounce container of vegan heavy cream into the chilled bowl and whip with a hand mixer until soft peaks form, about five minutes.
Gently fold the 11 ounce can vegan sweetened condensed milk into the whipped cream with a silicone spatula until just combined to retain air.
Divide the mixture into two bowls. Add vanilla extract and vanilla bean paste to one bowl. Add half cup sifted cocoa powder to the other and mix until uniform.
Spread the chocolate mixture into the pan, spoon the cooled hot fudge over it, sprinkle the cacao crisps, then spread the vanilla mixture on top and smooth.
Cover tightly and freeze the assembled cake until completely firm, at least four hours or overnight.
Keep cake frozen while preparing frosting. Remove springform wall and parchment, frost the cake and pipe decorative borders then add sprinkles.
If not serving immediately refreeze. For serving, let sit at room temperature for 15 to 20 minutes and slice with a warm knife.
Last Step: Please leave a rating and comment letting us know how you liked this recipe! This helps our business to thrive and continue providing free, high-quality recipes for you.
Leave a comment & rating below or tag
@royalrecipe on social media!

Easy homemade thin-crust three-cheese spicy chicken and jalapeño pie — a flavor-packed pizza with a satisfying kick, perfect for pizza night or game day.
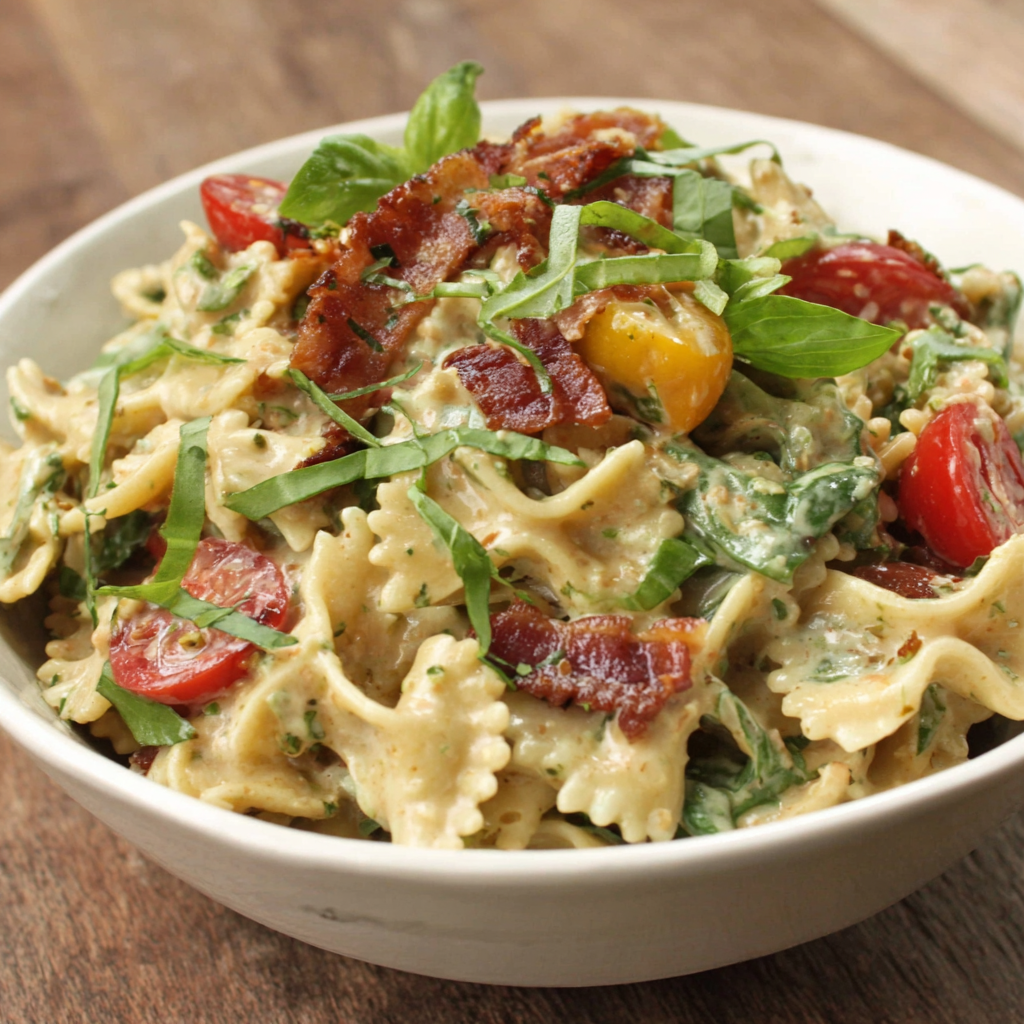
A bright, creamy BLT pasta salad tossed with basil pesto, fresh greens, cherry tomatoes, and crisp bacon—perfect for warm-weather gatherings and meal prep.
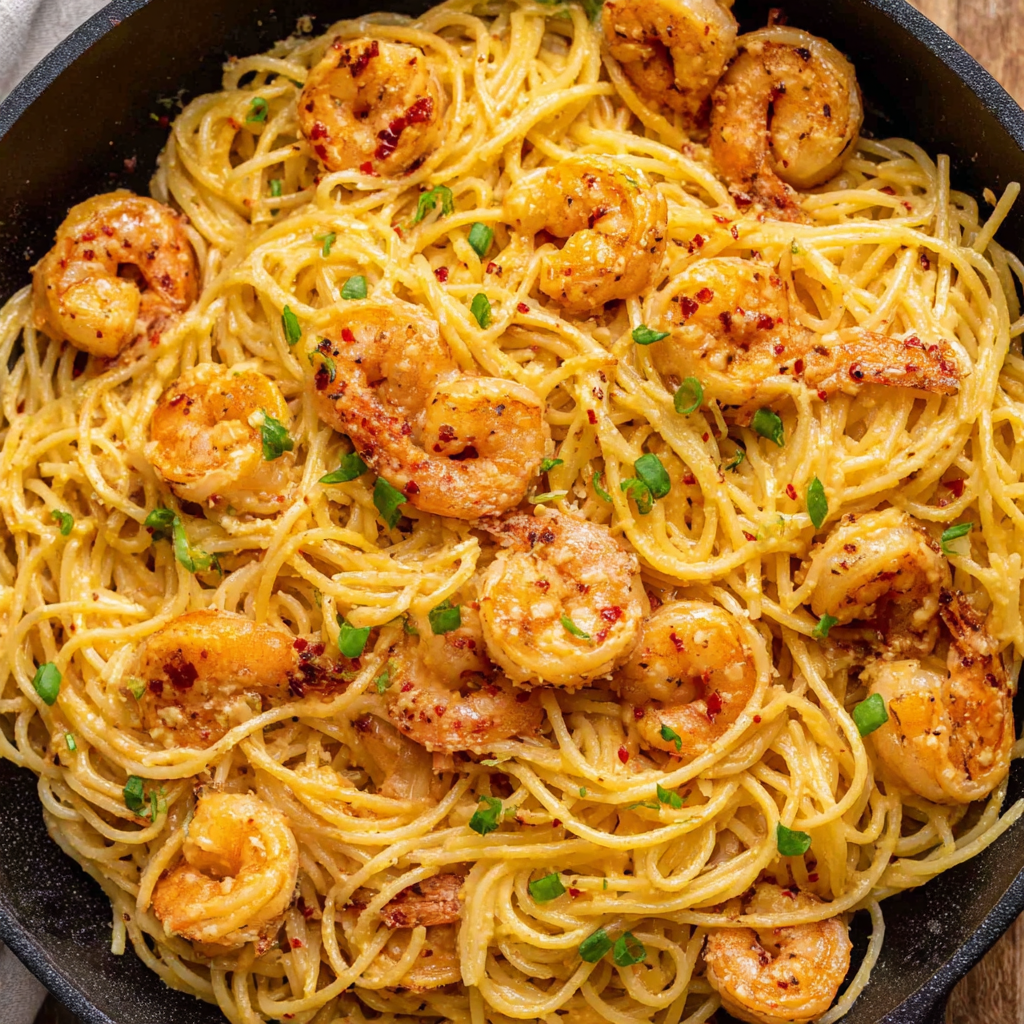
Tender sautéed shrimp tossed with spaghetti and a creamy sweet-spicy bang bang sauce—ready in under 30 minutes for a weeknight favorite.
Leave a comment & rating below or tag @royalrecipe on social media!
Enjoyed this recipe? Share it with friends and family, and don't forget to leave a review!
This recipe looks amazing! Can't wait to try it.
Comments are stored locally in your browser. Server comments are displayed alongside your local comments.
Join to receive our email series which contains a round-up of some of our quick and easy family favorite recipes.