>>
30-MINUTE MEALS! Get the email series now →


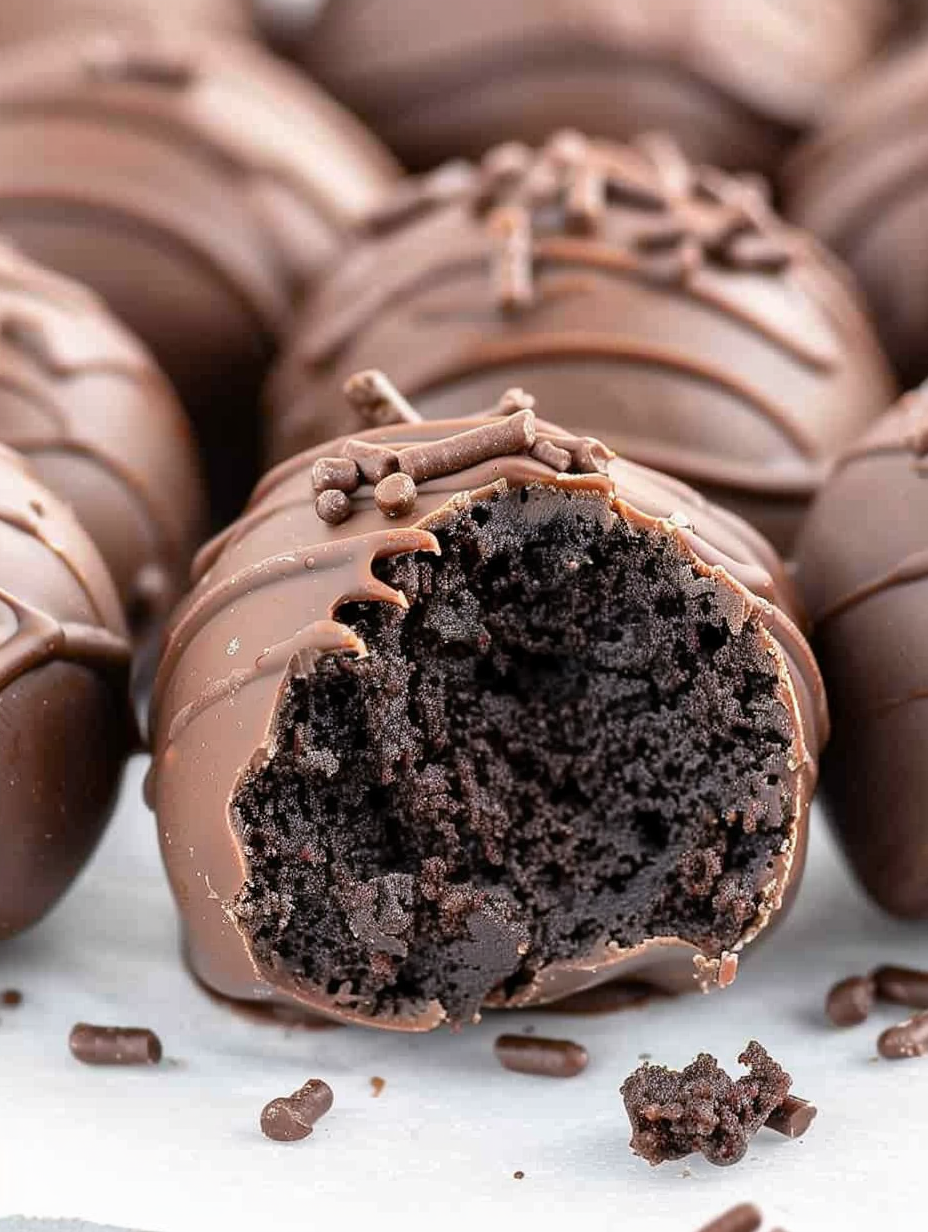
Decadent cheesecake and fudge cake mix centers dipped in a rich chocolate shell. Perfect for potlucks, parties, or an indulgent snack.
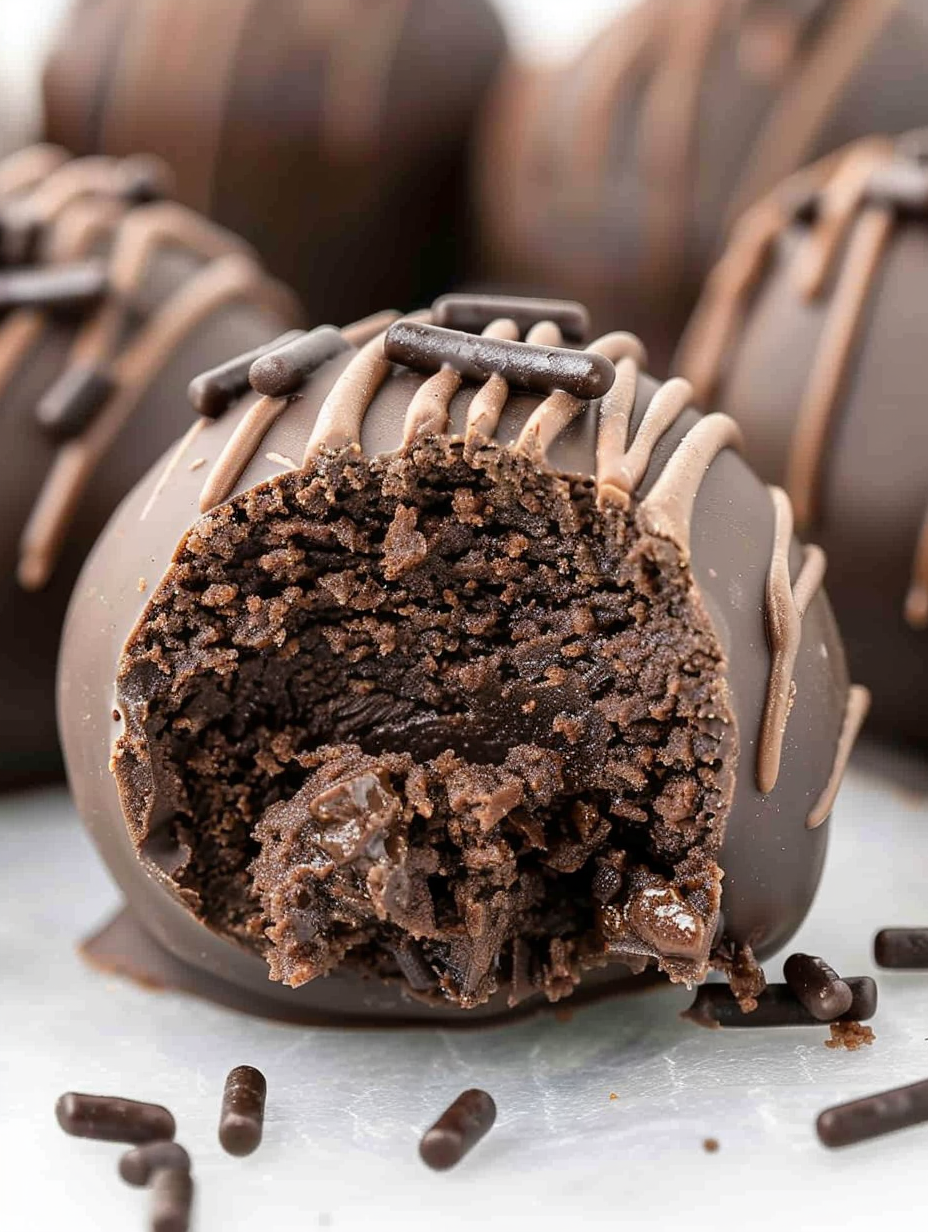
This recipe for Chocolate Cheesecake Truffles began as a quick experiment for a holiday potluck and instantly became one of my most requested treats. The idea started on a rainy afternoon when I had leftover chocolate fudge cake mix and a block of cream cheese in the fridge. I wanted something that tasted indulgent without a long bake time. The result was creamy, brownie like centers that contrast perfectly with a firm chocolate coating. Every bite delivers a silky cream cheese interior with the familiar cocoa depth from the cake mix and a satisfying snap from the coating.
I discovered early on that small technique changes make a big difference. Heat treating the dry cake mix prevents any risk from raw flour and keeps the texture light. Letting the mixture chill until firm makes rolling and coating much easier. These truffles travel well and keep their shape, which is why they are my go to when I need a dessert to transport. Family and friends always ask whether I baked anything because the flavor is so rich and balanced. If you love a no bake treat that still feels luxurious, these bites will become a staple in your dessert repertoire.
When I first brought these to a winter gathering, they vanished in minutes. Guests described them as a cross between a miniature cheesecake and a chocolate truffle. My sister loved that they were not overly sweet and asked for the recipe on the spot. Over time I refined chilling times and coating technique, and now the results are consistently silky inside and crisp outside.
My favorite part about these truffles is their versatility. I have swapped coatings for white chocolate and even added citrus zest to the interior for a bright holiday version. At a neighborhood party I once made a double batch with different coatings and the chocolate almond bark version still disappeared first. The contrast of creamy filling and crisp shell makes them feel special without being fussy.
Store the truffles in a single layer in an airtight container in the refrigerator for up to five days. For longer storage, place the truffles on a parchment lined tray and freeze them in a single layer until solid, then transfer to a freezer safe container for up to three months. To thaw, move them to the refrigerator for several hours to prevent condensation forming on the coating. Avoid storing at room temperature for extended periods because the cream cheese center will soften and the coating can lose snap.
If you need a gluten free option, replace the boxed cake mix with a certified gluten free chocolate cake mix of equivalent weight. For a dairy free variation, use a vegan cream cheese and dairy free chocolate melting wafers, though texture may be slightly softer. Swap almond bark for high quality couverture chocolate if you prefer a richer flavor. If you like added texture, fold in one tablespoon of finely chopped toasted pecans into the dough before chilling.
Serve these bites on a decorative platter with paper liners for a party presentation. Pair with espresso for a sophisticated dessert pairing or with a creamy milk for kids. Garnish with a light dusting of cocoa for an elegant finish or add a few sea salt flakes on top for a salted chocolate contrast. They are ideal finger food for receptions and can be arranged alongside cookies and small pastries for a dessert table.
While not a traditional confection from any single region, these truffles are a contemporary American creation drawing on the classic textures of cheesecake and chocolate truffles. No bake cheesecake style desserts rose in popularity due to convenience and ease, particularly for entertainers who prefer quick assembly over ovens. They echo the concept of blending cake crumbs with cream cheese to make compact, bite sized sweets suitable for social gatherings.
Adapt the bites to seasons by changing coatings and toppings. For winter holidays, use peppermint candy bits and dark chocolate coating. In spring, dip in white chocolate and top with colored nonpareils. Add orange zest and a thin strip of candied orange peel for autumn gatherings. The base is forgiving so flavors like espresso, raspberry extract, or toasted coconut can be introduced without altering the method.
Make the centers up to two days ahead and keep them chilled. When preparing for a week of treats, portion and freeze scooped centers on a parchment lined tray, then store them in a freezer bag. Thaw in the refrigerator before coating so the melting chocolate does not crack due to expanding centers. Use a one tablespoon scoop for consistent sizing and labeling containers with the date helps manage freshness.
These Chocolate Cheesecake Truffles are easy to personalize and always feel like a special treat. Whether you make them for a potluck or a quiet night in, they deliver rich flavor and party ready presentation. Give the technique a try and make the recipe yours with a seasonal twist or favorite topping.
Always bring cream cheese to room temperature before beating to avoid lumps and achieve a smooth texture.
Chill the mixture until firm to make rolling easier and to prevent the centers from expanding after coating.
Use a one tablespoon scoop for uniform bites to ensure even chilling and consistent coating coverage.
If coating cracks, return the truffle to room temperature briefly and recoat with a thin layer of melted chocolate.
This nourishing chocolate cheesecake truffles recipe is sure to be a staple in your kitchen. Enjoy every moist, high protein slice — it is perfect for breakfast or as a wholesome snack any time.
Yes. Heat treat the dry cake mix by microwaving it in a heat safe bowl in thirty second intervals, stirring between intervals, then allow it to cool completely before using.
Chill the coated truffles in the refrigerator until the coating is firm. For transport, use a chilled insulated container to maintain shape.
This Chocolate Cheesecake Truffles recipe makes perfectly juicy, tender, and flavorful steak every time! Serve with potatoes and a side salad for an unforgettable dinner in under 30 minutes.
Place the dry 15.25 ounce chocolate fudge cake mix in a microwave safe bowl and heat in thirty second intervals, stirring between intervals. Allow the mix to cool completely before combining with cream cheese.
Beat eight ounces of softened cream cheese in a medium bowl with a handheld mixer on medium high for two to two and a half minutes until smooth and lump free.
Sprinkle the cooled dry cake mix over the whipped cream cheese and mix on low just until incorporated. Scrape the bowl to ensure uniform texture.
Cover tightly and refrigerate for two hours until firm. Chilling firms the dough for easy scooping and rolling.
Line a baking sheet with parchment. Use a one tablespoon scoop to portion the chilled mixture and roll each portion into a smooth ball. Place on the prepared sheet.
Melt eight ounces of chocolate almond bark in a microwave safe bowl in thirty second intervals, stirring until smooth and fluid for dipping.
Dip each ball in the melted coating, tap off excess and transfer to parchment. Immediately sprinkle with two tablespoons of chocolate sprinkles while coating is wet.
Chill the coated bites in the refrigerator until the coating is firm, at least thirty minutes. Store in an airtight container in the refrigerator for up to five days.
Last Step: Please leave a rating and comment letting us know how you liked this recipe! This helps our business to thrive and continue providing free, high-quality recipes for you.
Leave a comment & rating below or tag
@royalrecipe on social media!

Easy homemade thin-crust three-cheese spicy chicken and jalapeño pie — a flavor-packed pizza with a satisfying kick, perfect for pizza night or game day.

A bright, creamy BLT pasta salad tossed with basil pesto, fresh greens, cherry tomatoes, and crisp bacon—perfect for warm-weather gatherings and meal prep.

Tender sautéed shrimp tossed with spaghetti and a creamy sweet-spicy bang bang sauce—ready in under 30 minutes for a weeknight favorite.
Leave a comment & rating below or tag @royalrecipe on social media!
Enjoyed this recipe? Share it with friends and family, and don't forget to leave a review!
This recipe looks amazing! Can't wait to try it.
Comments are stored locally in your browser. Server comments are displayed alongside your local comments.
Join to receive our email series which contains a round-up of some of our quick and easy family favorite recipes.
