>>
30-MINUTE MEALS! Get the email series now →


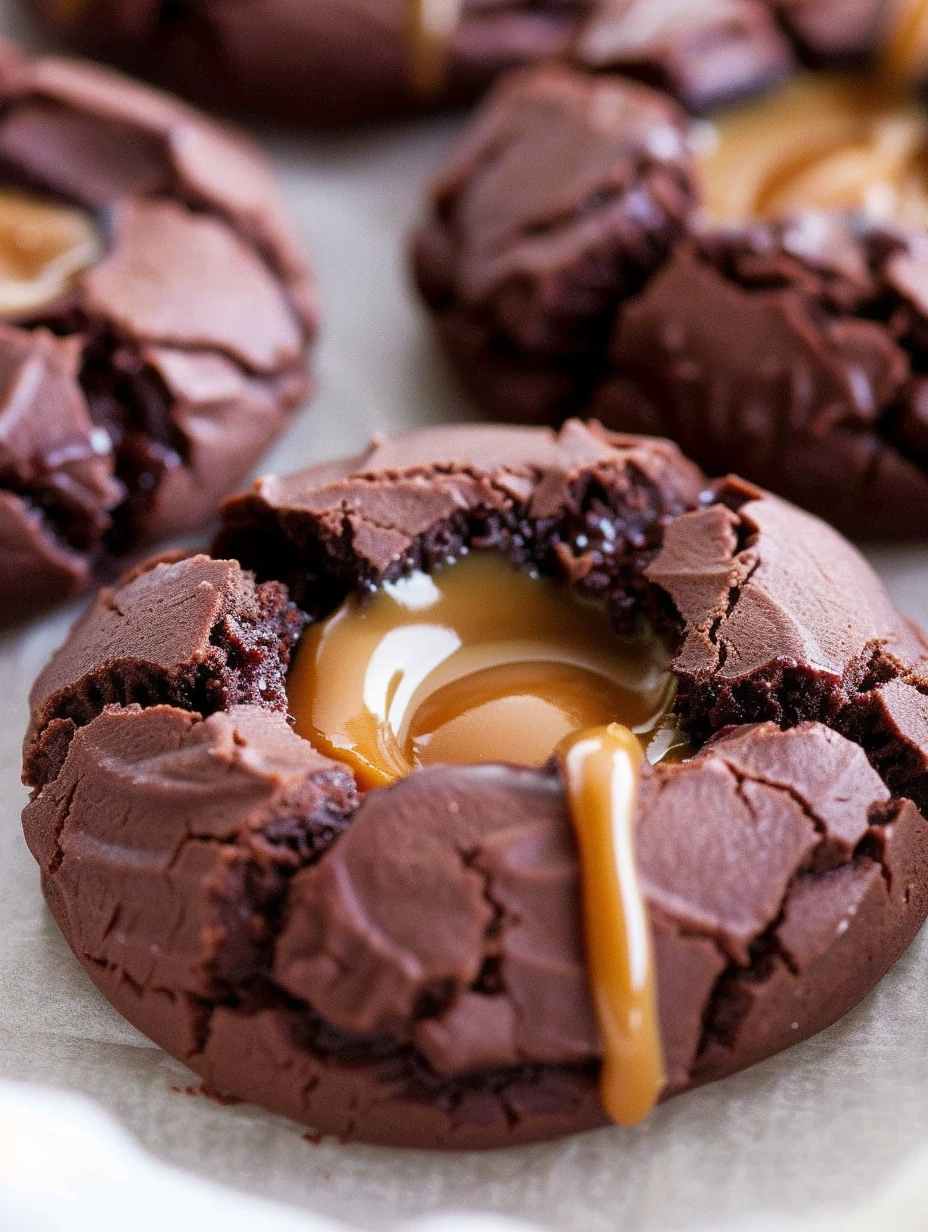
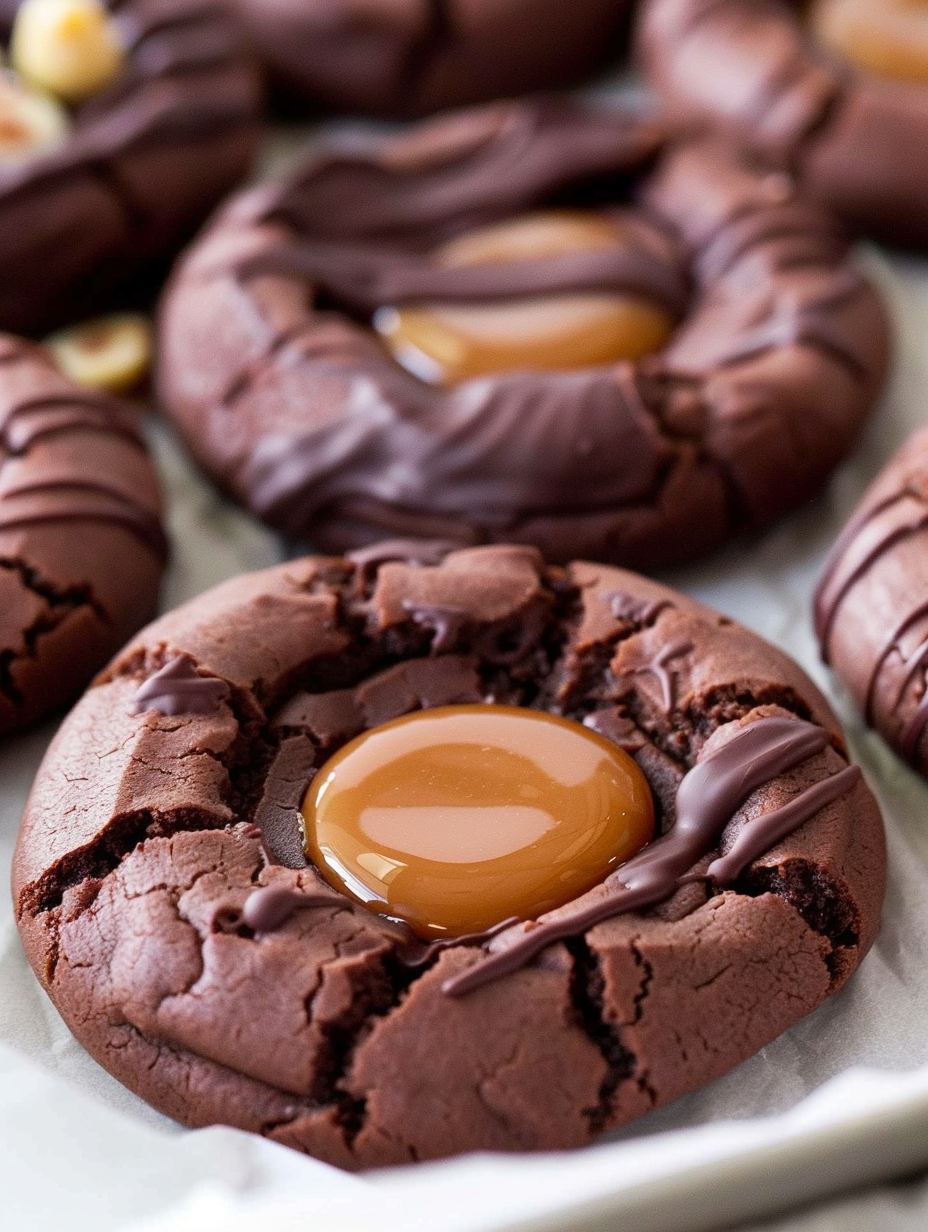
Rich, fudgy chocolate cookies filled with warm caramel and finished with melted chocolate — the perfect holiday cookie or late-night treat.
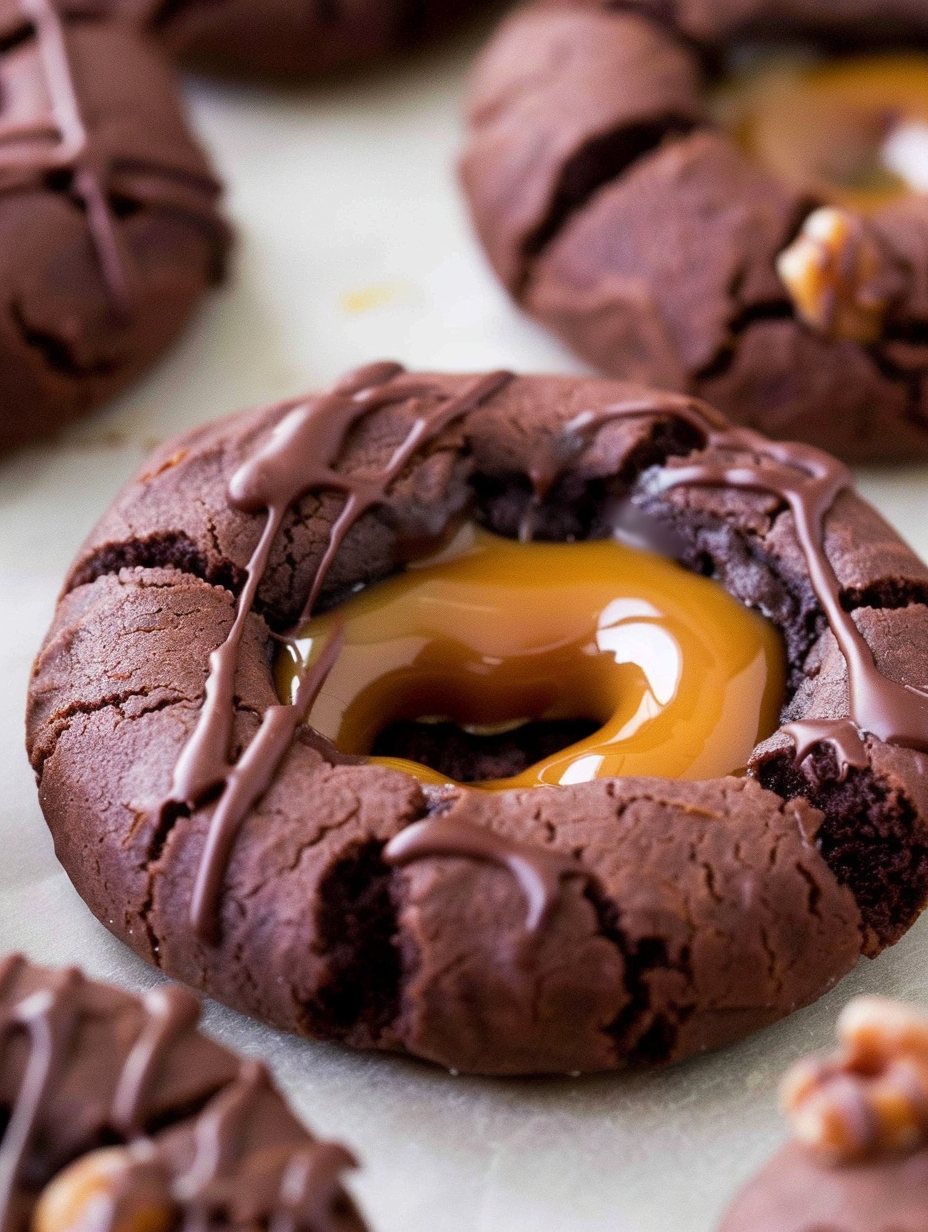
This chocolate caramel thumbprint cookie recipe has been my go-to for holiday cookie exchanges and cozy late-night baking sessions. I first developed this version one chilly November when I wanted a cookie that combined the intense comfort of chocolate with the silky, buttery pull of caramel. The first batch disappeared in under an hour: neighbors, family, and my own midnight snack habit all agreed these are dangerously good. The dough bakes into tender, slightly crackled cookies with a soft center that cradles the warm caramel filling, creating a wonderful contrast of textures. Every bite has a deep cocoa flavor, a hint of espresso to lift the chocolate, and a sweet, chewy caramel center that keeps you coming back for more.
I love that these are flexible: make them as small luncheon cookies for a party or as generous cookies for gifting. The recipe is forgiving, so even if you are new to baking you’ll get professional results by following a few simple cues — cream until light, watch for the edges to set in the oven, and press a deep enough thumbprint so the caramel nestles without spilling. Over the years I’ve served these at Thanksgiving and Christmas, always garnished differently depending on the season. They’re a hallmark of cold-weather comfort and a great project for baking with friends and family.
In my own kitchen, these cookies have been the surprise hit at potlucks. One year I swapped the sprinkles for chopped candied orange peel and the feedback was unanimous: the orange cut the sweetness beautifully. My partner ranks these among his favorite late-night treats, and the smell of cocoa and caramel pulls everyone into the kitchen. They’re reliably adored and easy to adapt based on what’s in your pantry.
My favorite aspect is how nostalgic they feel. The first time I made them for a holiday cookie swap, someone told me they tasted like childhood evenings at a fair — sticky, sweet, and completely comforting. They travel well when boxed, and I often add a handwritten note explaining reheating suggestions: 10 seconds in the microwave revives the caramel’s chewiness without melting the chocolate completely.
Store cooled cookies in an airtight container layered with parchment to prevent sticking and preserve texture. Keep at room temperature for up to 4 days; refrigeration extends life to one week but will firm the caramel and chocolate. To freeze, place cookies in a single layer on a baking sheet until firm, then transfer to a freezer-safe container with parchment between layers. Thaw overnight in the refrigerator and bring to room temperature before serving to regain chewiness. For gifting, pack in a box with a small square of parchment under each cookie and a cold pack if shipping in warm weather.
For a dairy-free version, use dairy-free butter, coconut cream in place of heavy cream, and vegan caramel candies. Note that texture and flavor will shift slightly toward coconut and less creamy caramel. To make gluten-free, substitute a 1-to-1 gluten-free flour blend and allow dough to rest 10 minutes before shaping to hydrate. For a darker chocolate flavor, use dark chocolate chips or increase cocoa to 5 tablespoons and adjust sugar slightly. If you prefer less sweetness, omit the extra chocolate drizzle and use unsweetened cocoa combined with a bit more sugar to balance bitterness.
Serve these with cold milk, a robust espresso, or a sweet dessert wine for an adult pairing. For holiday platters, arrange with gingerbread, shortbread, and spiced nuts for varied textures. Garnish with flaky sea salt for a salted-caramel profile, or sprinkle crushed peppermint and Andes bits for a festive mint-chocolate finish. For an indulgent dessert, warm a cookie briefly in the microwave and serve with a small scoop of vanilla ice cream to create a warm-and-cold contrast.
Thumbprint-style cookies have roots in Central and Eastern European baking traditions, often filled with jam. This adaptation swaps jam for caramel and adds cocoa to create a modern American twist. The combination of chocolate and caramel became popular in candy bars and desserts through the 20th century and now features prominently in holiday baking. These cookies are a contemporary nod to classic filled cookies, blending nostalgic technique with flavors widely appreciated in American baking culture.
Winter holiday versions pair the caramel with chopped candied orange peel or a dusting of cinnamon; spring releases might favor white chocolate drizzle and pastel sprinkles. For fall, add a pinch of ground ginger or nutmeg to the dough and top with toffee bits to echo seasonal spices. For a summer barbecue-friendly twist, omit the chocolate drizzle and press a small spoonful of salted caramel with a sprinkle of toasted coconut on top.
Make the dough up to 48 hours ahead and keep it refrigerated, shaping and baking the day you plan to serve. Alternatively, shape balls and freeze them on a tray, then store in a freezer bag; bake directly from frozen, adding an extra 2 to 3 minutes to the bake time. Prepare the caramel filling ahead and warm gently when ready to use. Store melted chocolate in a warm container and reheat briefly if it begins to thicken.
These cookies bring warmth and nostalgia to any table. Whether you bake a batch for the holidays or a late-night sweet craving, they’re easy to personalize and reliably delicious. Share them with friends, package a few as gifts, and enjoy the smiles that follow each sticky, chocolatey bite.
Cream the butter and sugar until light and pale to trap air for a tender texture.
Use room-temperature egg and butter so the dough mixes evenly and bakes consistently.
Warm the caramel gently and stir frequently to prevent scorching and ensure a smooth pourable filling.
Make deeper indentations than you think you need; caramel shrinks slightly as it cools.
This nourishing chocolate caramel thumbprint cookies recipe is sure to be a staple in your kitchen. Enjoy every moist, high protein slice — it is perfect for breakfast or as a wholesome snack any time.
Press a deep indentation while the cookie dough is still warm from the oven so the caramel sits without spilling.
Yes. You can freeze unbaked dough balls for up to 3 months. Bake from frozen, adding 2 to 3 minutes to the bake time.
Store in an airtight container at room temperature up to 4 days; refrigerate up to one week or freeze baked cookies for up to 3 months.
This Chocolate Caramel Thumbprint Cookies recipe makes perfectly juicy, tender, and flavorful steak every time! Serve with potatoes and a side salad for an unforgettable dinner in under 30 minutes.
Preheat oven to 350°F and line a baking sheet with parchment paper or a silicone mat.
Beat 1/2 cup softened butter with 1 cup sugar until light and fluffy, about 2 to 3 minutes.
Add 1 large egg and 1 1/2 teaspoons vanilla. Beat until incorporated and glossy.
Sift together 1/2 cup cocoa, 1 1/4 cups flour, 1/4 teaspoon espresso powder, 1/4 teaspoon baking soda, 1/4 teaspoon baking powder, and 1/2 teaspoon salt. Gradually add to wet ingredients.
Add 1 tablespoon milk if needed. Roll into 1 to 2 tablespoon balls, place on sheet, and press a thumbprint into each.
Bake at 350°F for 10 to 11 minutes until edges are set and centers are slightly soft. Cool 5 minutes on sheet.
Melt 15 caramels with 2 1/2 tablespoons heavy cream in 30-second microwave intervals until smooth, or melt over low heat.
Spoon caramel into each indentation. Melt 1/2 cup semi-sweet chocolate chips and spoon or drizzle over caramel. Add desired toppings and allow to set for 30 to 60 minutes.
Last Step: Please leave a rating and comment letting us know how you liked this recipe! This helps our business to thrive and continue providing free, high-quality recipes for you.
Leave a comment & rating below or tag
@royalrecipe on social media!

Easy homemade thin-crust three-cheese spicy chicken and jalapeño pie — a flavor-packed pizza with a satisfying kick, perfect for pizza night or game day.

A bright, creamy BLT pasta salad tossed with basil pesto, fresh greens, cherry tomatoes, and crisp bacon—perfect for warm-weather gatherings and meal prep.

Tender sautéed shrimp tossed with spaghetti and a creamy sweet-spicy bang bang sauce—ready in under 30 minutes for a weeknight favorite.
Leave a comment & rating below or tag @royalrecipe on social media!
Enjoyed this recipe? Share it with friends and family, and don't forget to leave a review!
This recipe looks amazing! Can't wait to try it.
Comments are stored locally in your browser. Server comments are displayed alongside your local comments.
Join to receive our email series which contains a round-up of some of our quick and easy family favorite recipes.
