>>
30-MINUTE MEALS! Get the email series now →


Tiny bites of cookies filled with silky cream cheese and bright cherry topping — a speedy semi-homemade treat perfect for parties and last-minute guests.
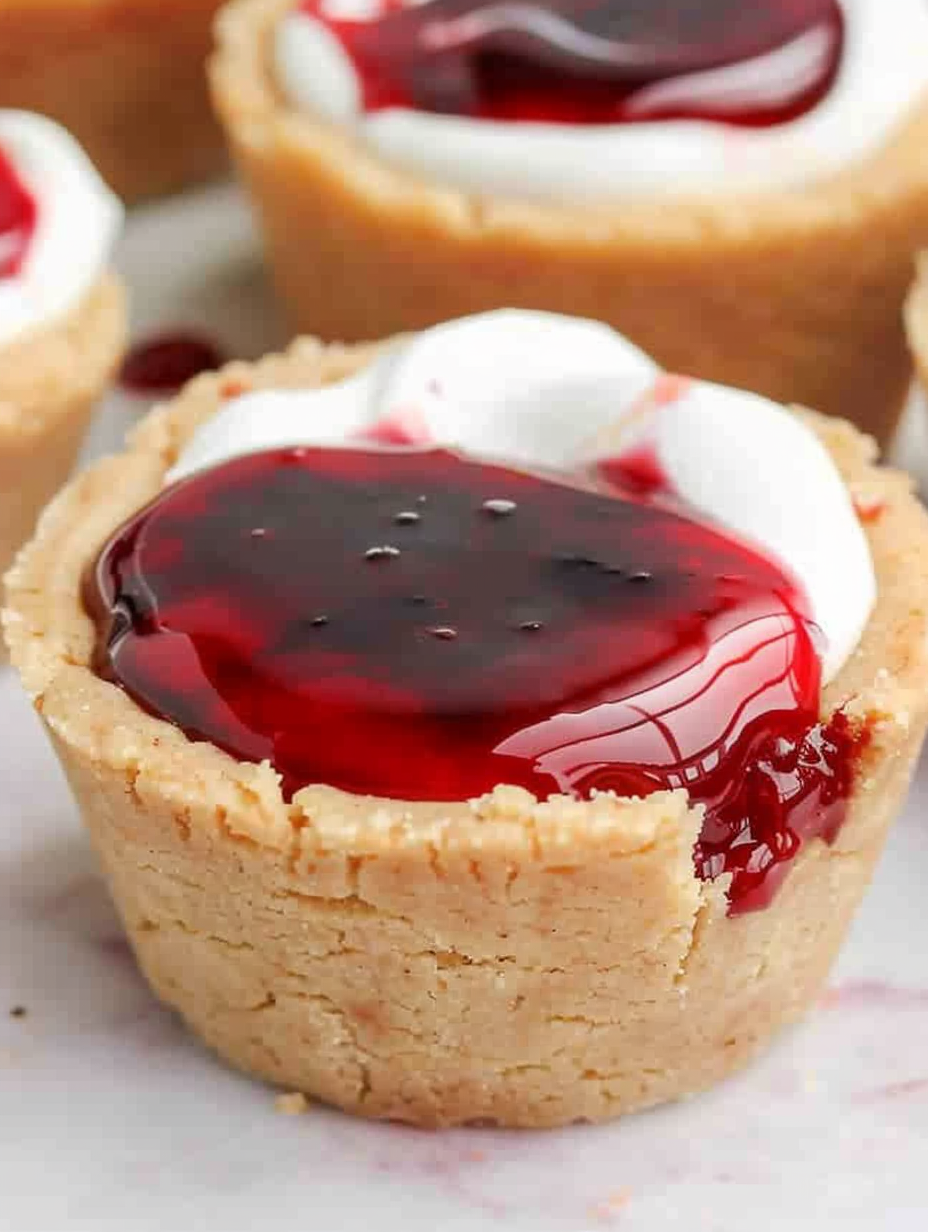
This recipe for Cherry Cheesecake Cups is one of those quick, semi-homemade solutions that has saved many of my celebrations. I first pulled this together on a hectic afternoon when family was arriving sooner than planned and the pantry offered a package of sugar cookie dough and a can of cherry pie filling. The result was unexpectedly perfect: crisp-edged cookie cups holding a creamy, lightly sweetened cheesecake filling topped by glossy cherries. They look like you fussed for hours, but they come together in under an hour.
I love these for the contrast of textures. The cookie walls provide a delicate snap and buttery flavor, while the filling stays soft and billowy. The cherries add a sweet-tart burst and a jewel-like finish. Because they are bite-sized, they disappear fast at gatherings and are easy to plate for afternoon tea, potlucks, or holiday trays. Over the years I have swapped commercial cookie dough for my own when time allows, and each version has its charms; homemade yields a more buttery, buttery crust, and store-bought makes the process lightning fast.
My family’s reaction the first time I brought these out was priceless. My sister declared them “dangerously addictive” and my father went back for three. They’re the kind of dessert that makes people smile instantly, and I’ve used this method to rescue birthdays and casual get-togethers ever since.
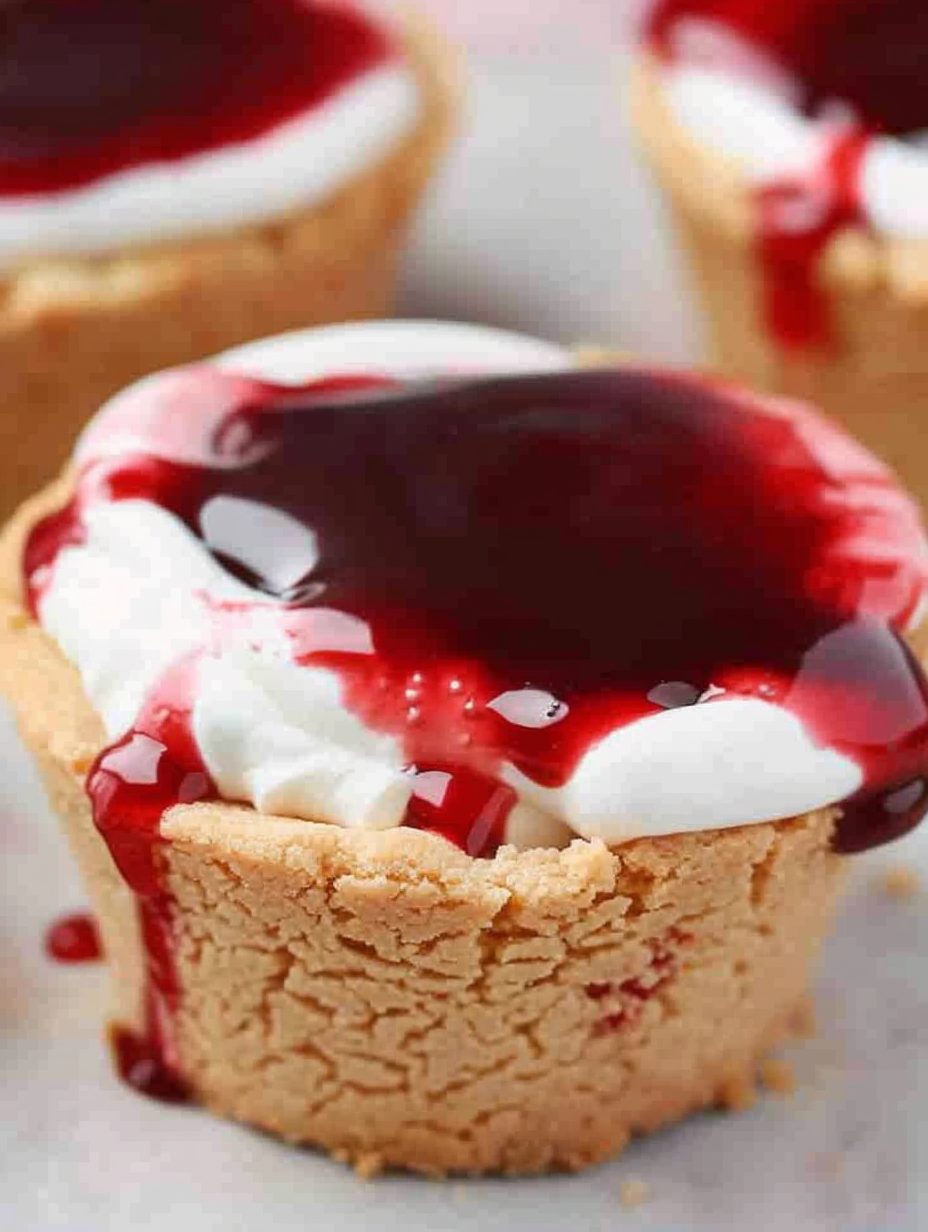
My favorite aspect is how guests assume the cups are bakery-made. I once made a tray for a school bake sale and neighbors were surprised when I told them the filling was just cream cheese and whipped topping. The simplicity is deceptive; a few quality ingredients and good technique deliver true satisfaction.
Store assembled cups in a single layer in an airtight container in the refrigerator for up to three days. If you need longer storage, freeze unfilled cookie cups in a single layer on a baking sheet until solid, transfer to a freezer bag, and keep for up to one month. Thaw in the refrigerator and fill just prior to serving to maintain crispness. For reheating baked cups before filling, warm at 300 degrees Fahrenheit for 3 to 5 minutes to regain some crunch, then cool briefly before adding filling.
For a gluten-free version, use store-bought gluten-free sugar cookie dough or a homemade gluten-free shortbread dough and reduce bake time slightly. Replace whipped topping with stabilized whipped cream made from heavy cream and a tablespoon of confectioners sugar for a fresher filling. To make them lighter, use Neufchatel cheese or low-fat cream cheese but expect a slightly less rich texture. For a non-dairy option, vegan cream cheese and coconut whipped topping will work though flavor will shift toward coconut notes.
Serve on a tiered dessert stand or arranged on a white platter for contrast. Garnish each cup with a fresh mint leaf or a lightly powdered sugar dusting for special occasions. Pair with black coffee or a late-harvest Riesling to echo the fruity sweetness. For a brunch twist, offer lemon curd and fresh raspberries alongside cherries to let guests customize their bites.
These cups are an American-style, bite-sized adaptation of classic cheesecake flavors combined with traditional sugar cookies and canned pie fillings, a convenient approach popular in mid-20th century home baking. The concept of cookie cups has roots in the creative economy of home cooks who turned cookie dough into vessels for sweet fillings, a practice that gained traction with the rise of nonstick bakeware and convenience dough in grocery stores.
Adjust toppings by season: in summer, use macerated berries and lemon zest; for autumn, swap cherries for spiced apple compote and a drizzle of caramel. During winter holidays, top with cherry amaretto compote and toasted sliced almonds. Swap chocolate sprinkles for crushed gingerbread cookies in December to bring a seasonal warmth to each bite.
To streamline party prep, bake multiple pans of cups and freeze unfilled. Prepare the filling and store it chilled in a closed container; it will keep for two days. On the day of the event, thaw cups and pipe filling into each cup using a pastry bag fitted with a round tip to save time and create an attractive finish. Keep a small bowl of extra cherry filling nearby for quick refills.
These little cups are proof that thoughtful shortcuts can look elegant and taste indulgent. Share them with friends, bring them to potlucks, or make a batch for a week of sweet, manageable treats. They invite creativity and make baking feel joyful and approachable.
Soften cream cheese to room temperature for a lump-free filling and beat until silky before folding in whipped topping.
Press cookie dough evenly along the sides for uniform cup walls and bake until edges are just golden to avoid brittle cups.
Chill filled cups for at least 20 minutes to let the filling set; this makes them easier to pick up and keeps shape during serving.
If using store-bought dough, work quickly when shaping so the dough remains pliable and doesn’t warm too much.
This nourishing cherry cheesecake cups recipe is sure to be a staple in your kitchen. Enjoy every moist, high protein slice — it is perfect for breakfast or as a wholesome snack any time.
Yes. Bake the cookie cups, cool completely, and store in an airtight container at room temperature for up to 24 hours or refrigerate for up to 3 days. Fill just before serving for best texture.
Use gluten-free all-purpose flour in the from-scratch dough or purchase a gluten-free sugar cookie dough product. Be aware texture may be slightly different and baking time may change.
This Cherry Cheesecake Cups recipe makes perfectly juicy, tender, and flavorful steak every time! Serve with potatoes and a side salad for an unforgettable dinner in under 30 minutes.
Preheat oven to 350 degrees Fahrenheit. Lightly grease a 12-cup muffin tin with butter or nonstick spray. This ensures easy removal of cookie cups after baking.
Divide cookie dough into 1 to 2 tablespoon portions. Press each portion into the bottom and up the sides of each muffin cup to form an even cup shape with slightly thinner base than walls.
Bake for 8 to 12 minutes until the edges are golden and centers are just set. Rotate the pan halfway through for even browning. Remove and cool in pan for 15 minutes before transferring to a wire rack.
Beat softened cream cheese with vanilla until smooth. Fold in whipped topping gently until fully combined and light. Avoid overmixing to keep the filling airy.
Spoon or pipe 1 to 2 tablespoons of filling into each cooled cookie cup, top with about 1 tablespoon cherry pie filling, garnish with sprinkles if desired, and chill for 20 to 30 minutes before serving.
Cream butter and sugar until light, add egg and vanilla, whisk together flour and baking powder then add slowly until a dough forms. Refrigerate wrapped for 30 minutes, then shape into cups as above.
Last Step: Please leave a rating and comment letting us know how you liked this recipe! This helps our business to thrive and continue providing free, high-quality recipes for you.
Leave a comment & rating below or tag
@royalrecipe on social media!

Easy homemade thin-crust three-cheese spicy chicken and jalapeño pie — a flavor-packed pizza with a satisfying kick, perfect for pizza night or game day.
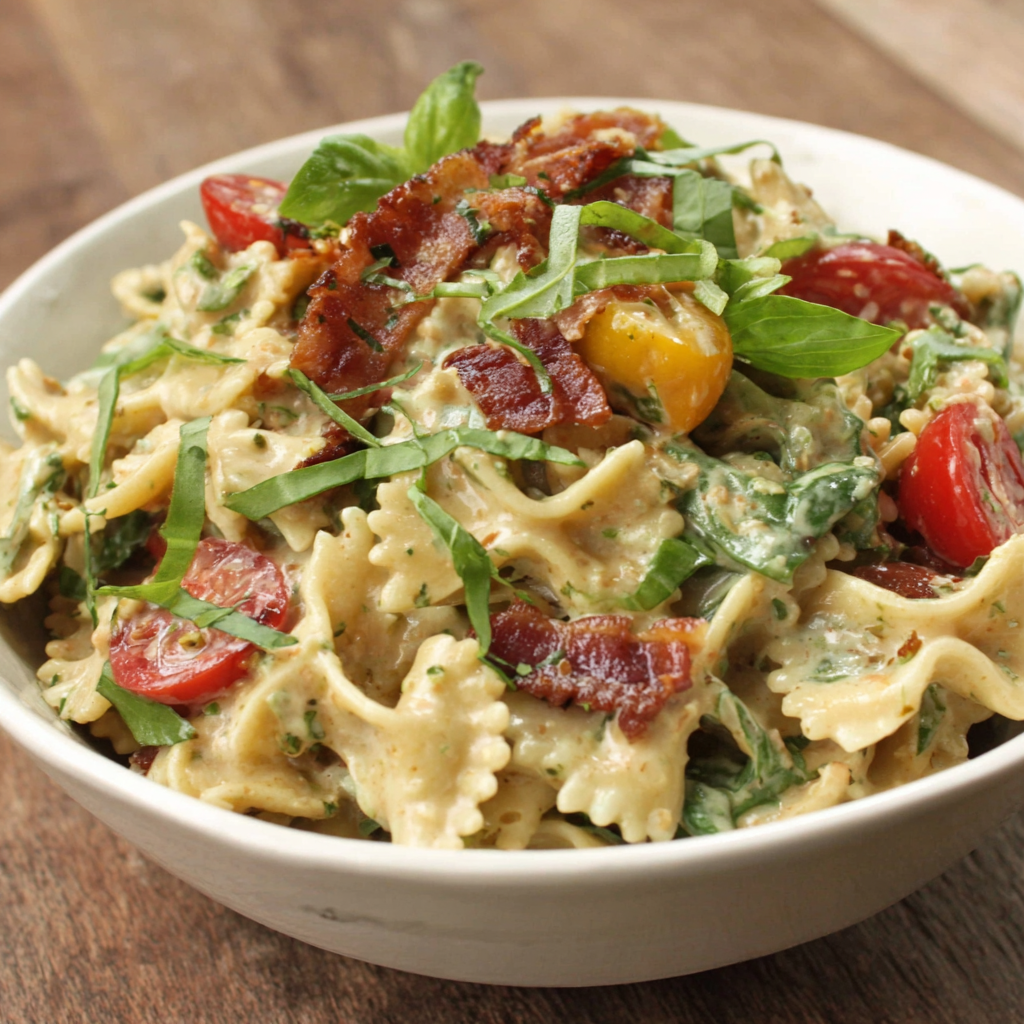
A bright, creamy BLT pasta salad tossed with basil pesto, fresh greens, cherry tomatoes, and crisp bacon—perfect for warm-weather gatherings and meal prep.

Tender sautéed shrimp tossed with spaghetti and a creamy sweet-spicy bang bang sauce—ready in under 30 minutes for a weeknight favorite.
Leave a comment & rating below or tag @royalrecipe on social media!
Enjoyed this recipe? Share it with friends and family, and don't forget to leave a review!
This recipe looks amazing! Can't wait to try it.
Comments are stored locally in your browser. Server comments are displayed alongside your local comments.
Join to receive our email series which contains a round-up of some of our quick and easy family favorite recipes.