>>
30-MINUTE MEALS! Get the email series now →


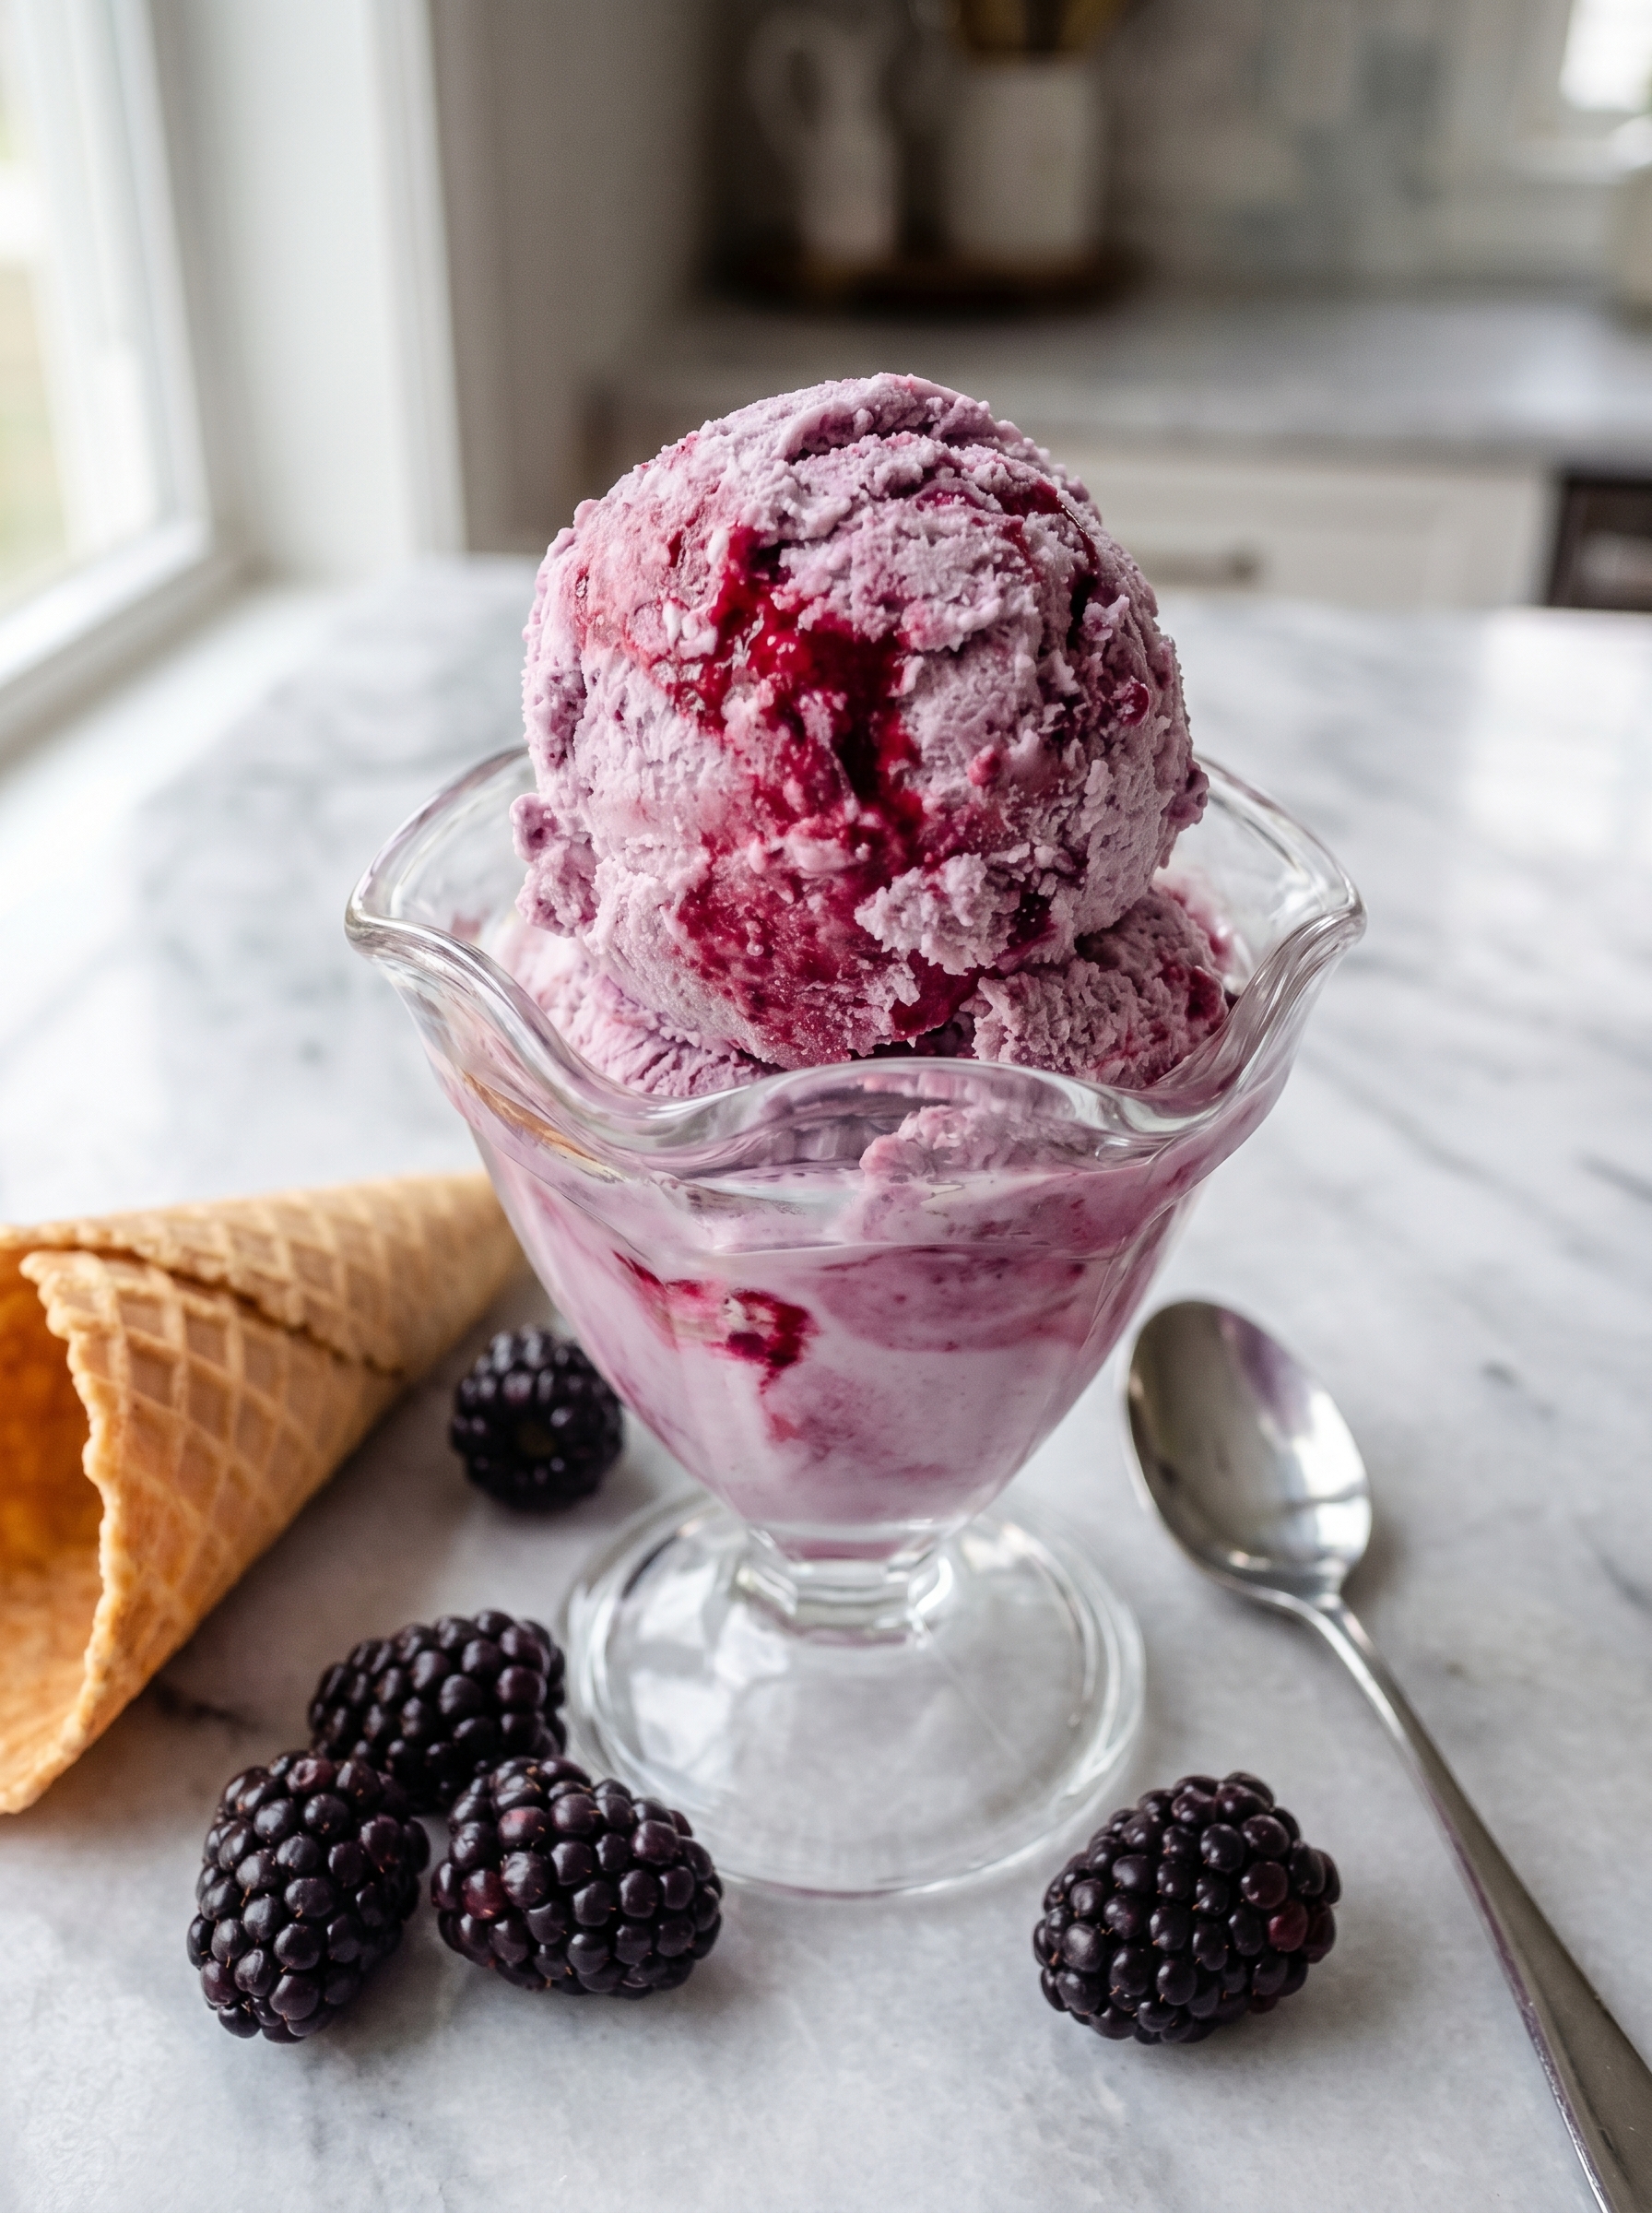
A creamy, egg-free blackberry ice cream made in an ice cream maker with a tart-sweet blackberry syrup swirled through a vanilla-scented base. Fresh berry flavor and silky texture—perfect for summer and year-round berry cravings.
This blackberry ice cream has been a summer ritual in my kitchen ever since I first made a batch with an overripe basket of berries. I discovered the approach—infusing fresh blackberries into a vanilla-scented cream base and swirled through a quick, bright syrup—one warm afternoon when I wanted something lighter than custard-based frozen treats. The result is an intensely fruity yet creamy finish that feels both indulgent and refreshingly bright. Because it’s egg-free and no-cook, the texture relies on well-chilled cream, full-fat milk, and the right proportion of sugar to keep the ice cream scoopable straight from the freezer.
What I love most about this version is how the fresh blackberry character comes through: the blended fruit gives a delicate, even tint and body to the base while the strained syrup offers concentrated pockets of jammy flavor and vibrant color. We serve scoops after backyard dinners and at quiet weekday dessert moments—the kids always reach for seconds, and adult guests remark on the depth of real fruit flavor. You’ll notice small differences with each berry season; when blackberries are at their most fragrant and ripe, the ice cream practically hums with perfume.
From the first time I tried layering the syrup into soft-churned ice cream, I realized how much a ribbon of concentrated berry syrup lifts an otherwise simple base. Family members declared it the “best berry ice cream” after the first spoonful, and I’ve repeated the recipe many times, tweaking syrup thickness and swirl intensity to match the season’s blackberries.
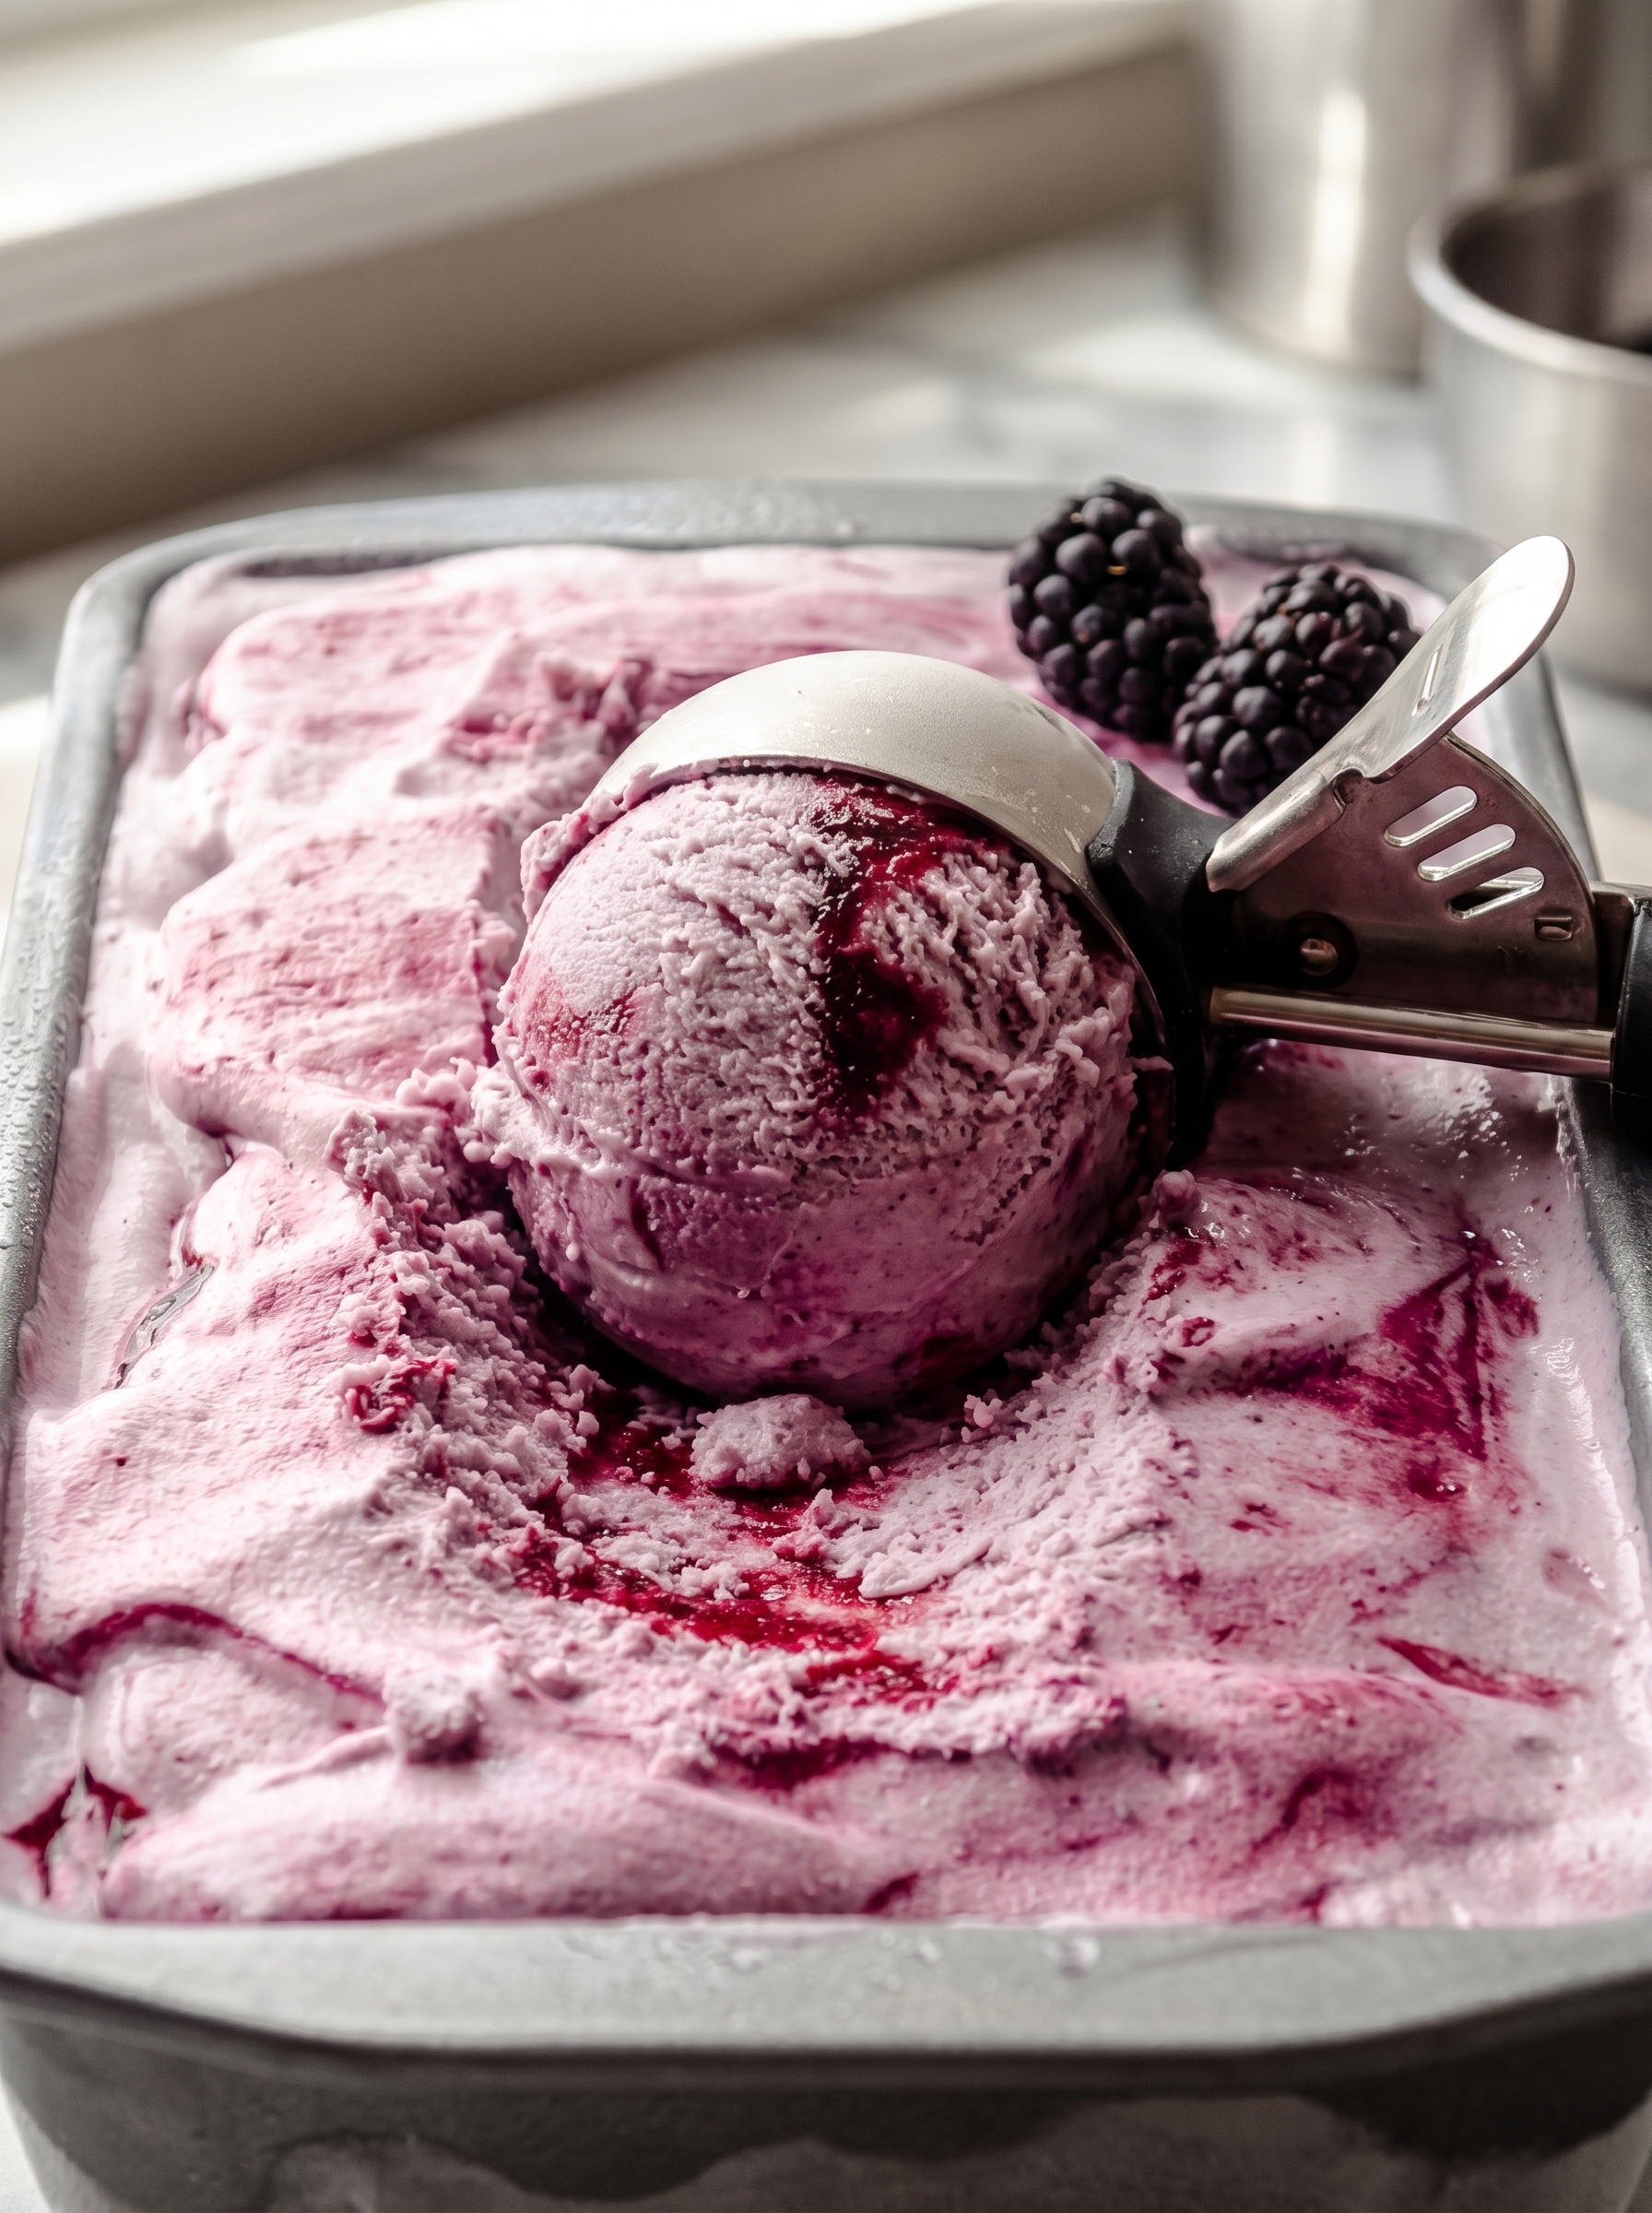
My favorite part is the surprise ripple of syrup in every scoop. The contrast between the smoother, lightly purple base and the dark, jammy river of syrup makes each mouthful interesting. Guests often pause to find the ribbon—it's a small detail that feels special and homemade.
Store the frozen loaf covered tightly with plastic wrap pressed directly onto the surface to avoid freezer burn and ice crystals. Use an airtight container with a tight lid, or wrap the pan in a double layer of plastic wrap and a sheet of aluminum foil. For best texture, consume within three months; after longer storage the ice crystals grow and the texture degrades. When reheating is mentioned for softer scooping, place the container on the counter for 8–12 minutes to soften slightly, or transfer individual servings to a cold bowl and let stand for a few minutes before scooping.
If you need a lighter version, substitute half-and-half for the heavy cream, but expect a slightly icier texture and less richness. For a dairy-free version, use a full-fat coconut milk and a neutral-tasting plant milk—note the coconut will add its own flavor and may change the mouthfeel. Use arrowroot instead of cornstarch for the syrup if you need a grain-free binder; use the same quantity. You can replace granulated sugar with a blend of 3/4 cup coconut sugar for a deeper caramel note, but this will darken the color and shift flavor.

Serve scoops in chilled bowls with a few fresh berries on top and a sprig of mint for contrast. This ice cream pairs beautifully with a warm shortbread or almond biscotti for texture contrast, or alongside a slice of pound cake for an extra-festive dessert. For an adult twist, drizzle a little crème de mûre or blackberry liqueur right before serving to heighten the berry notes.
While fruit ice creams have a long history in home kitchens, this no-cook, churned approach is a modern adaptation that combines classical Italian influences (fruit preserves and purées) with American-style churned ice cream. Blackberries have been used in frosty desserts across regions; in this recipe the fruit’s tartness is balanced by sugar and cream, a technique that honors both the raw fruit and the cream-based frozen treat traditions.
In summer, use peak-ripe blackberries for maximum aroma. In late season, when berries are tarter, add an extra tablespoon of sugar to macerate. For a winter variation, substitute roasted frozen berries heated briefly with spices like star anise or a cinnamon stick, strain, and cool before folding into the base for a spiced blackberry finish.
Make the syrup and the berry purée a day ahead and refrigerate. Combine and churn on the second day for faster assembly. Portion into individual airtight containers for grab-and-go desserts ready for the week; remember to leave a 1/2" headspace for expansion when freezing. If planning for a party, churn multiple small batches rather than one huge batch to ensure the bowl stays cold and churns properly.
This homemade blackberry frozen treat is as much about the ritual—mashing berries, smelling the hot syrup, and the slow ribboning through churned cream—as it is about the final scoop. It’s easy to adapt, quick to prepare, and always earns compliments. Make it your own by adjusting swirl intensity, syrup thickness, or serving pairings; above all, enjoy the bright, pure berry notes.
Freeze your ice cream maker bowl for at least 24 hours before starting; inconsistent freezing produces icy texture.
Strain berry purees through a fine mesh to remove seeds for a silky finish.
Chill the base well before churning—colder mix churns faster and traps more air for a creamier texture.
Layer syrup when ice cream is at soft-serve consistency for clear ribbons rather than full color bleed.
Allow the packaged ice cream to rest at room temperature for 8–10 minutes before scooping for the best texture.
This nourishing homemade blackberry ice cream (egg-free, no-cook) recipe is sure to be a staple in your kitchen. Enjoy every moist, high protein slice — it is perfect for breakfast or as a wholesome snack any time.
This Homemade Blackberry Ice Cream (Egg-Free, No-Cook) recipe makes perfectly juicy, tender, and flavorful steak every time! Serve with potatoes and a side salad for an unforgettable dinner in under 30 minutes.
Freeze your ice cream maker bowl according to the manufacturer instructions and gather all tools and containers. This ensures consistent churning and texture.
In a small saucepan combine 5 oz blackberries, 1/4 cup sugar, and 1 tsp cornstarch. Warm over medium-low, mash, and simmer 4–6 minutes until slightly thickened. Strain and refrigerate.
Combine 8 oz blackberries with 3/4 cup sugar, let sit 15 minutes, then puree in a blender. Press through a fine mesh strainer to remove seeds and collect the smooth purée.
Whisk the strained purée with 2 cups heavy cream, 1 cup whole milk, 2 tsp vanilla, and 1/8 tsp salt until sugar starts to dissolve. Chill briefly if needed.
Pour the well-chilled mixture into the ice cream maker with the dasher running and churn about 20–30 minutes until it reaches soft-serve consistency.
Spoon one-third of the churned ice cream into a loaf pan, top with one-third of the chilled syrup, repeat two more times. Use a knife to create gentle swirls—do not overmix.
Cover and freeze for at least 4 hours, preferably overnight. Remove 8–12 minutes before scooping for best texture.
Last Step: Please leave a rating and comment letting us know how you liked this recipe! This helps our business to thrive and continue providing free, high-quality recipes for you.
Leave a comment & rating below or tag
@royalrecipe on social media!

Easy homemade thin-crust three-cheese spicy chicken and jalapeño pie — a flavor-packed pizza with a satisfying kick, perfect for pizza night or game day.

A bright, creamy BLT pasta salad tossed with basil pesto, fresh greens, cherry tomatoes, and crisp bacon—perfect for warm-weather gatherings and meal prep.

Tender sautéed shrimp tossed with spaghetti and a creamy sweet-spicy bang bang sauce—ready in under 30 minutes for a weeknight favorite.
Leave a comment & rating below or tag @royalrecipe on social media!
Enjoyed this recipe? Share it with friends and family, and don't forget to leave a review!
This recipe looks amazing! Can't wait to try it.
Comments are stored locally in your browser. Server comments are displayed alongside your local comments.
Join to receive our email series which contains a round-up of some of our quick and easy family favorite recipes.
